Triton basic operations setup and testing
This section walks you through the process of basic operations testing of your new Triton installation. This guide uses the Operations Portal for all examples. It is possible to use command line tools from the head node to accomplish all of these tasks, however that is outside of the scope of this document.
Note: To view a larger version of any image, please click on it and a full sized version will open in a new window.
Logging into the Operations Portal
-
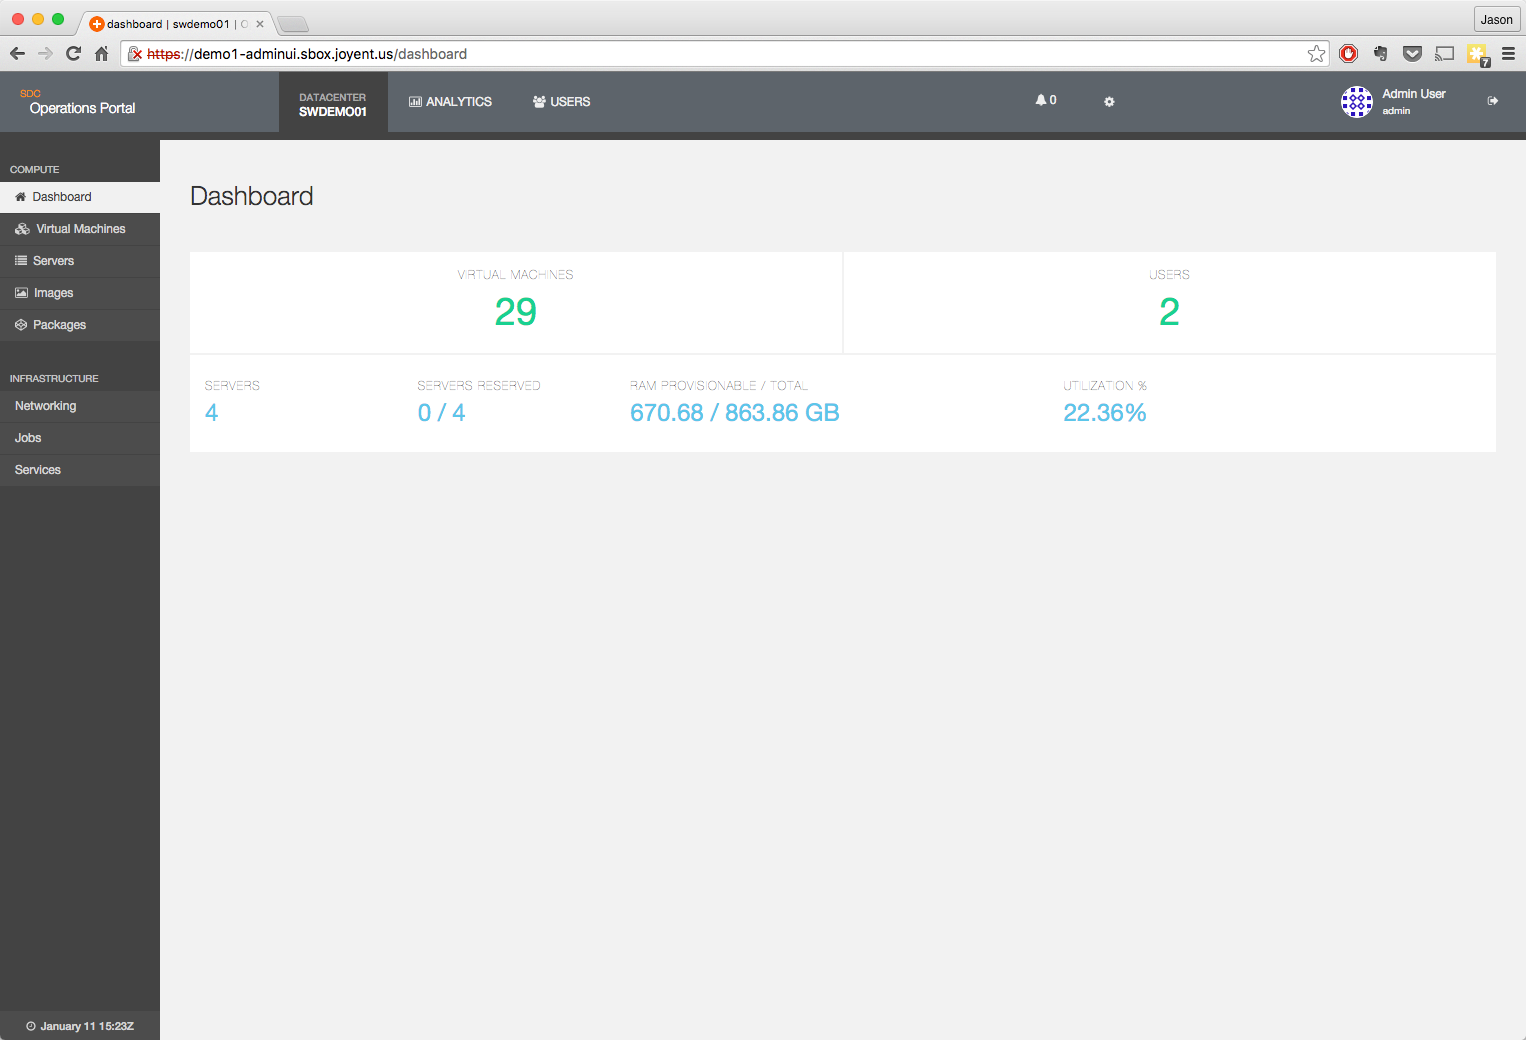
Open a browser and navigate to the AdminUI zone using either the IP address or a resolvable FQDN.

-
Log into the Operations Portal using the credentials that you defined for the admin user at install time.
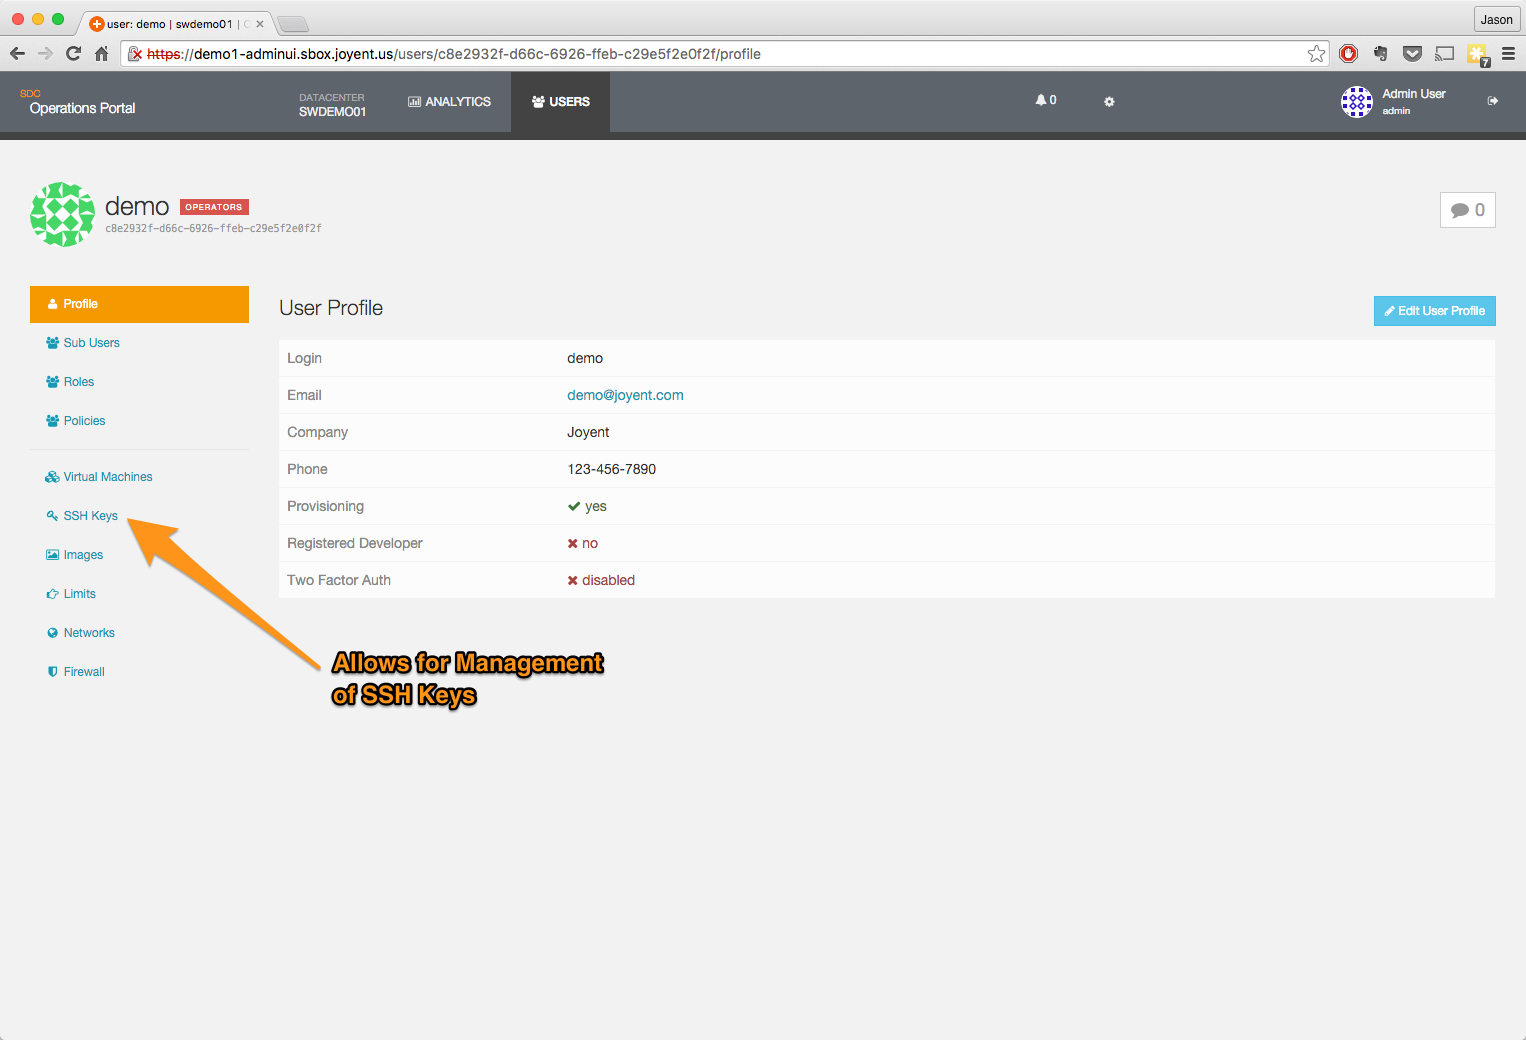
Create a user and add an ssh key
-
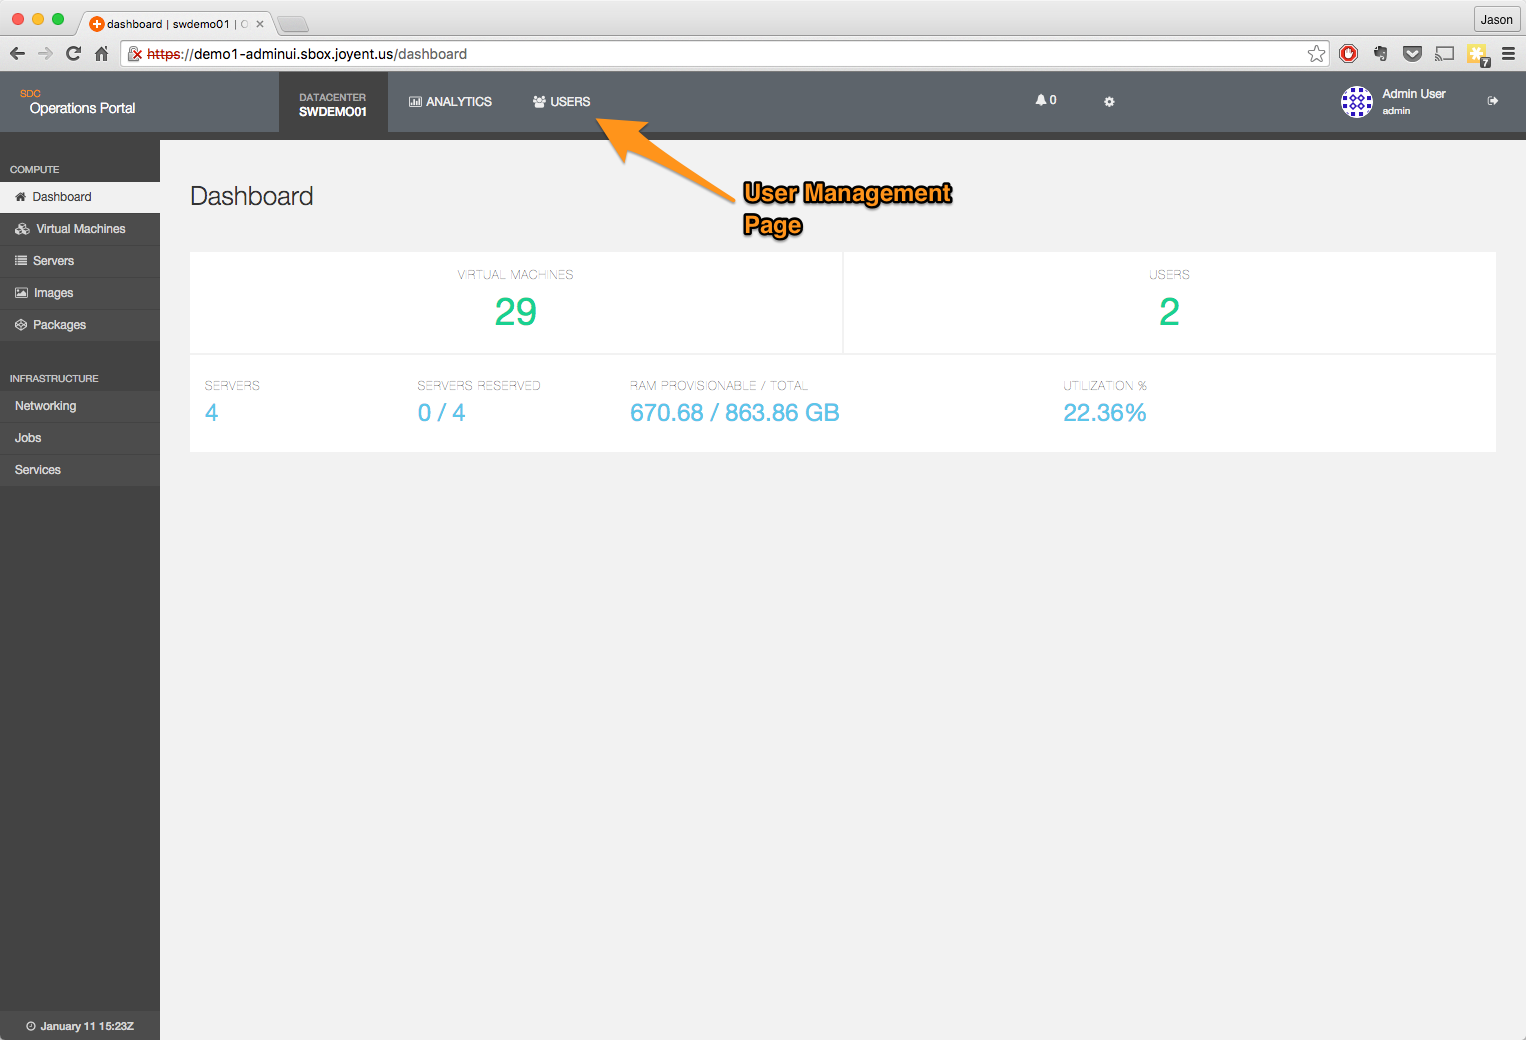
Navigate to the Users page
-
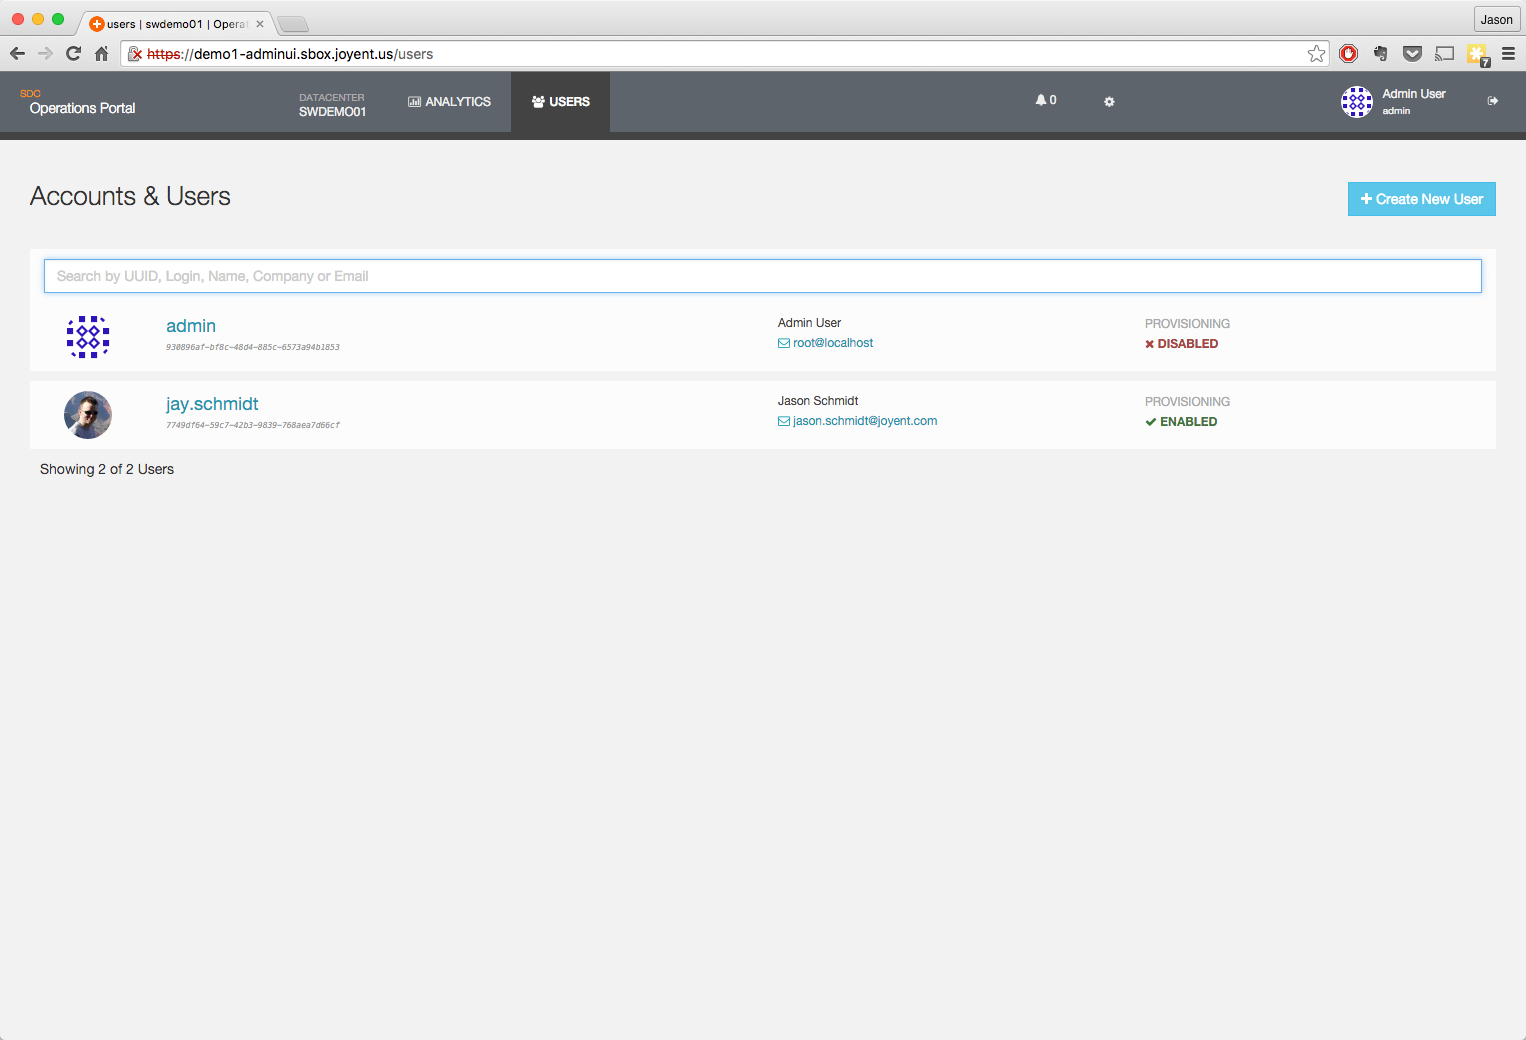
By default, all available users are shown.
-
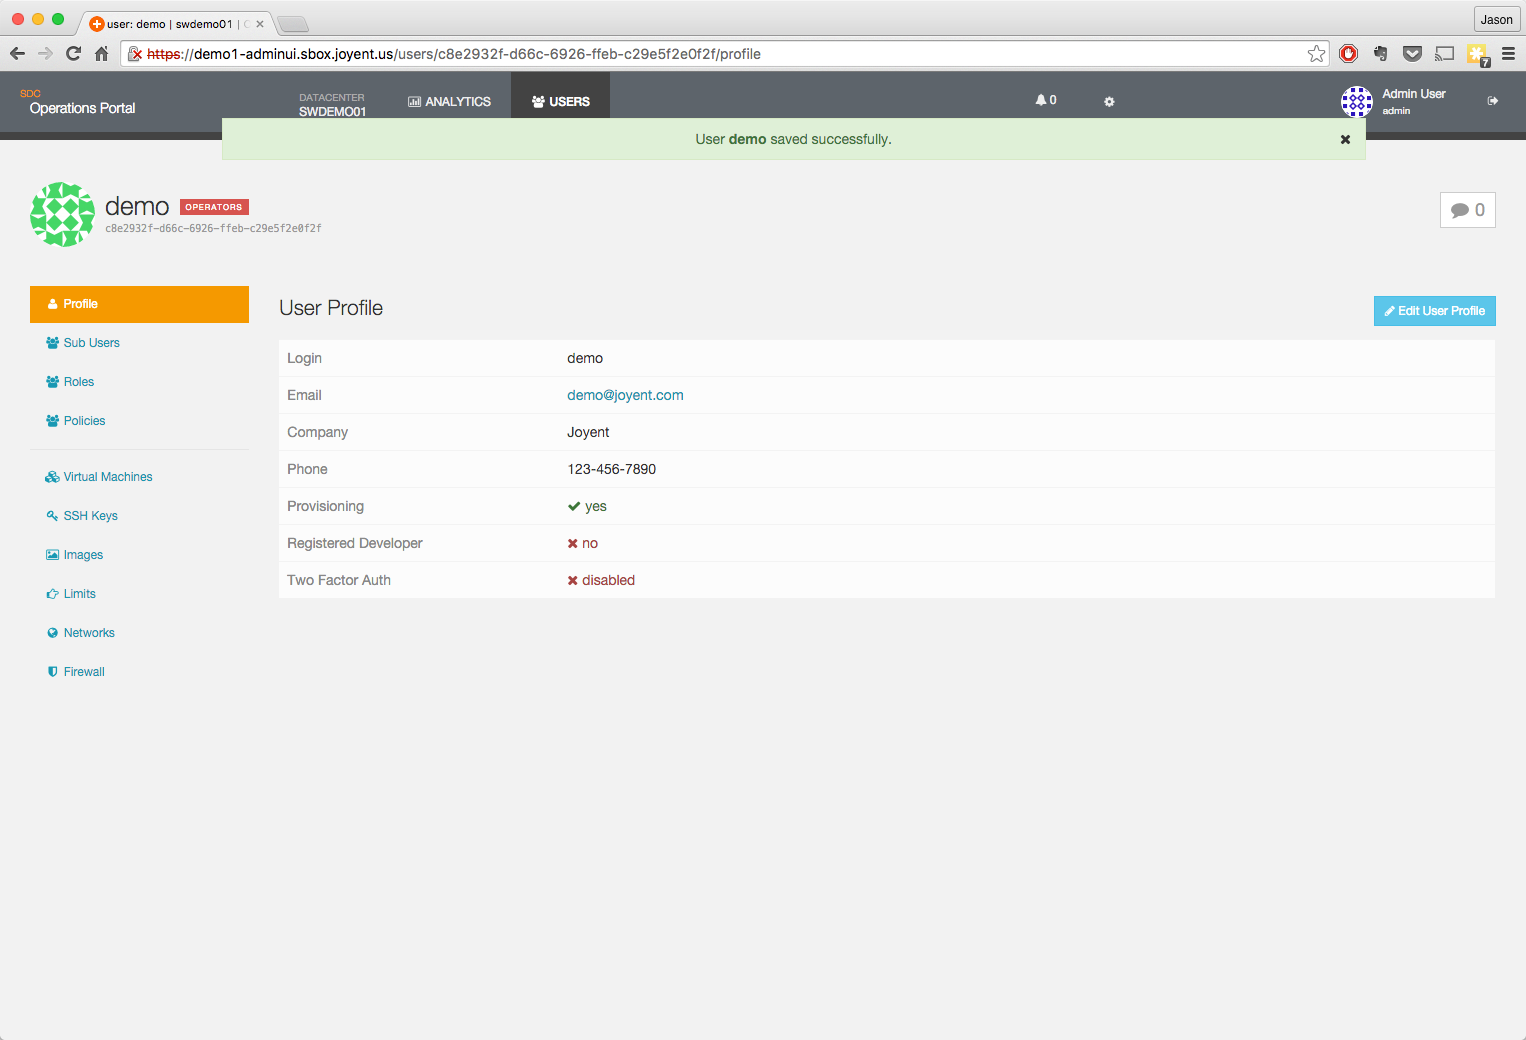
Once on the Users page, add a new user
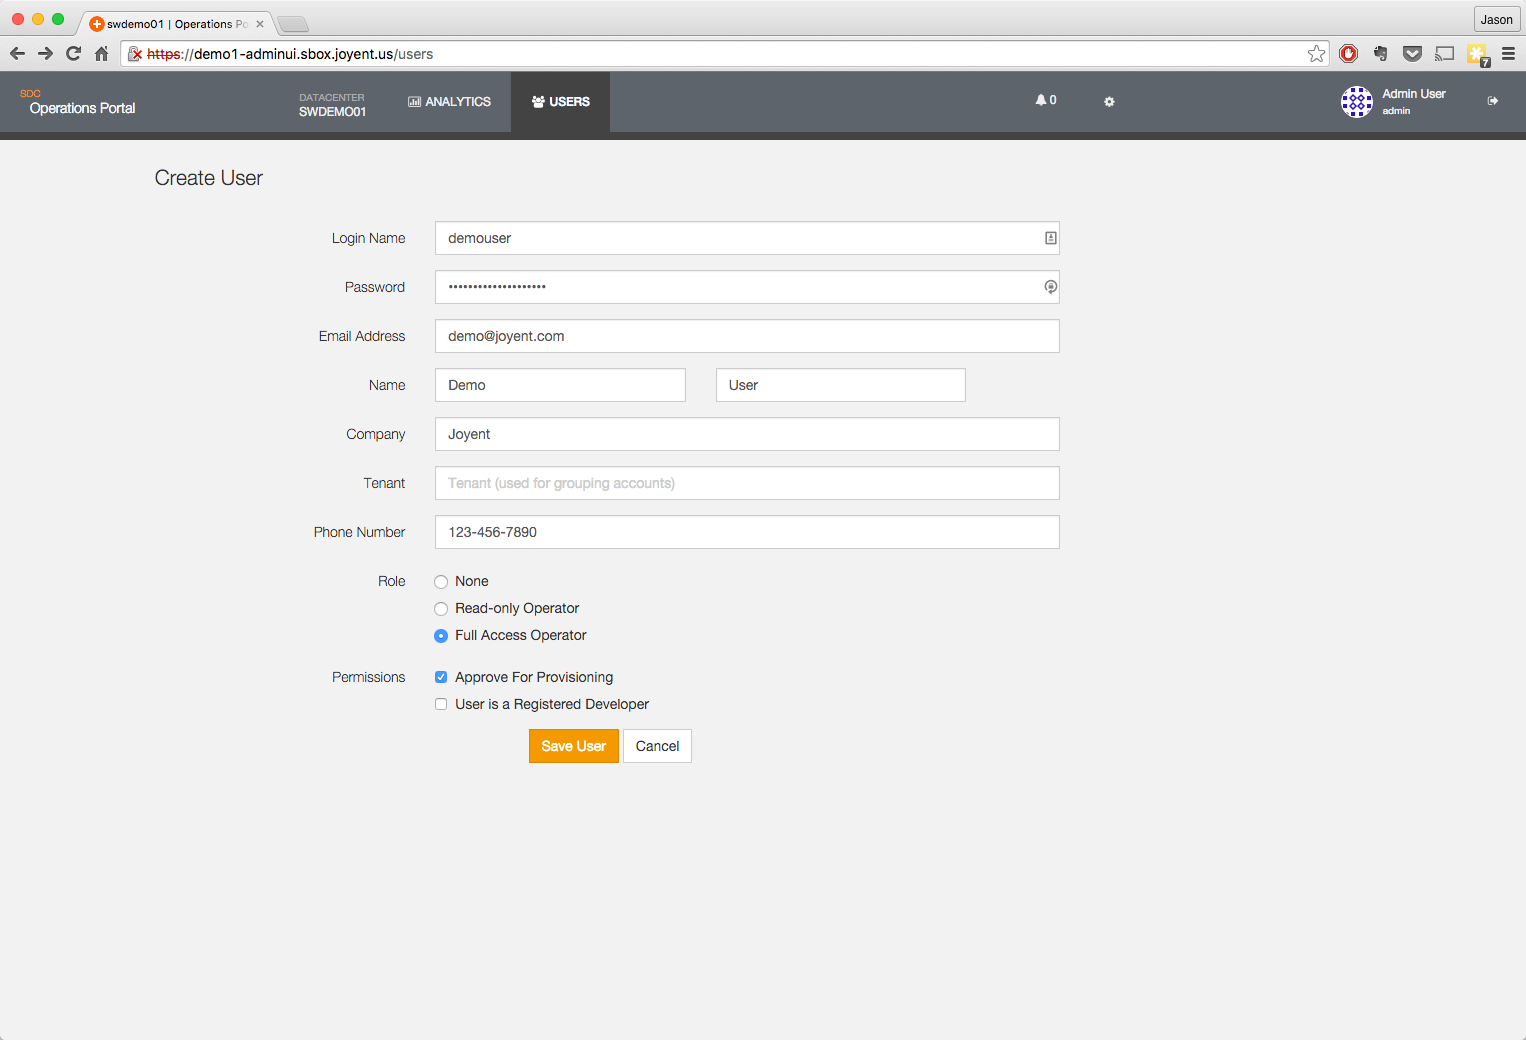
- In order to provision containers, you will need to ensure that you have checked the Approve For Provisioning option box.
- If this user is to be granted full access to the Operations Portal you will need to check the Full Access Operator role.
-
Password complexity is enforced and is configurable; the defaults require both an alpha and a numeric character in the password.
-
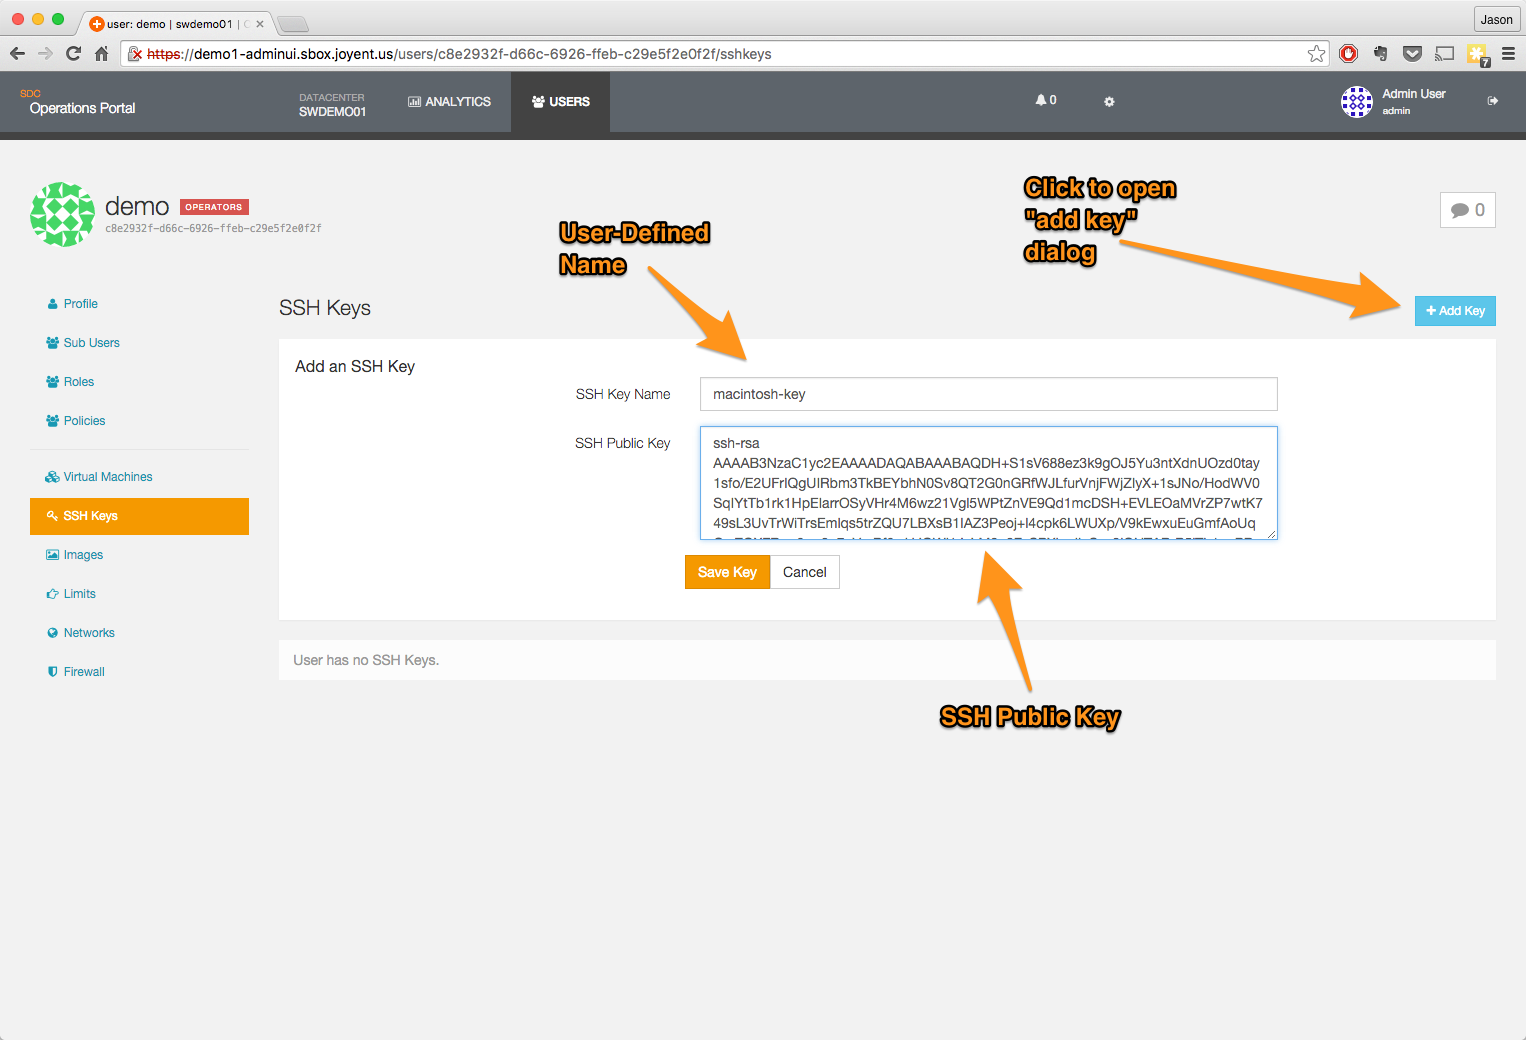
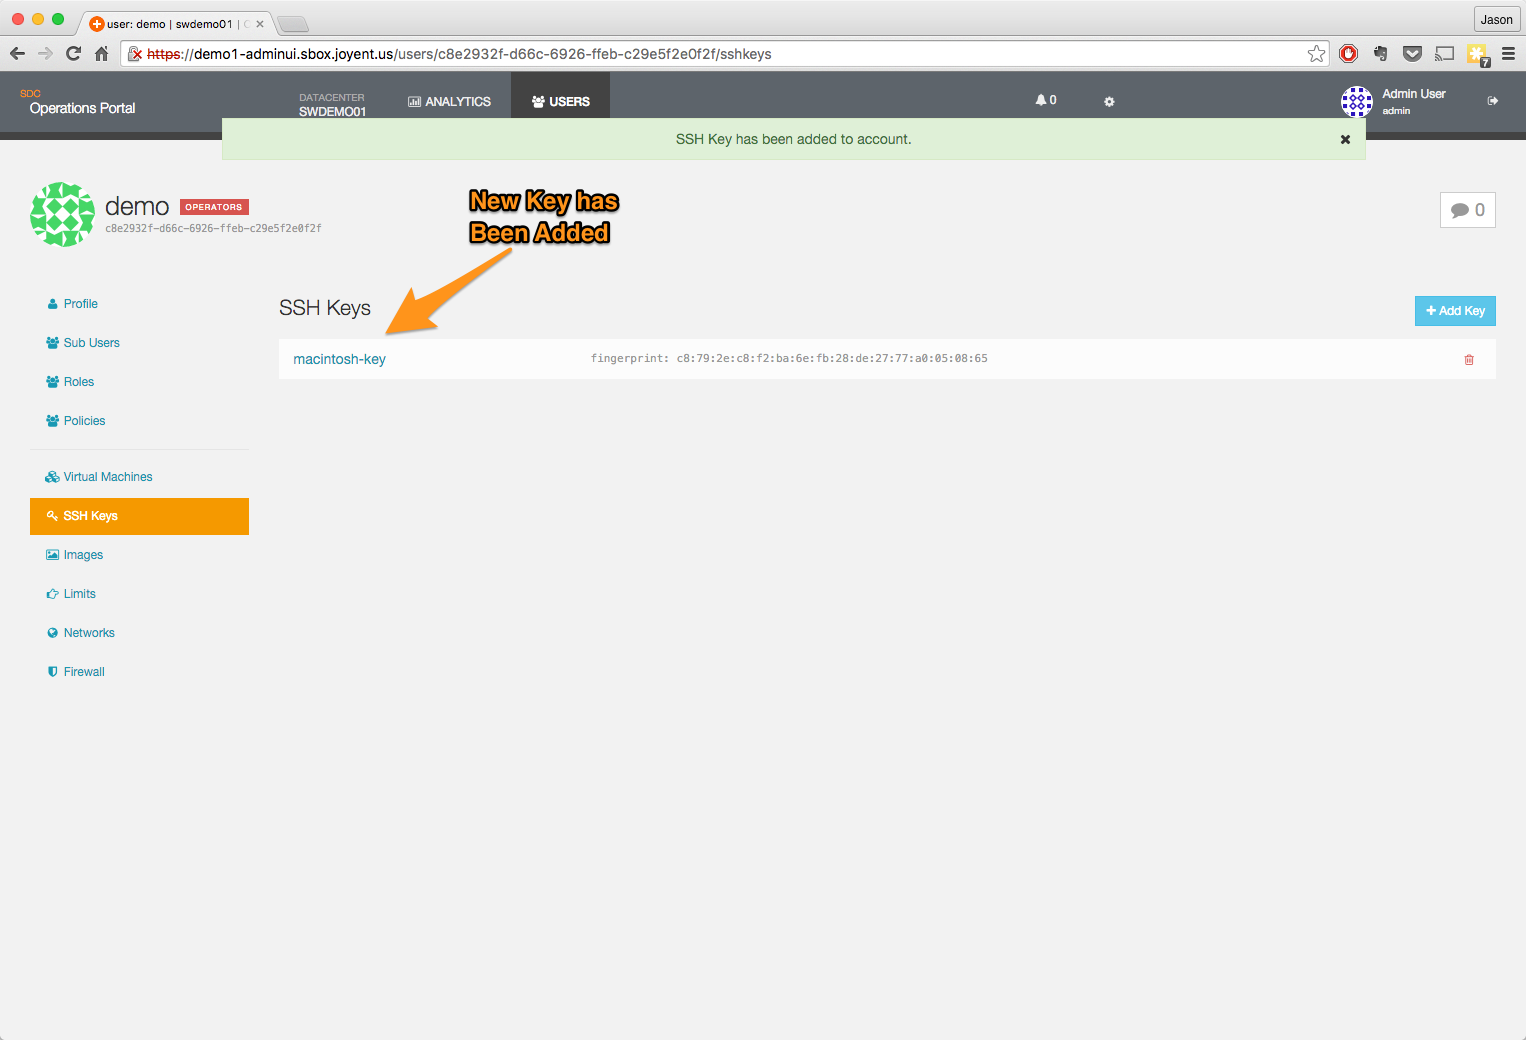
Add an ssh key to the user you have created
Import an image from images.smartos.org
-
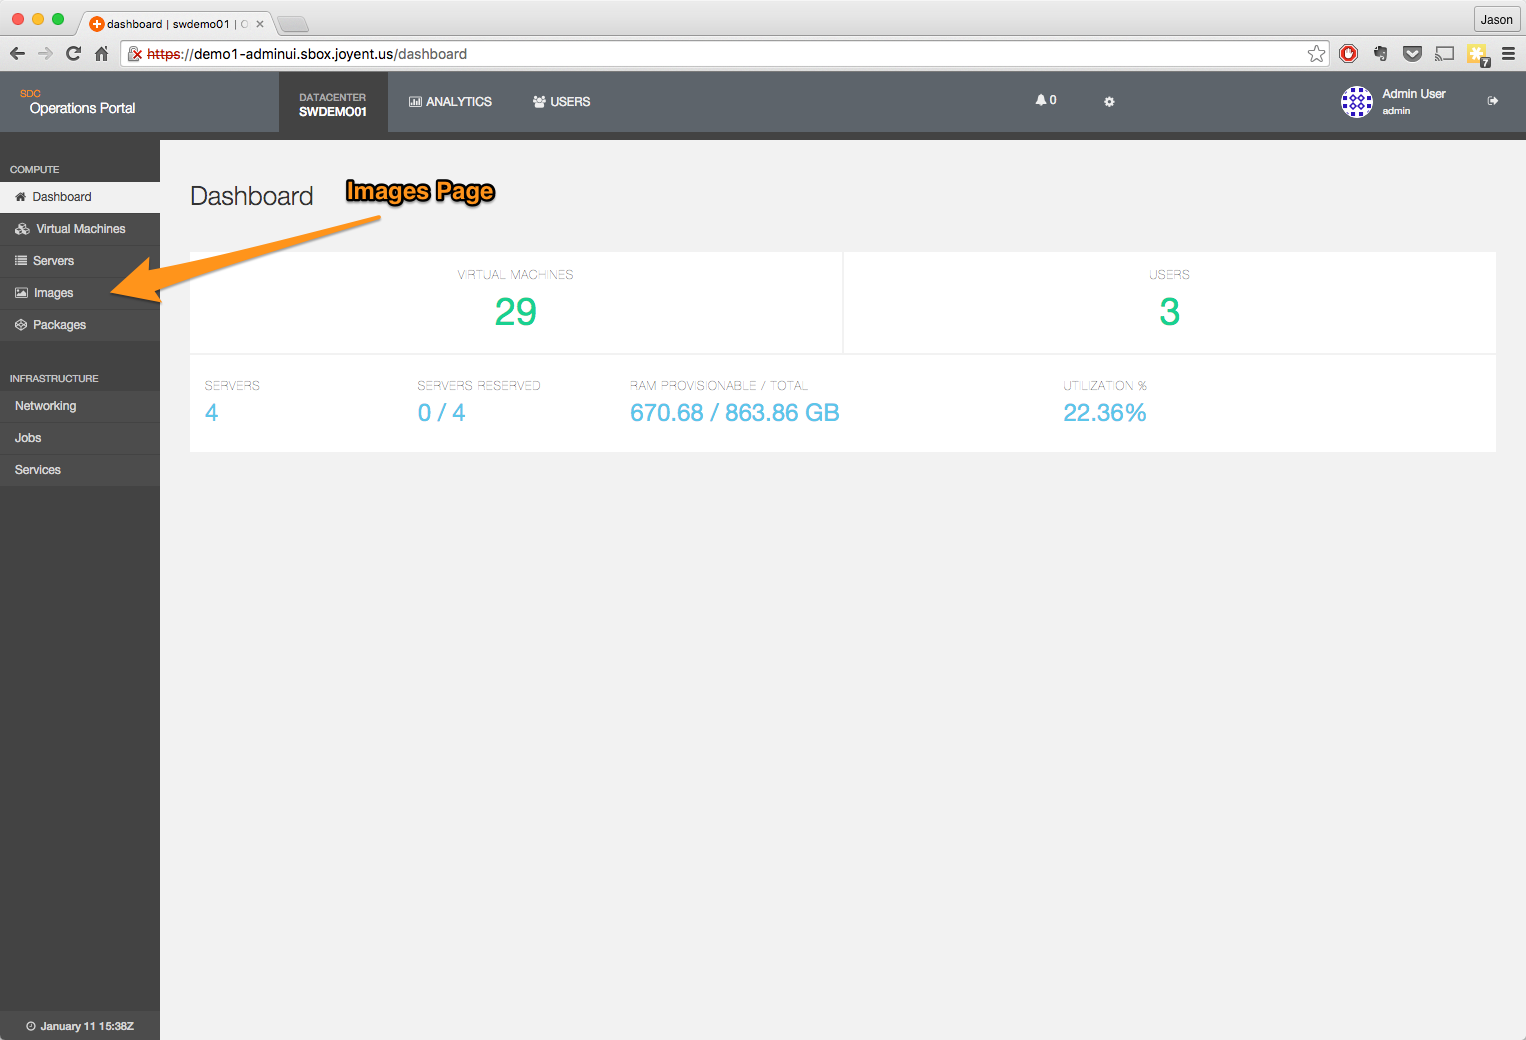
Navigate to the Images page
-
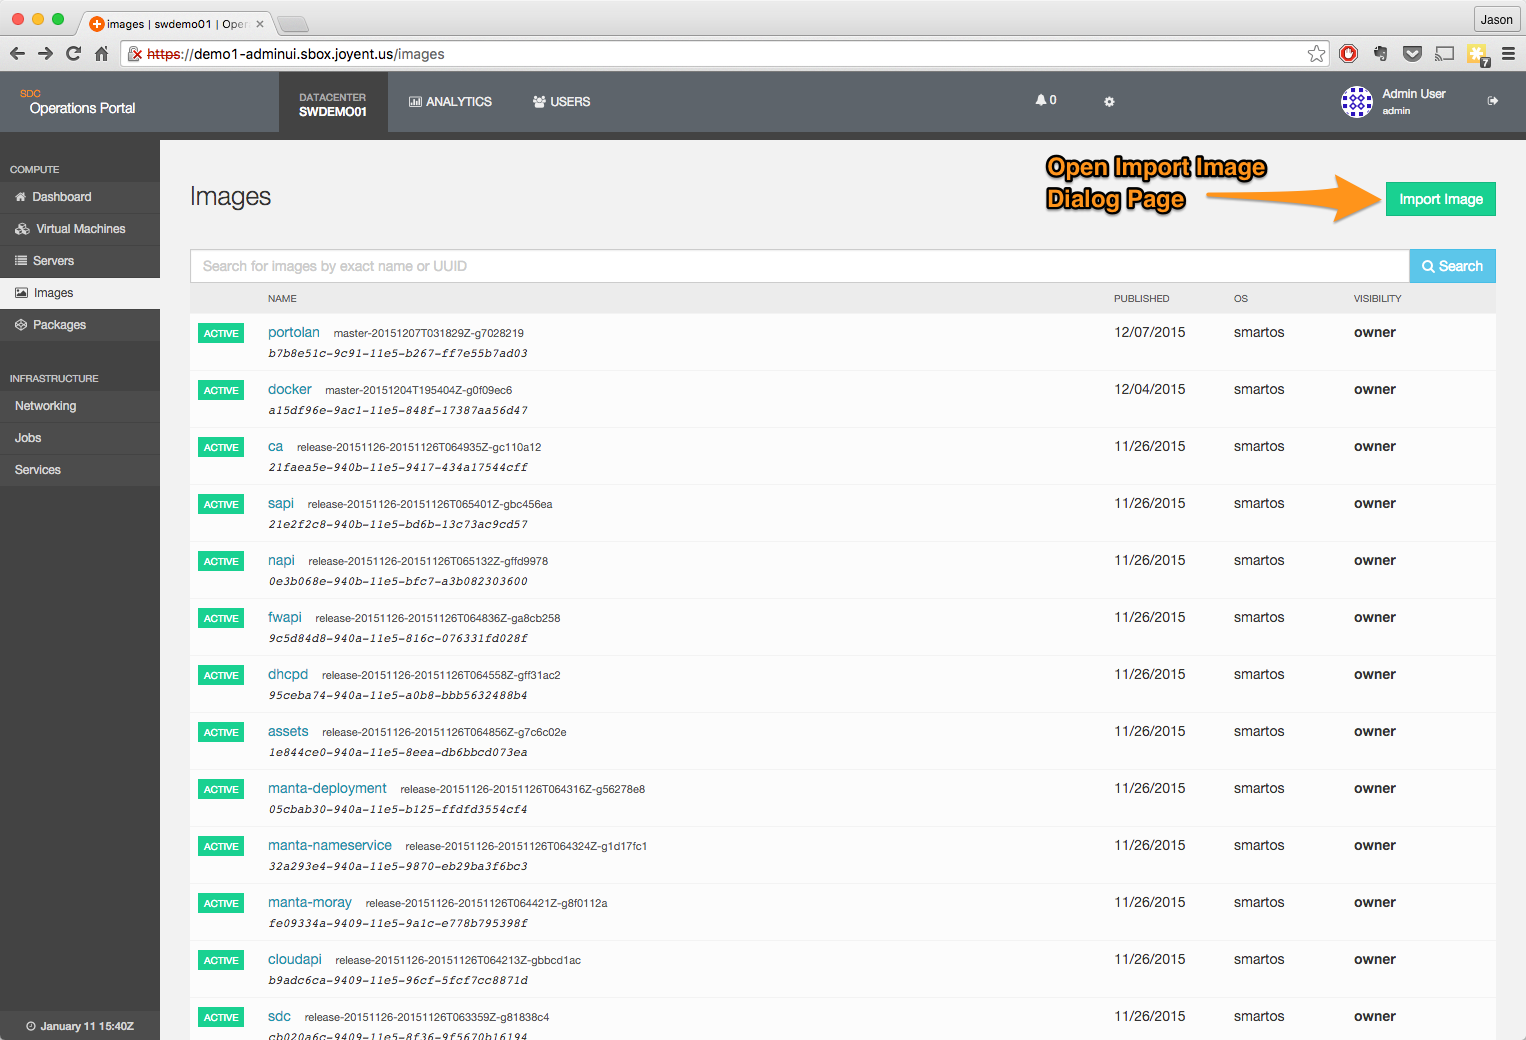
Open the Import page
-
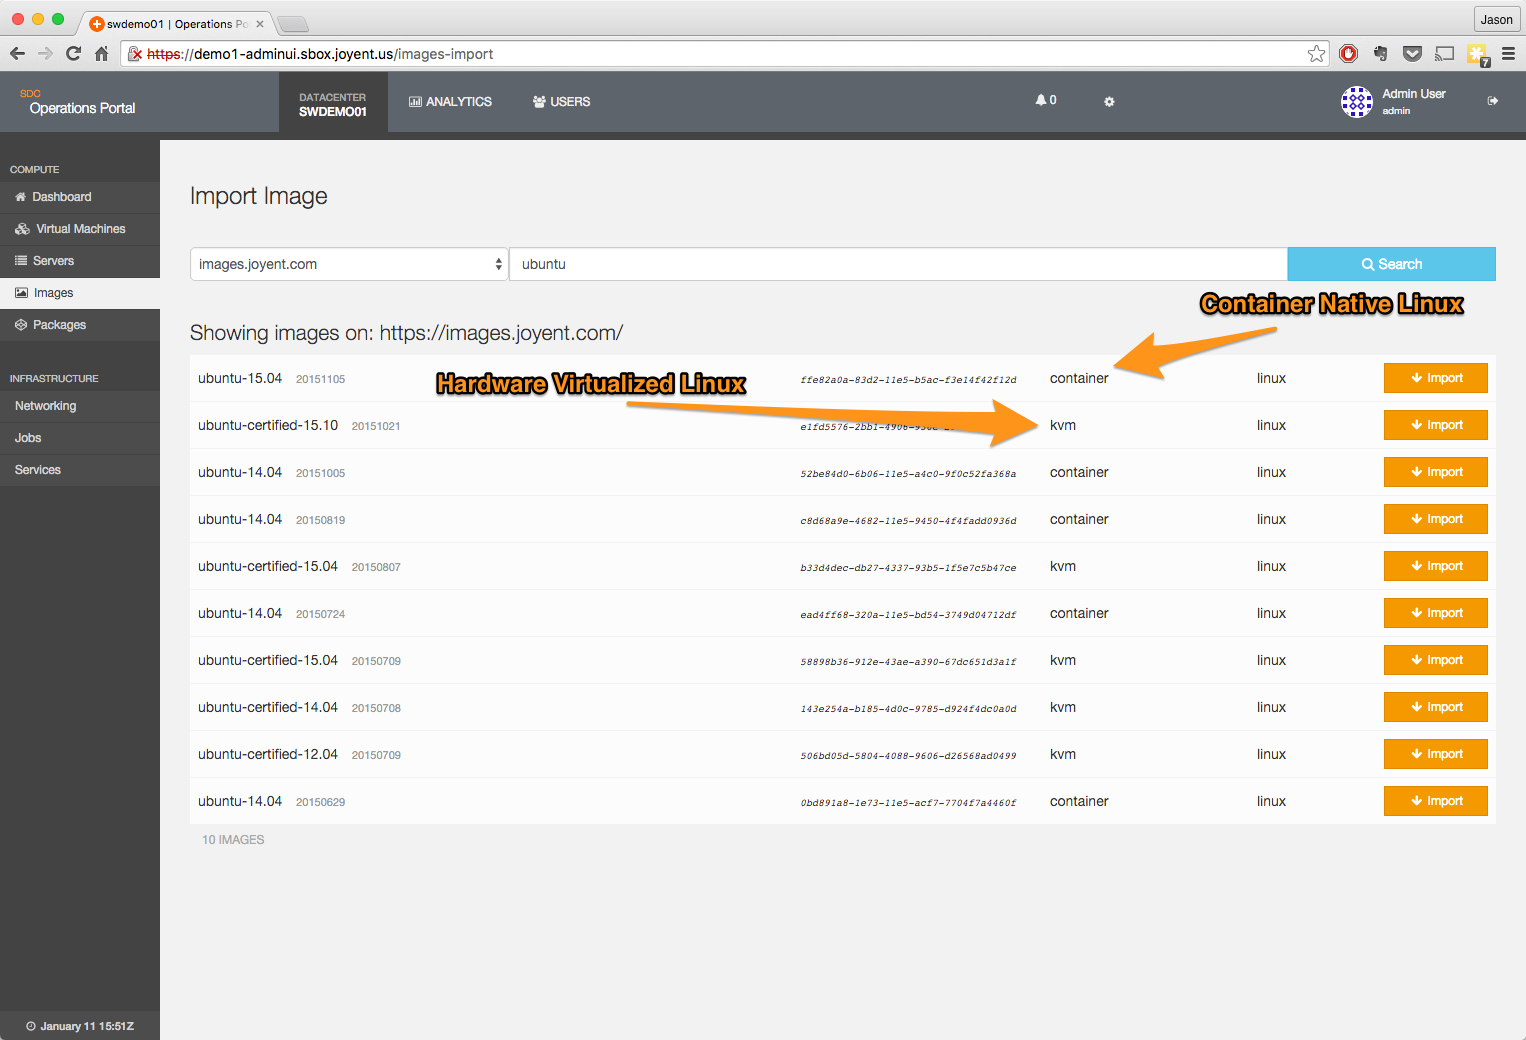
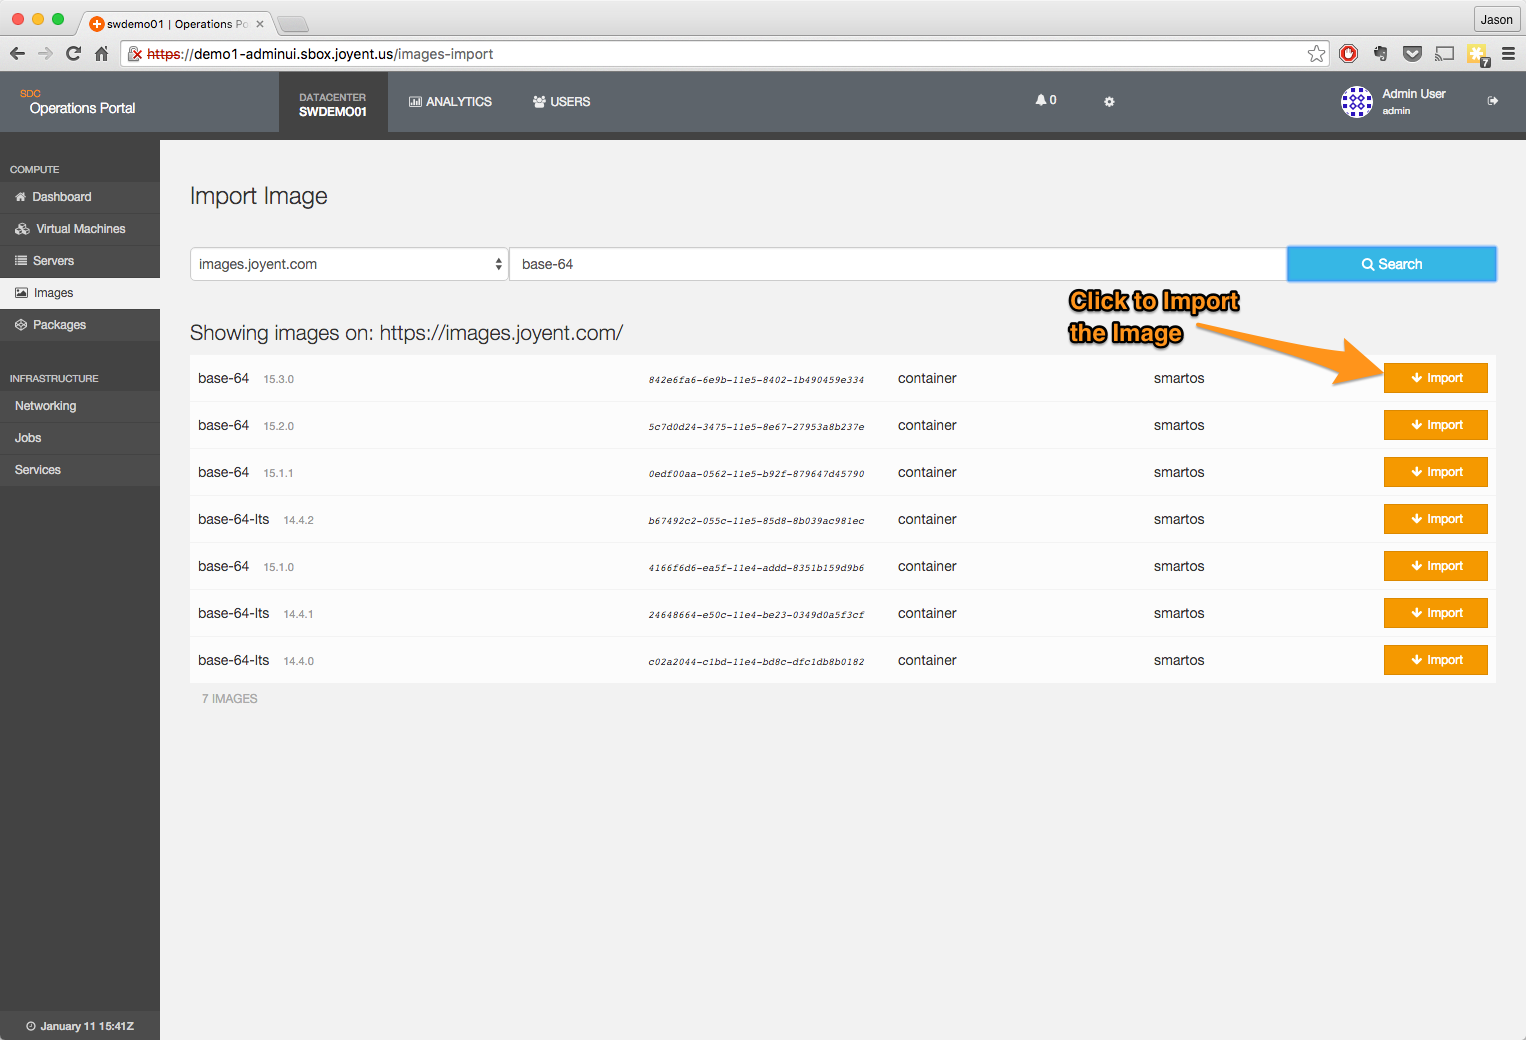
Search for the most recent Base-64 image to download
-
Import the image
-
Click on the Import button and then confirm the verification dialog that pops up.
-
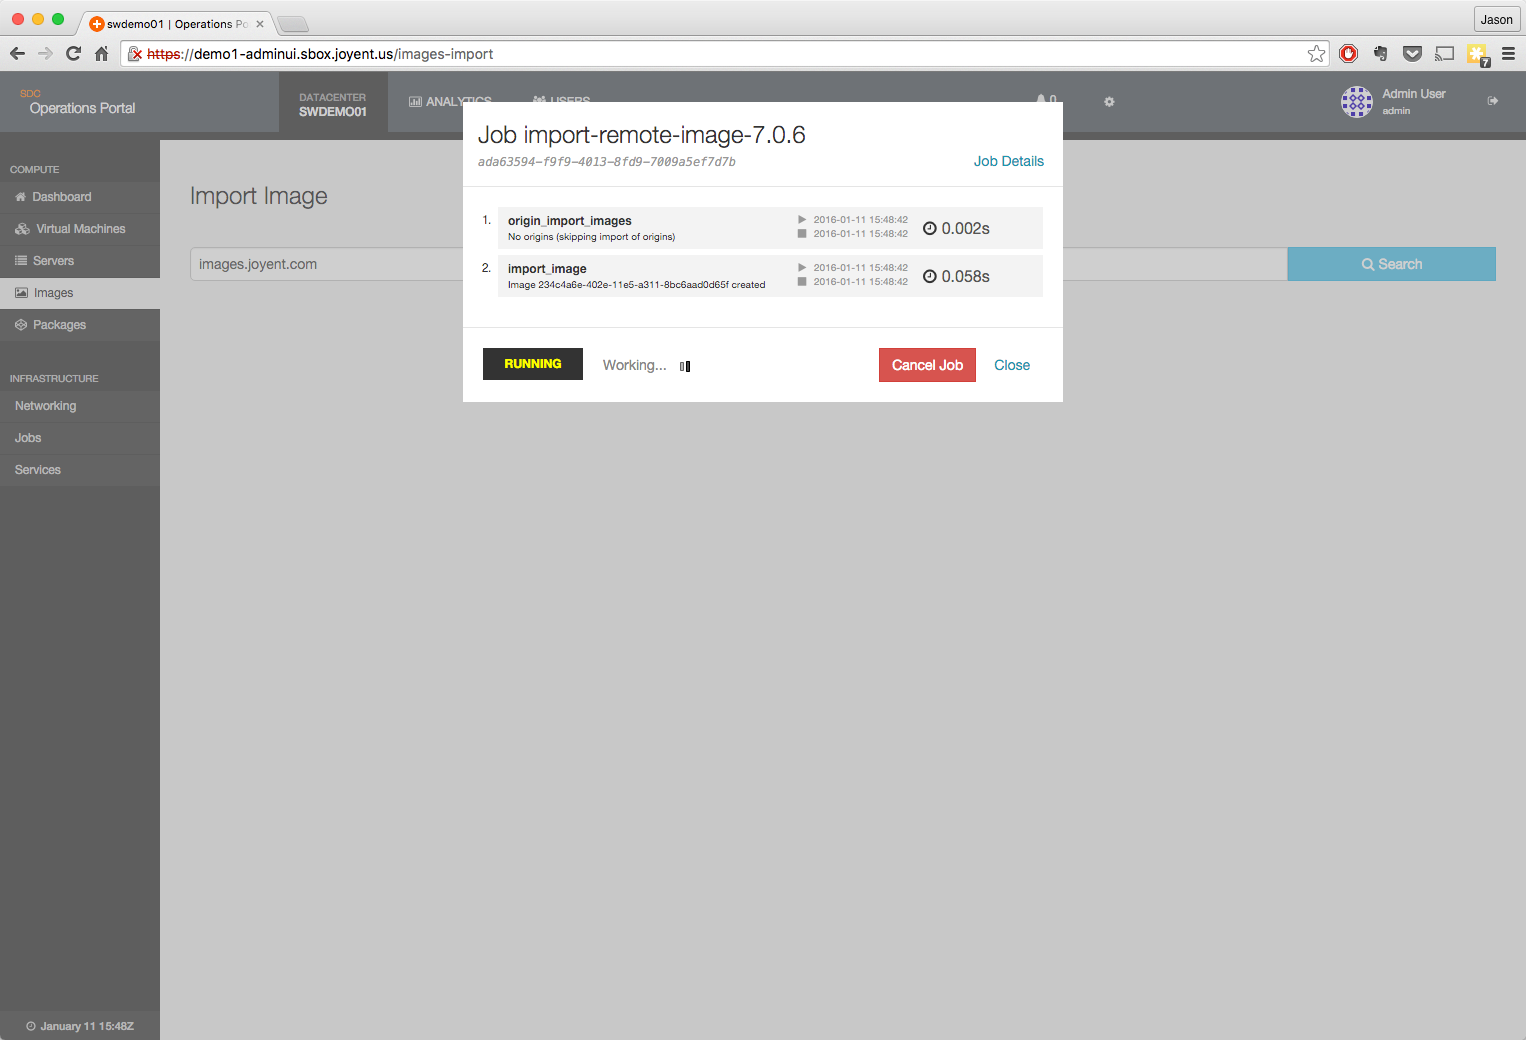
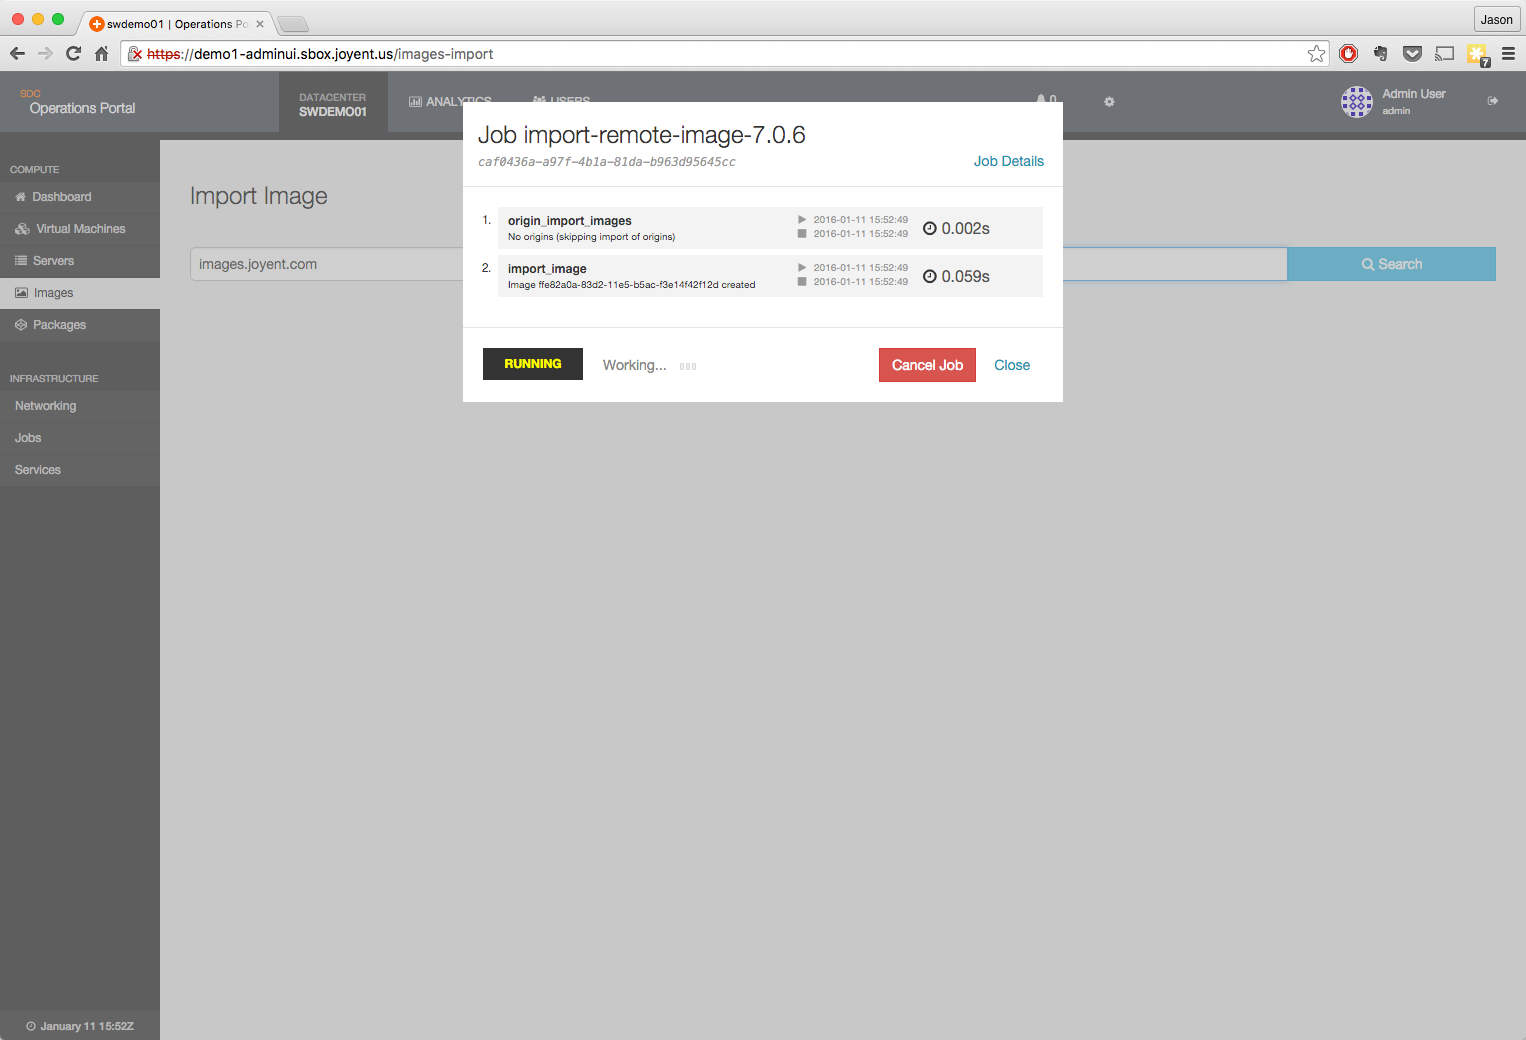
An import image job will be started which will manage the process of downloading the image to your Triton installation.
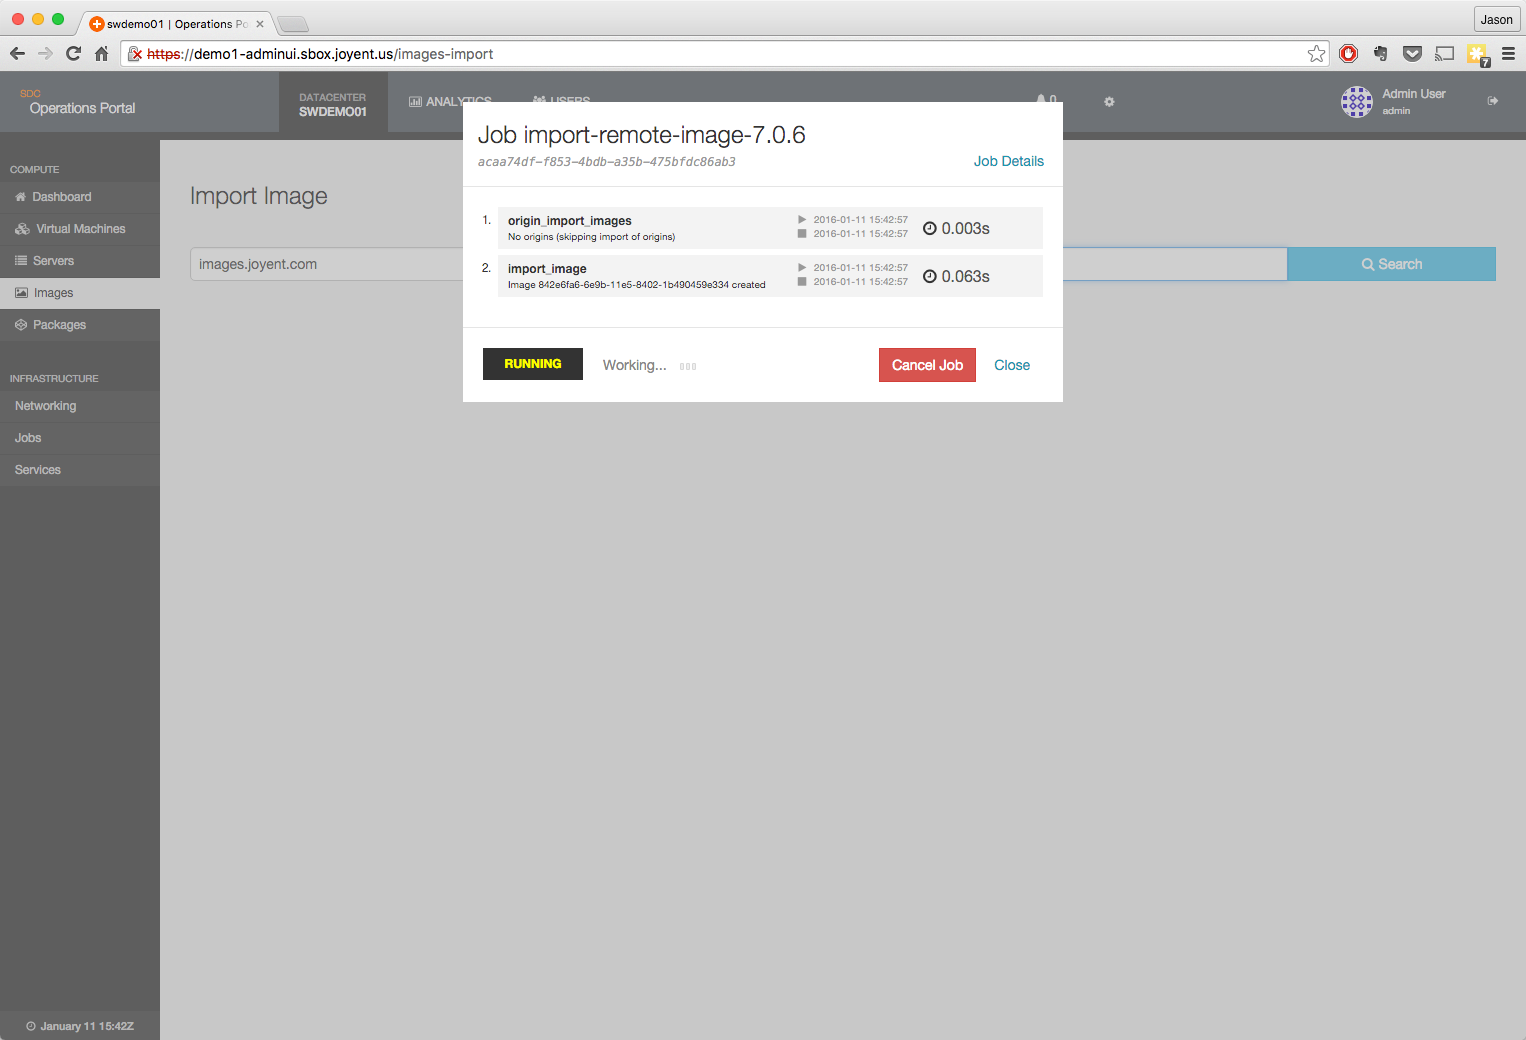
-
Once the job completes, the dialog box will show success and you can close it out.
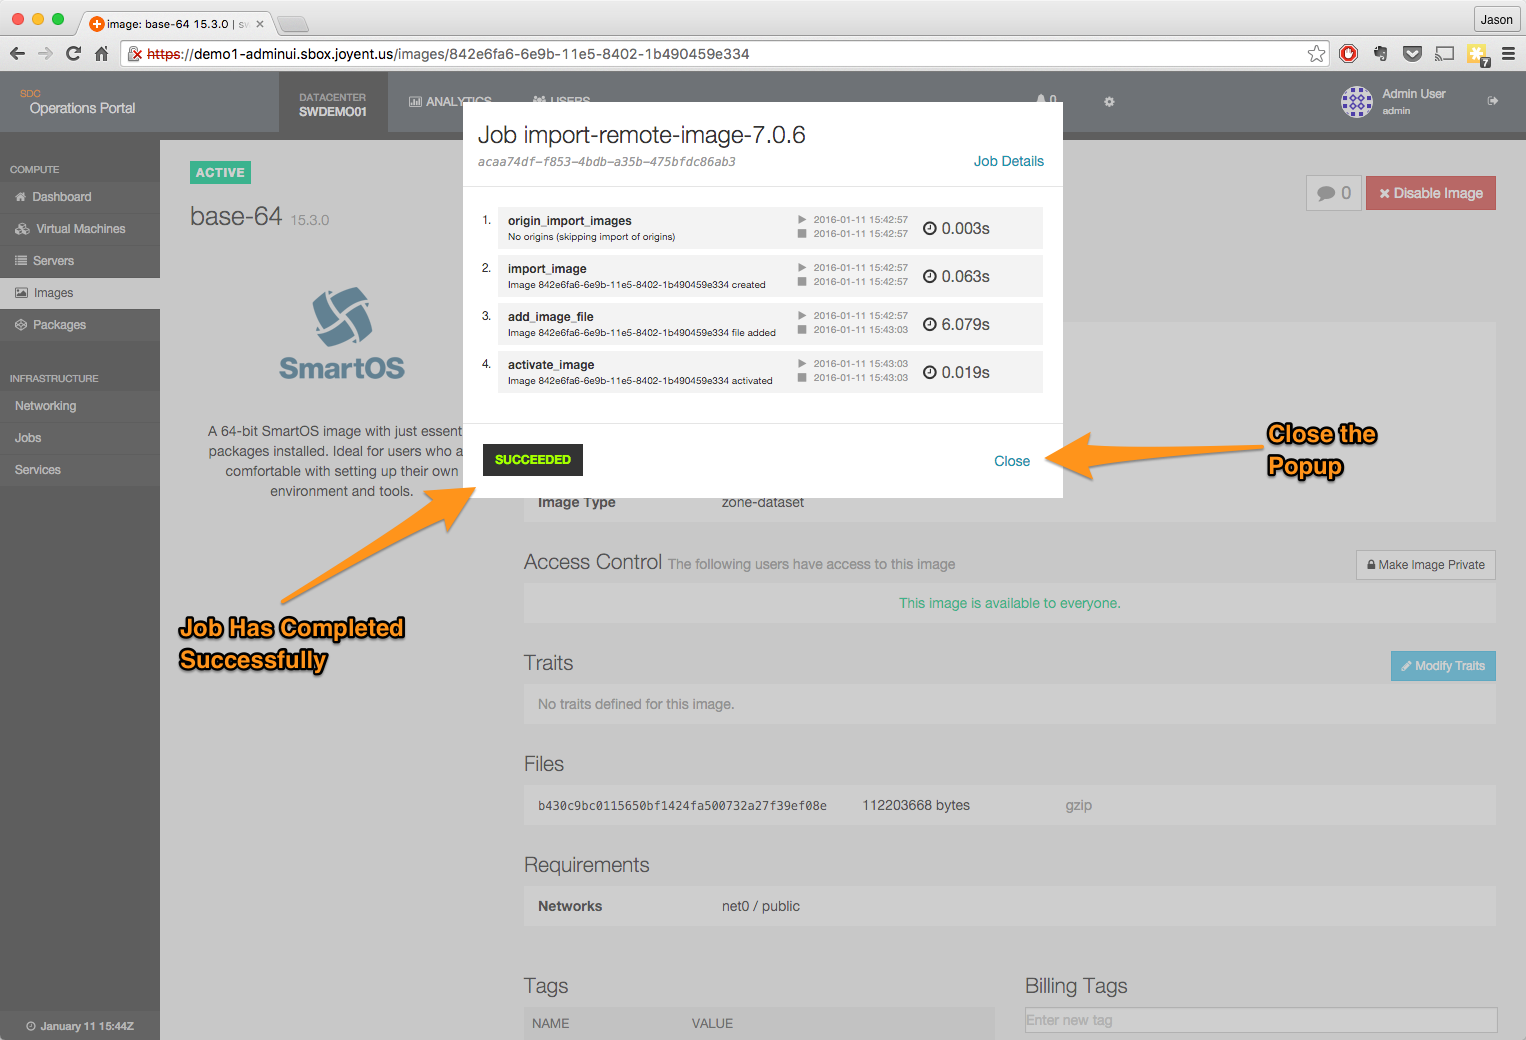
-
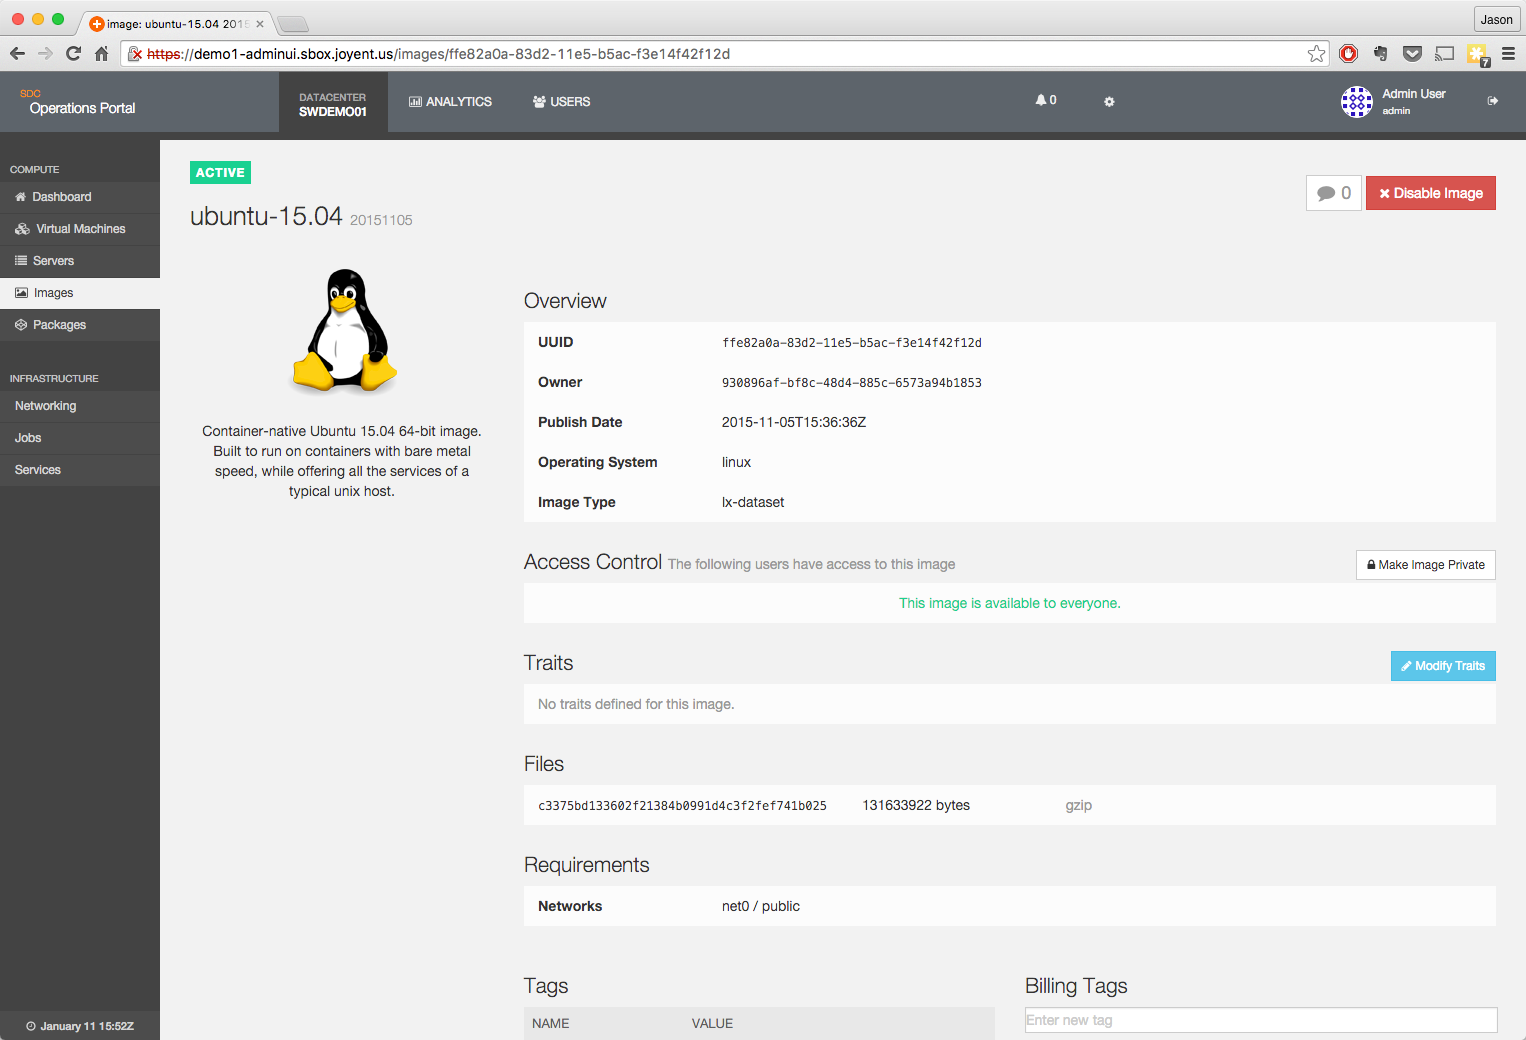
The image is imported and ready for use.
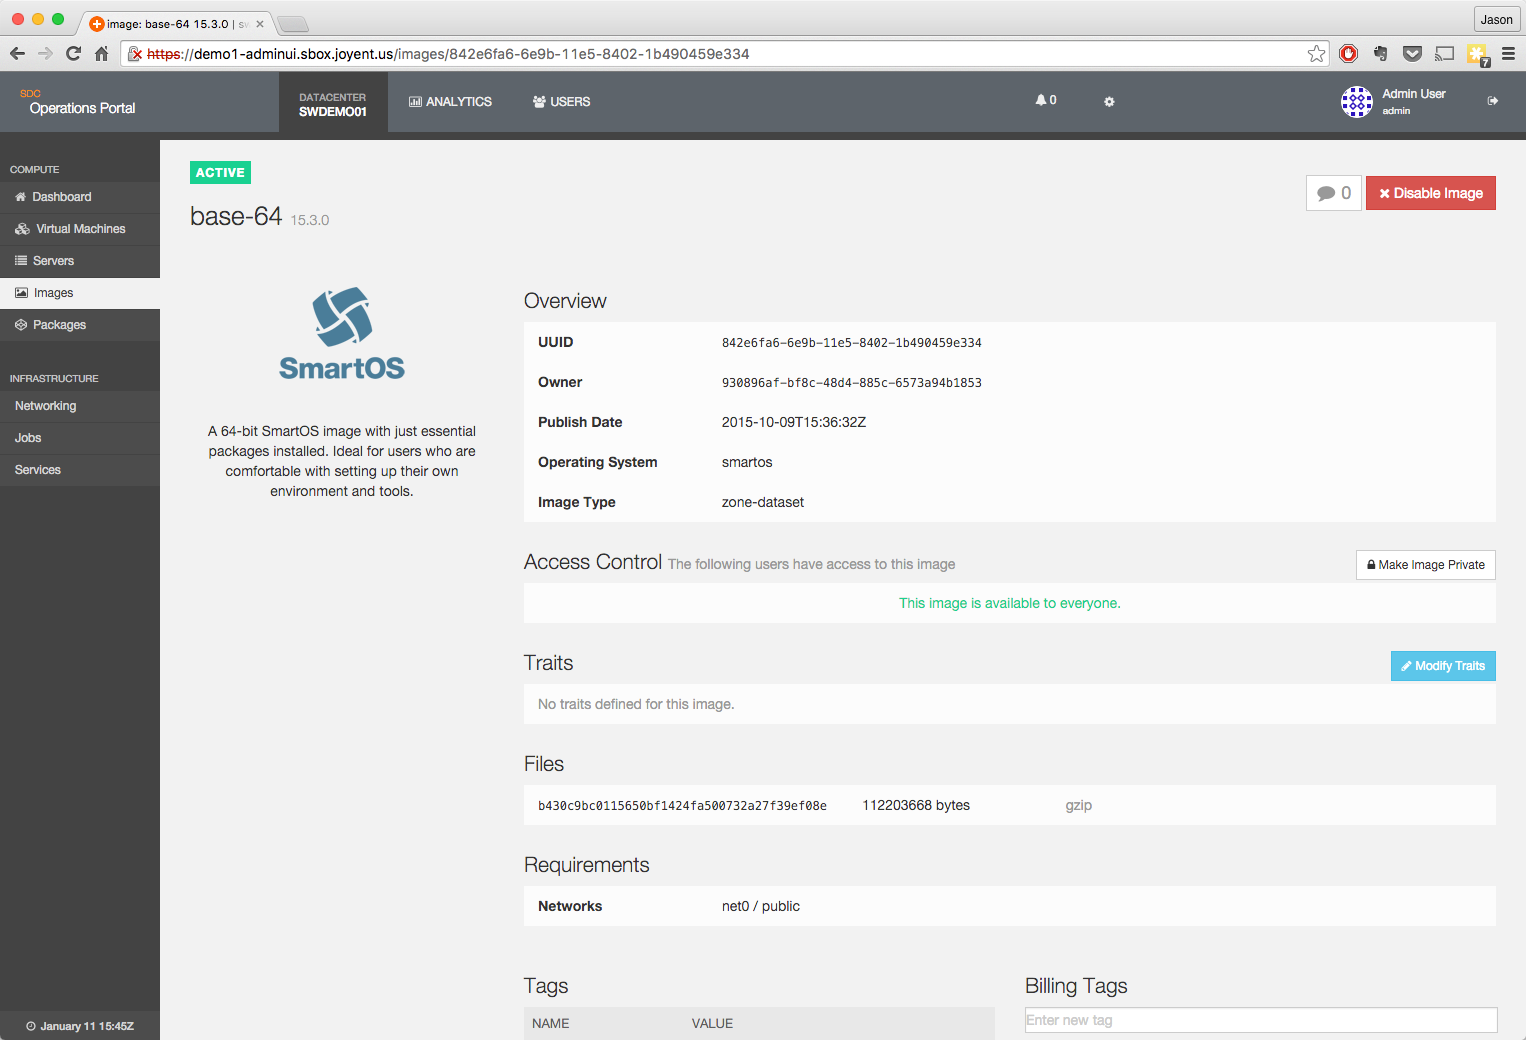
-
-
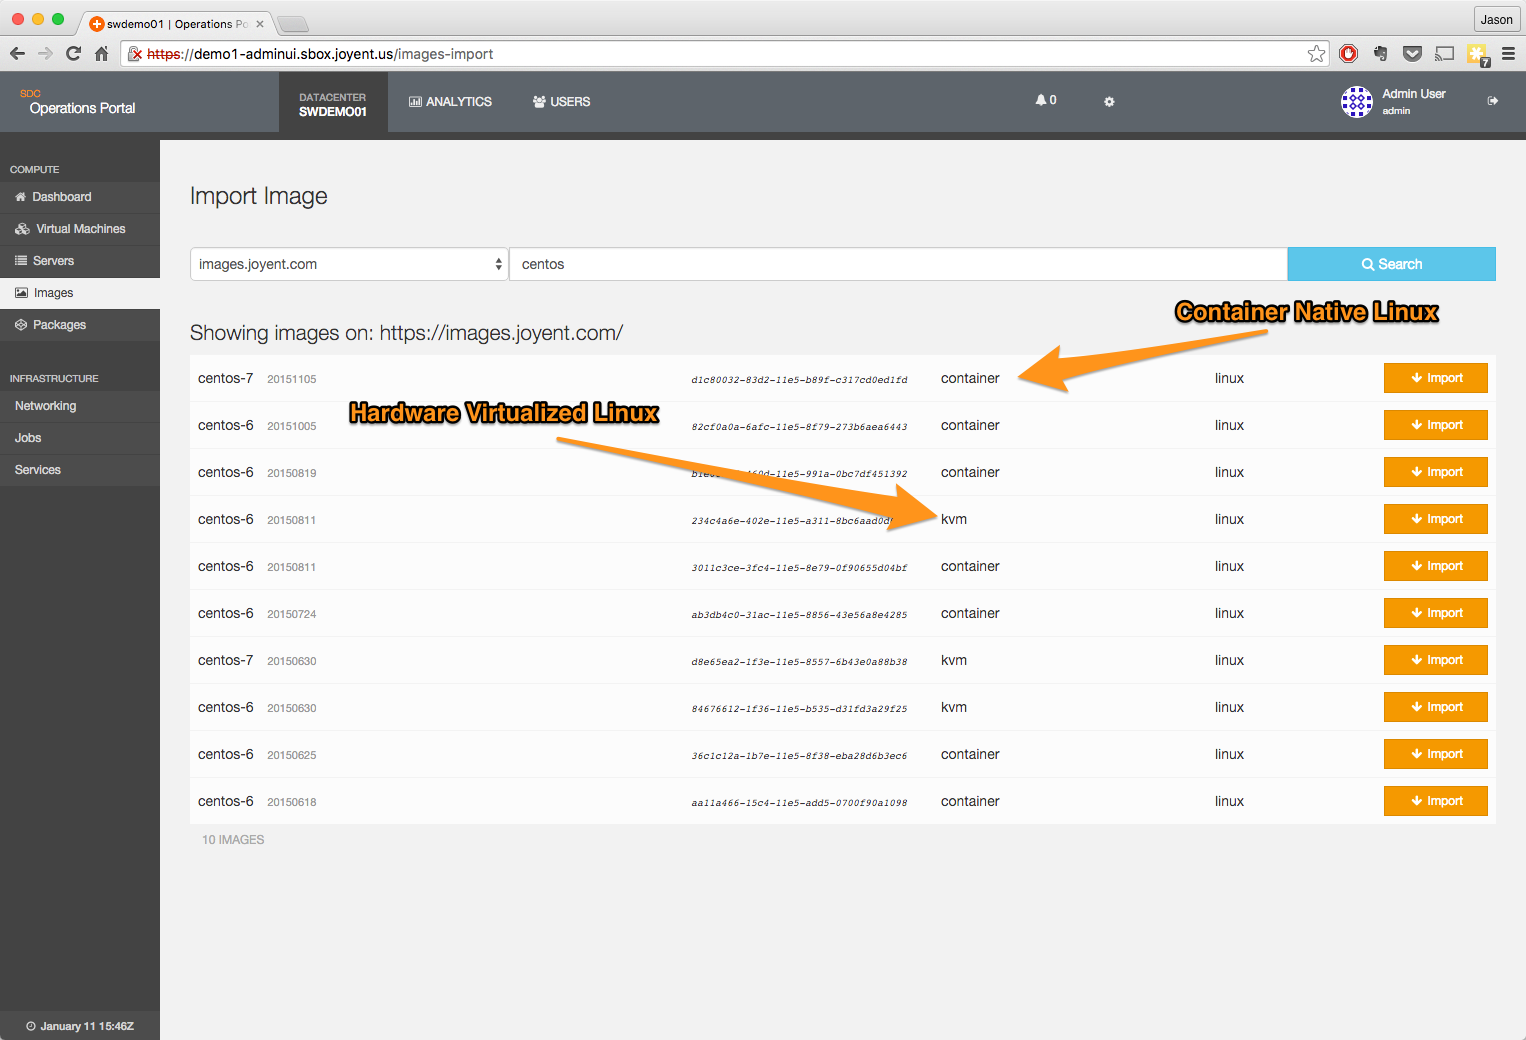
Search for the most recent CentOS HVM image
-
Import the image
-
Search for the most recent container-native-linux ubuntu image.
-
Import the image
Review the details on the Sample-1G package
-
Navigate to the Packages page
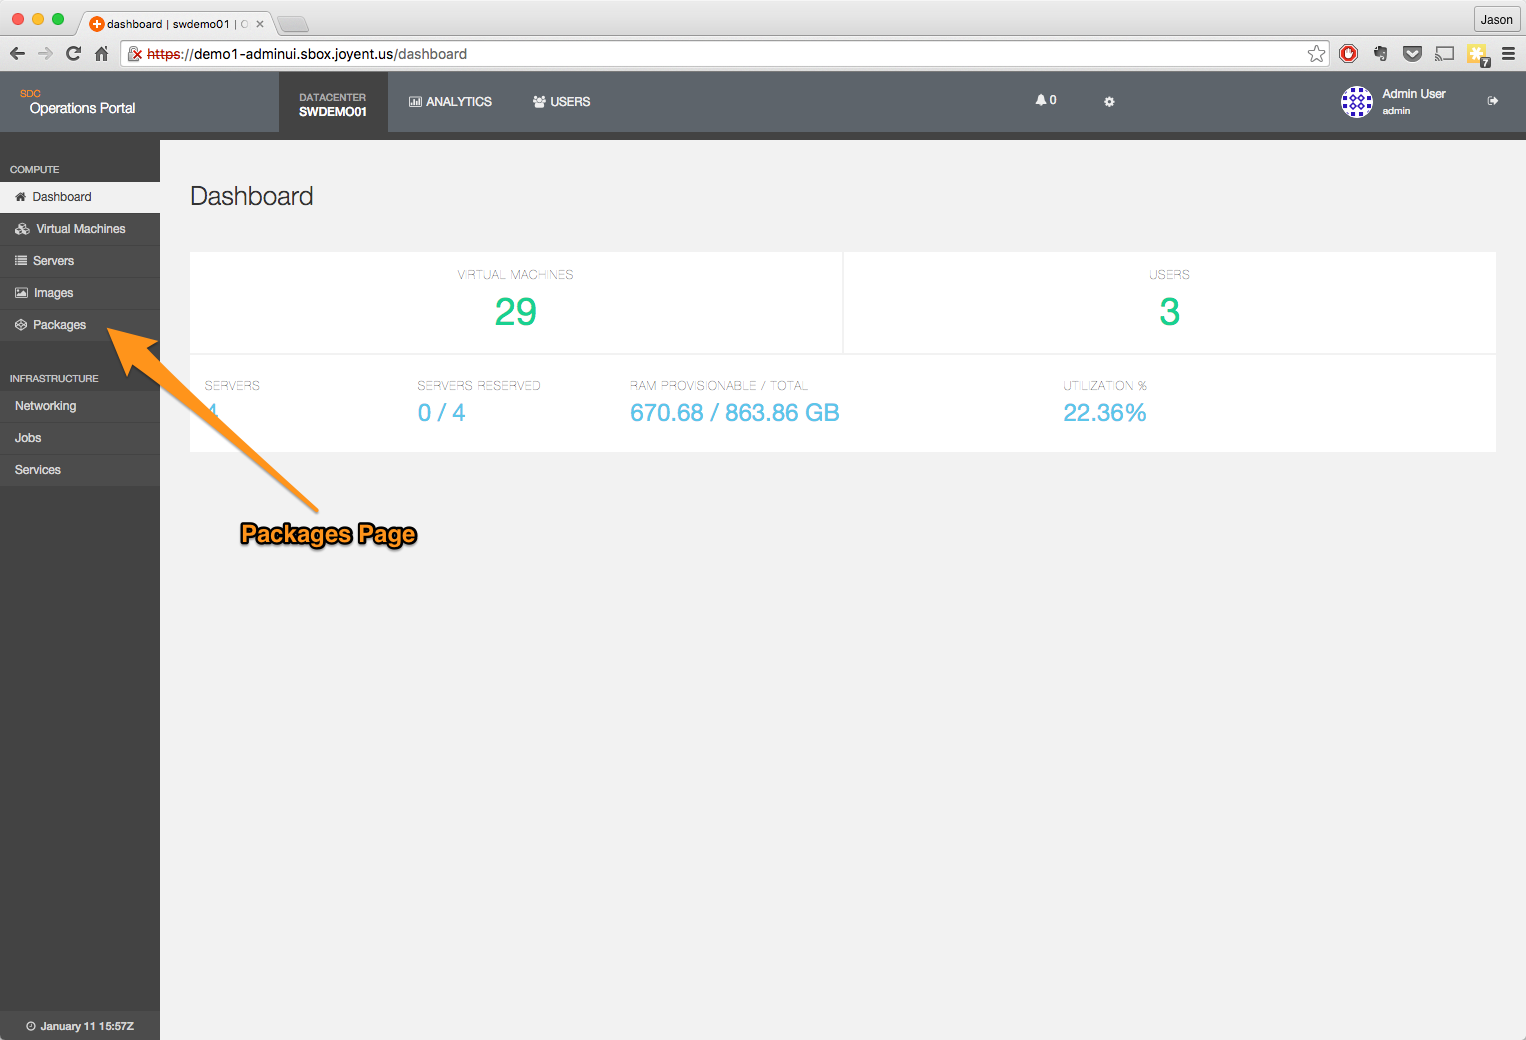
-
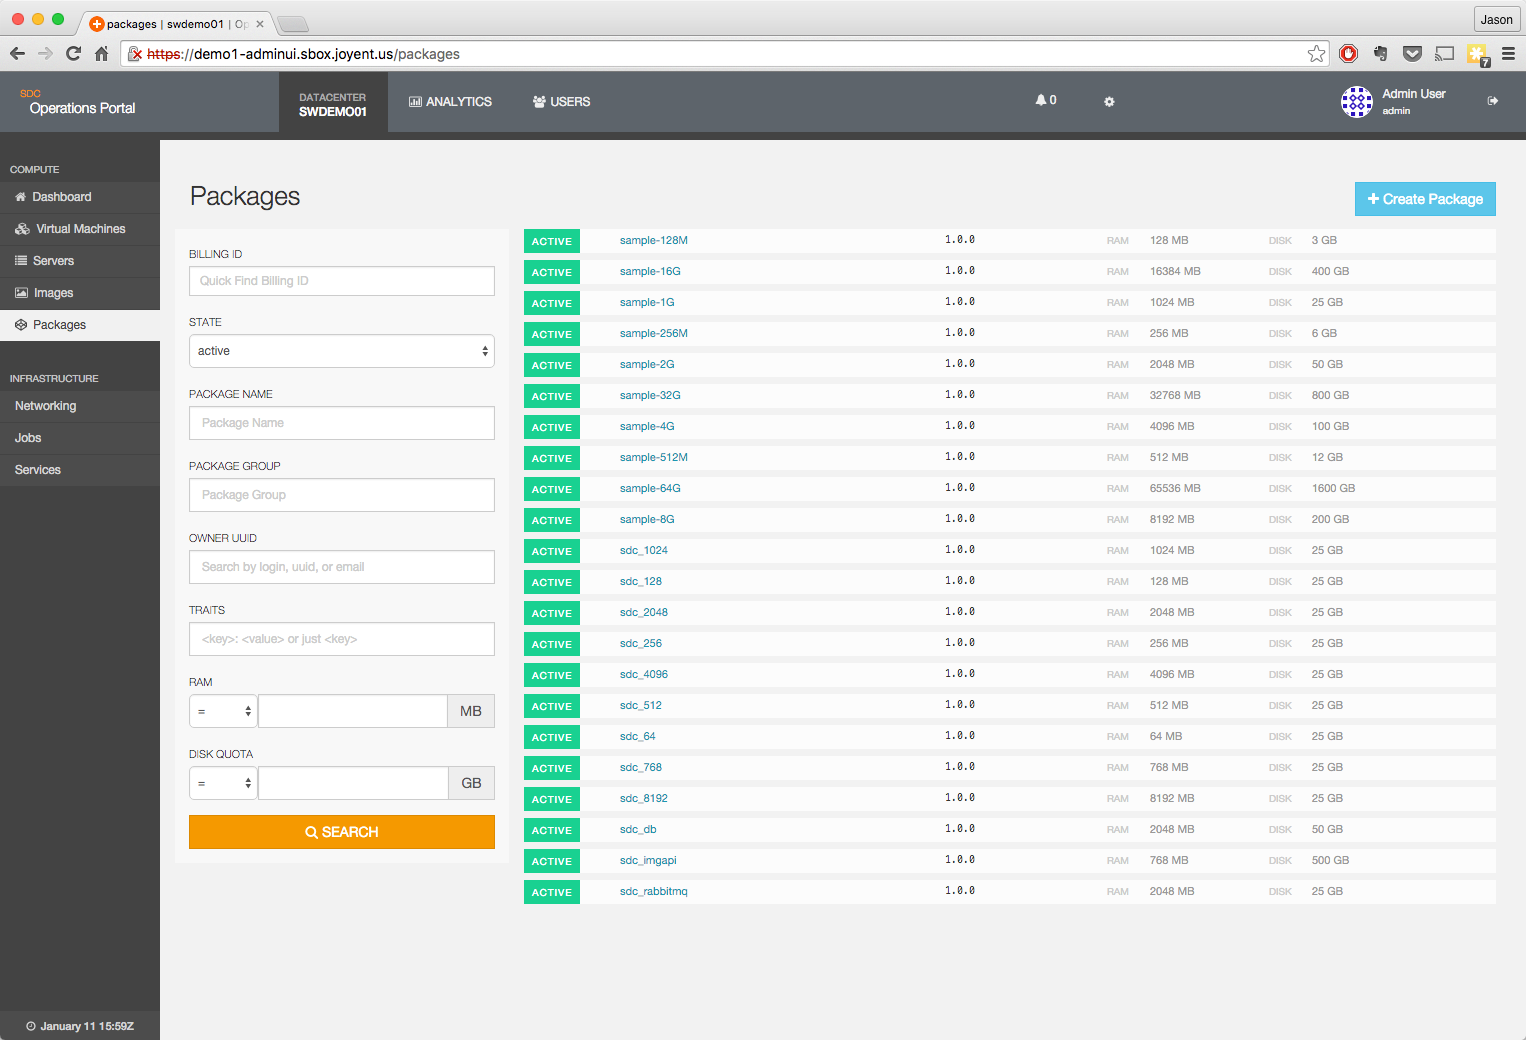
By default, all packages are shown. The filters on the left side can be used to restrict what is shown.
-
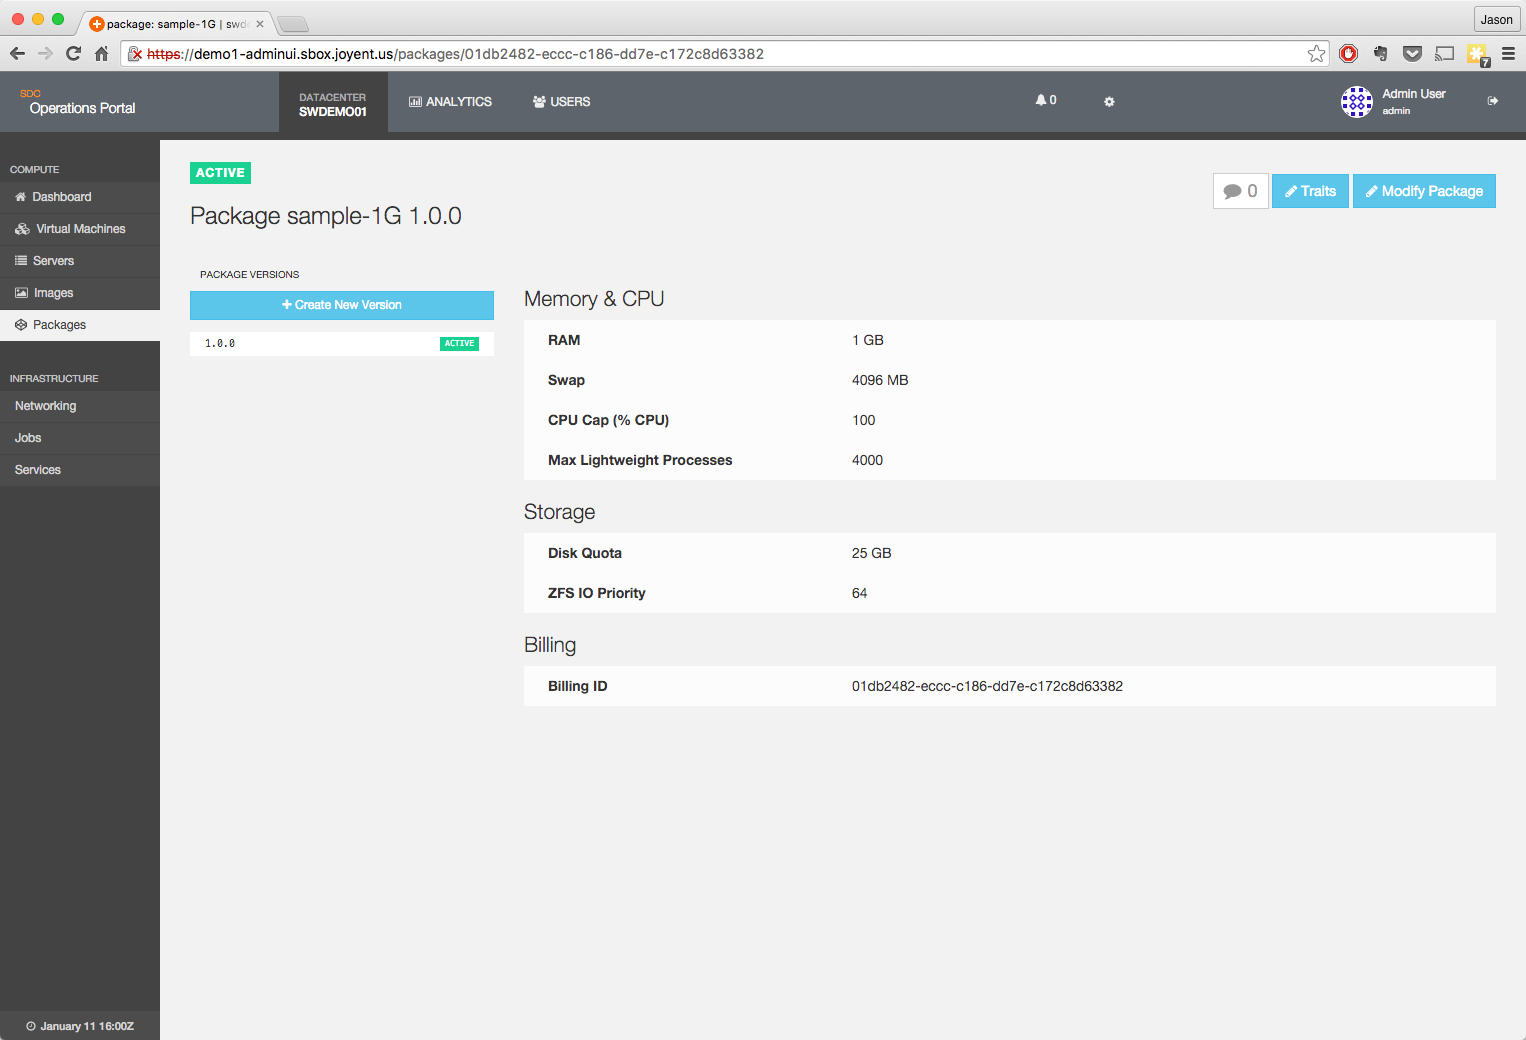
Bring the details of the Sample-1G package up for review.
Test an infrastructure container
These steps will walk you through the process of provisioning, logging into, resizing, and deleting an infrastructure container. The same steps can be used with container native linux if you desire.
Provision an infrastructure container
-
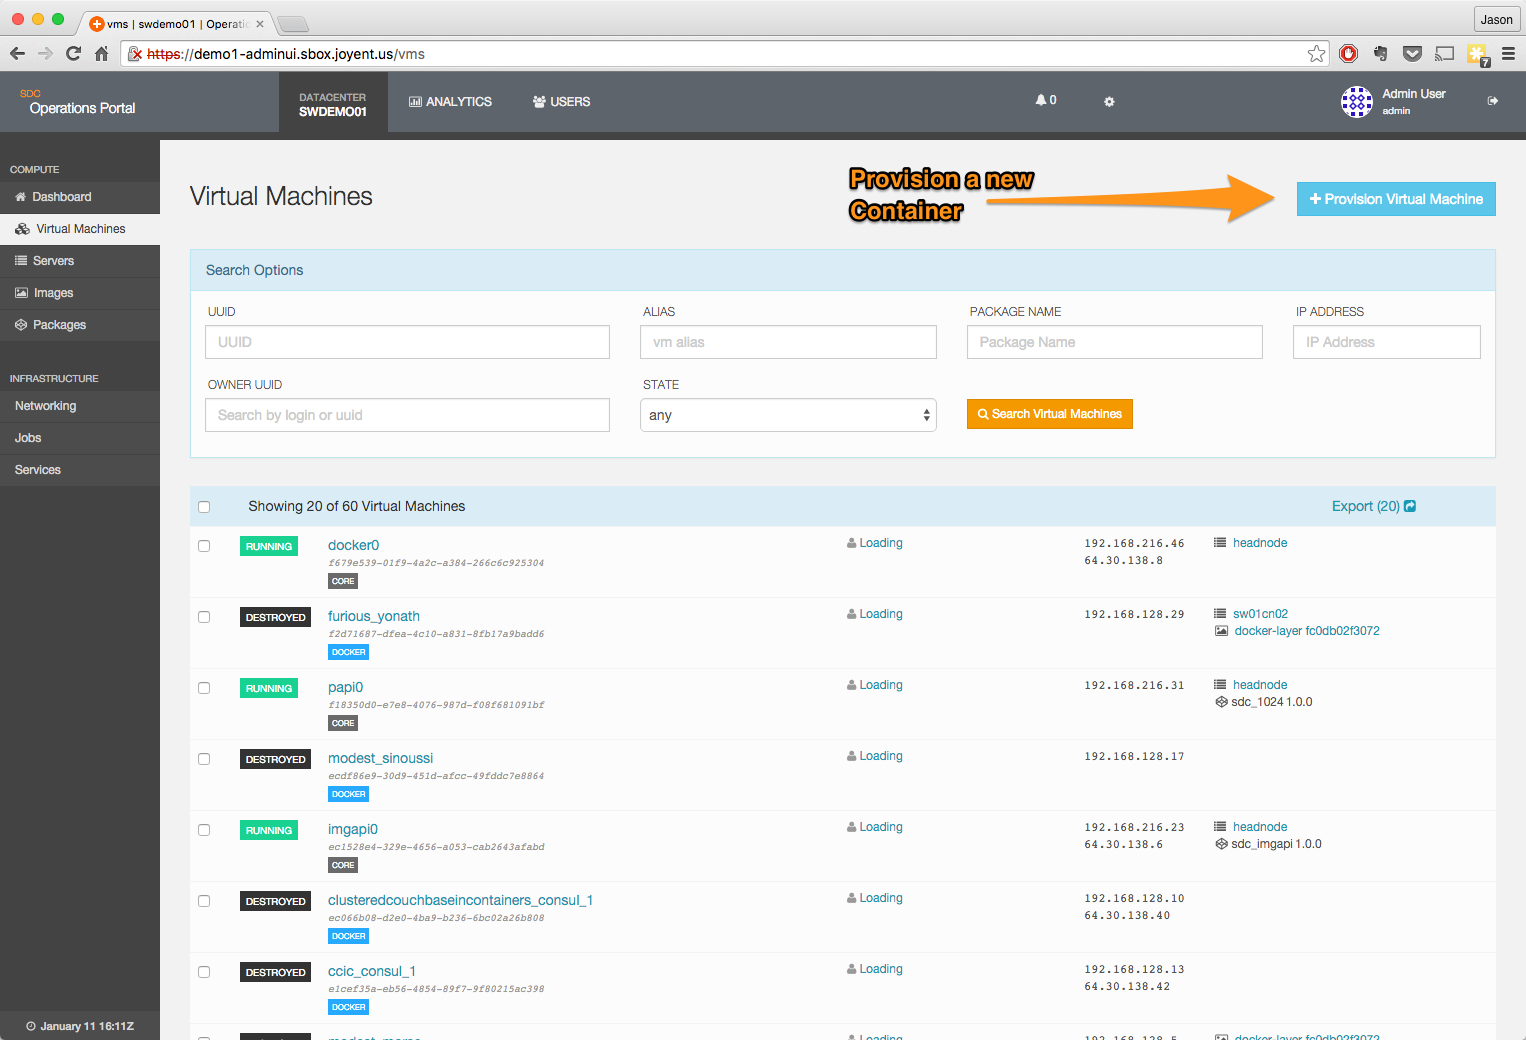
Navigate to the Virtual Machines page in the Operations Portal.

-
Click on the +Provision Virtual Machine button.
-
Add the correct values to the dialog box presented
- Use the
sample-1Gpackage and thebase-64or container-native ubuntu image we downloaded above. - The owner will be the user we created above.
- The container will have a NIC on the External network.
- The container should be named "test01"
- The Server field should be left blank to allow Triton to allocate a server.
-
Note: Some values will be replaced by UUID's after they are entered, such as Image names.

- Use the
-
Click on the Provision Machine button to begin the process; this will start a provision job.

-
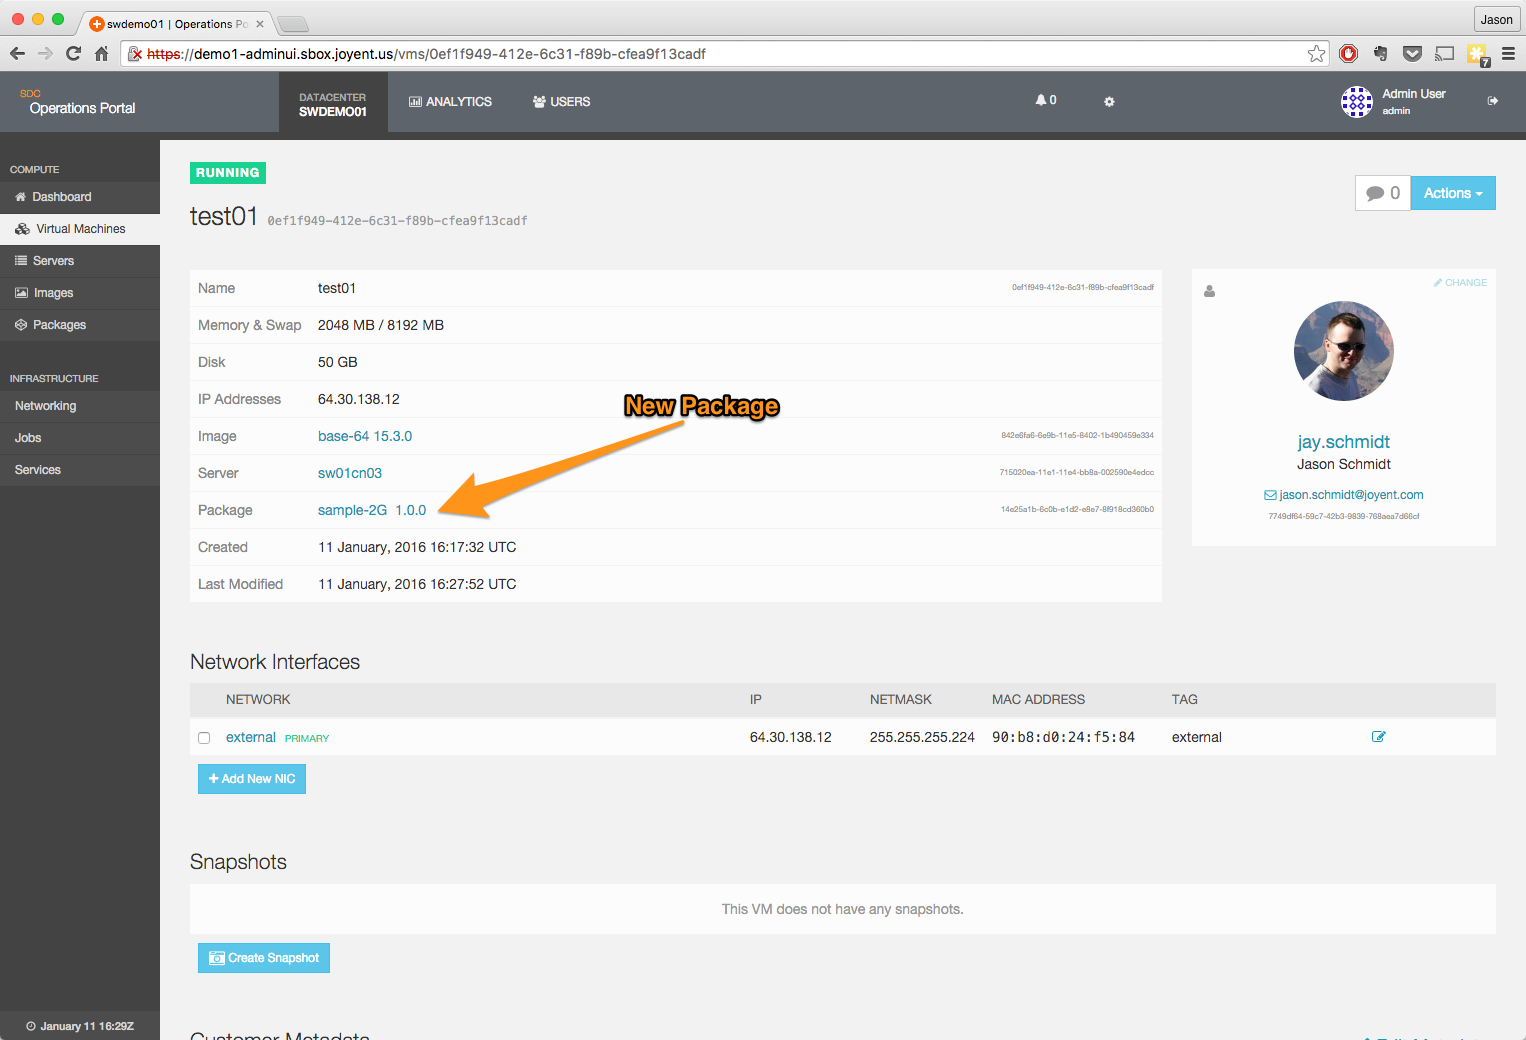
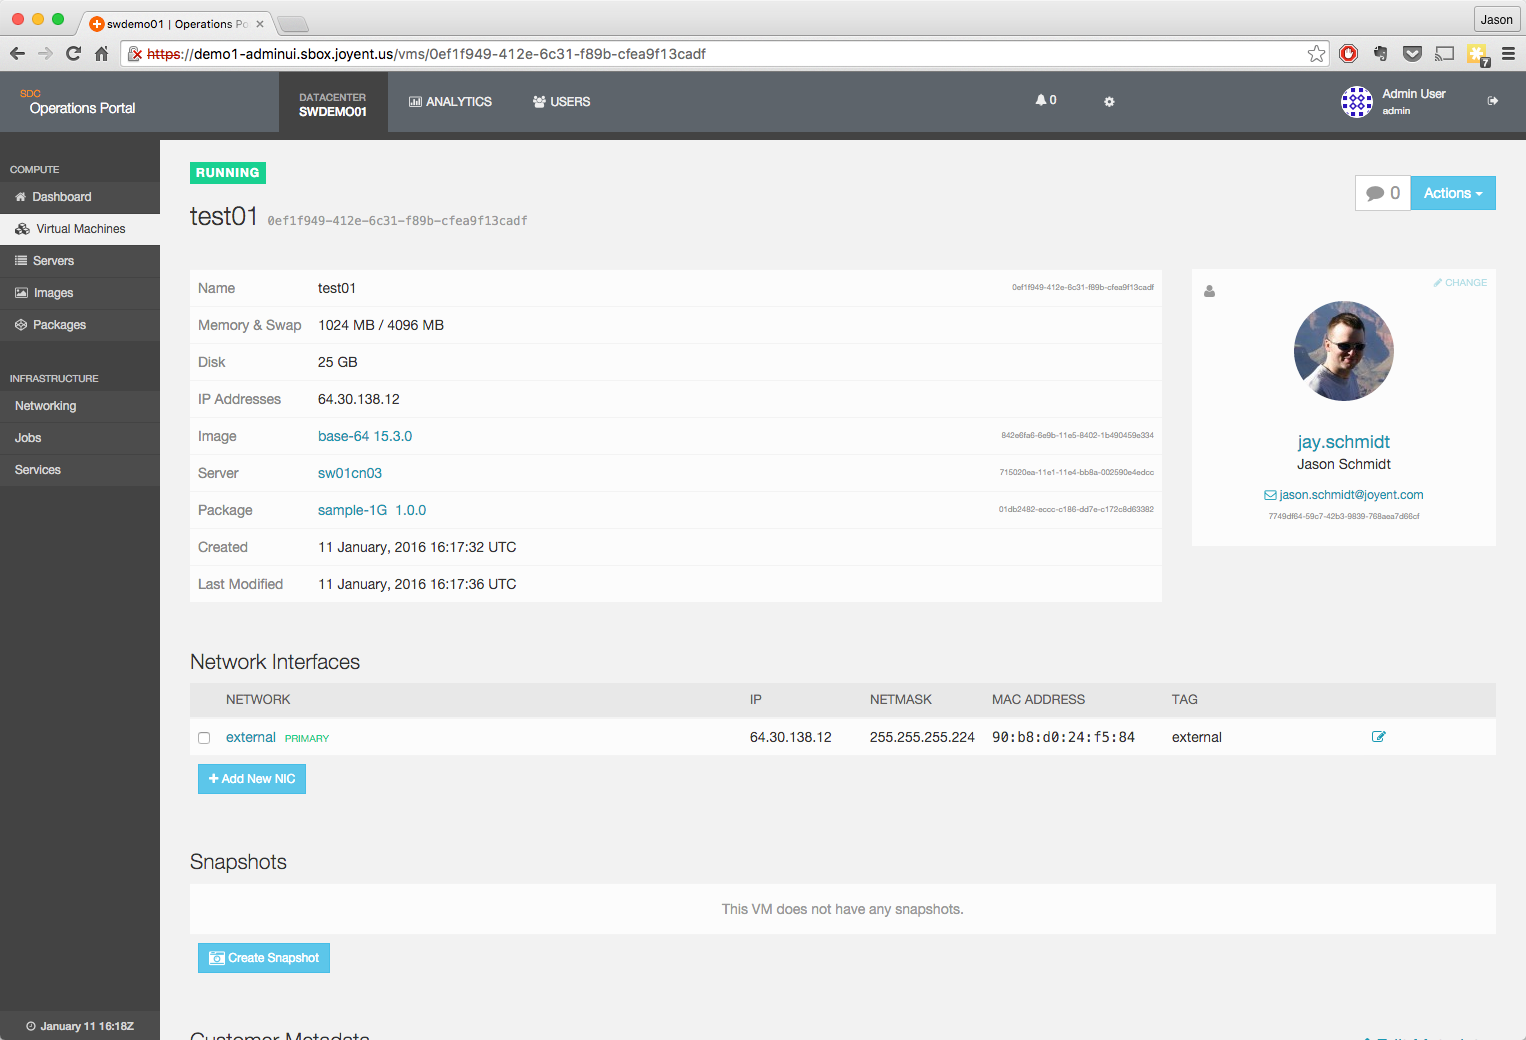
Upon completion, you can clear the job details screen. You will now be able to see the Operations Portal detail on the instance you just created.
Log into an infrastructure container
-
Now you can log into the infrastructure container you just created.
- Use the IP address returned above in the creation step.
- You will log in as the
rootuser. - You will use the private key you created earlier to log in.
$ ssh root@64.30.138.12 The authenticity of host '64.30.138.12 (64.30.138.12)' can't be established. RSA key fingerprint is SHA256:HqJ3VIzWX8o8wHbkRA+h69xgDVPQh8CXjVZVD3Y3AqI. Are you sure you want to continue connecting (yes/no)? yes Warning: Permanently added '64.30.138.12' (RSA) to the list of known hosts. __ . . _| |_ | .-. . . .-. :--. |- |_ _| ;| || |(.-' | | | |__| `--' `-' `;-| `-' ' ' `-' / ; Instance (base-64 15.3.0) `-' https://docs.tritondatacenter.com/images/smartos/base [root@0ef1f949-412e-6c31-f89b-cfea9f13cadf ~]# uptime 16:21pm up 0:03, 1 user, load average: 0.00, 0.02, 0.00 -
Note the current size of the container shown via the
sm-summarycommand (for SmartOS based containers) orfree(for Container Native Linux).[root@0ef1f949-412e-6c31-f89b-cfea9f13cadf ~]# sm-summary * Gathering VM instance summary.. VM uuid 0ef1f949-412e-6c31-f89b-cfea9f13cadf VM id 16 Hostname 0ef1f949-412e-6c31-f89b-cfea9f13cadf SmartOS build joyent_20151126T062538Z Image base-64 15.3.0 Base Image NA Documentation https://docs.tritondatacenter.com/images/smartos/base Pkgsrc /opt/local/etc/gnupg/pkgsrc.gpg /opt/local/share/gnupg/pkgsrc-security.gpg https://us-central.manta.mnx.io/pkgsrc/public/packages/SmartOS/2015Q3/x86_64/All always Processes 21 Memory (RSS) Cap 1024M Memory (RSS) Used 35M Memory (RSS) Free 989M Memory (Swap) Cap 4096M Memory (Swap) Used 30M Memory (/tmp) Used 0M Memory (Swap) Free 4066M Memory NOver Cap 0 Memory Total Pgout 0M Disk Quota 26G % Disk Used 2%
Resize an infrastructure container
-
It is possible to resize infrastructure containers from both the Operations Portal and the command line.
- This example uses the Operations Portal.
-
Navigate to the page describing your infrastructure container in the Operations Portal

-
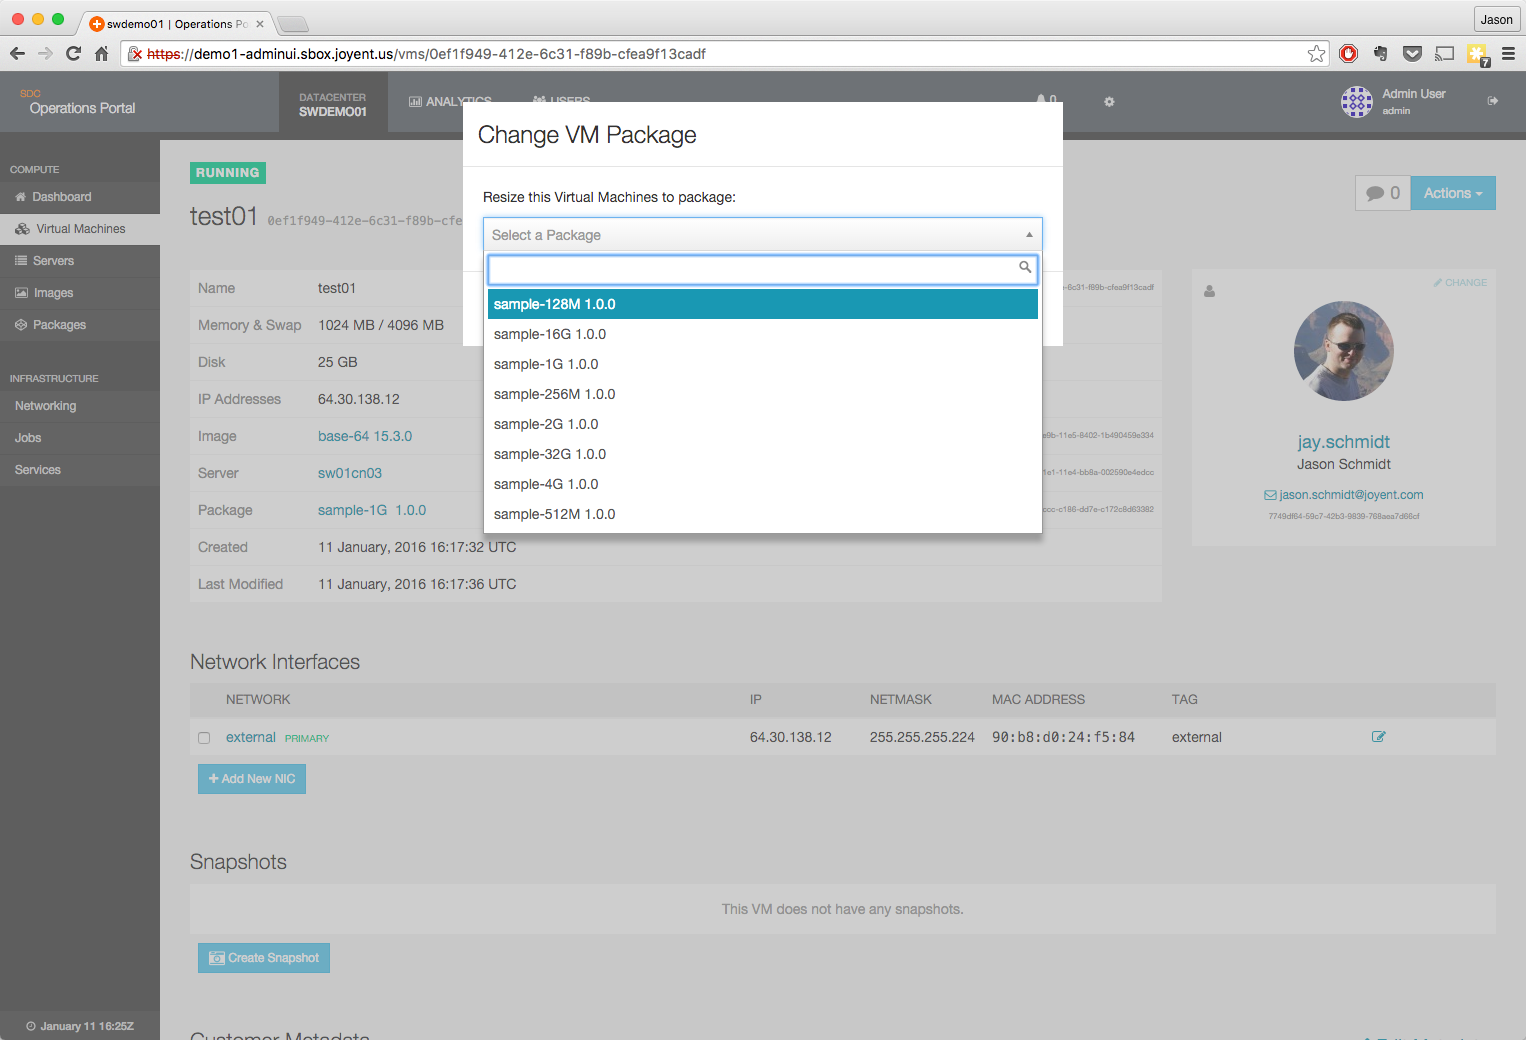
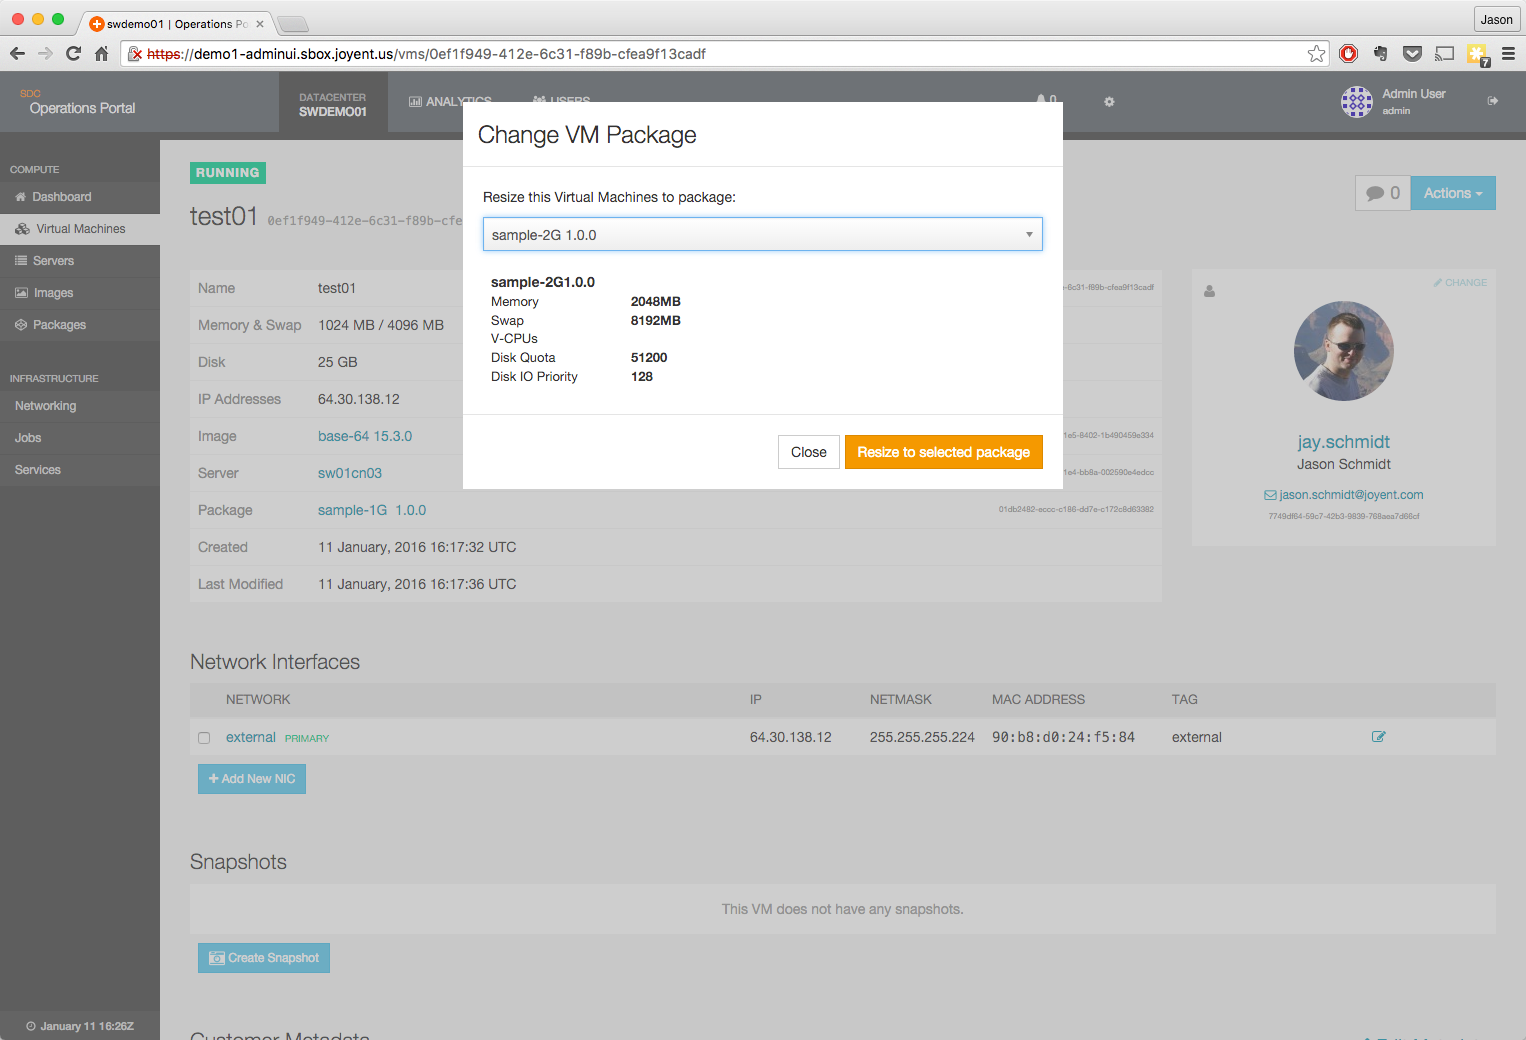
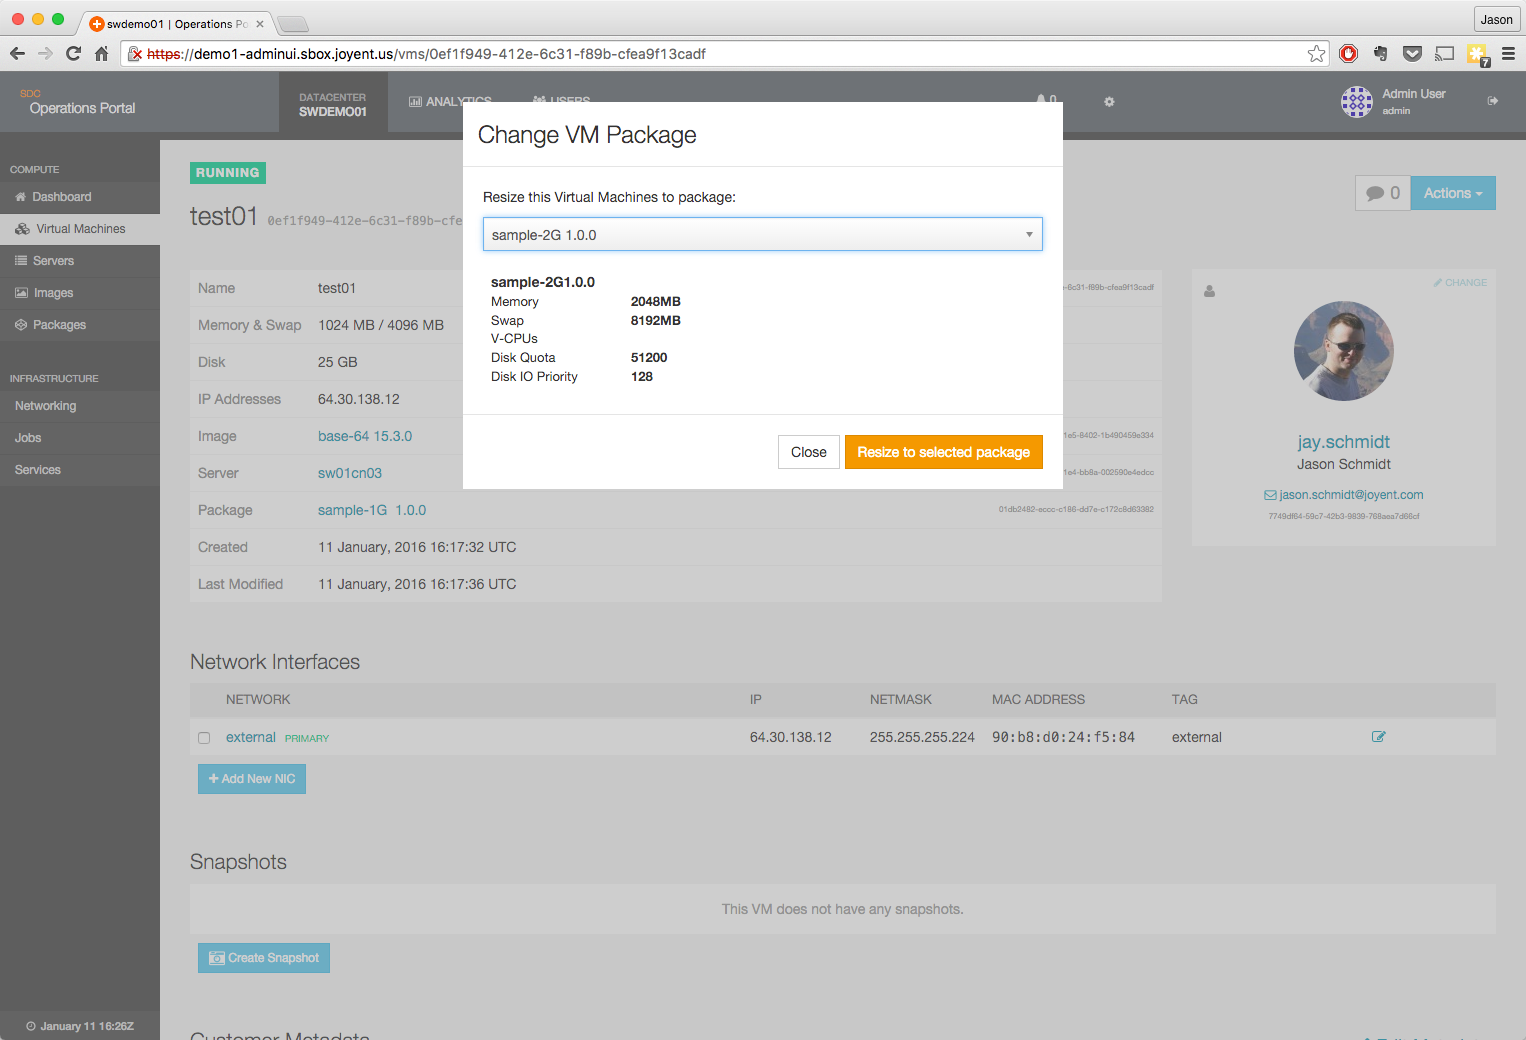
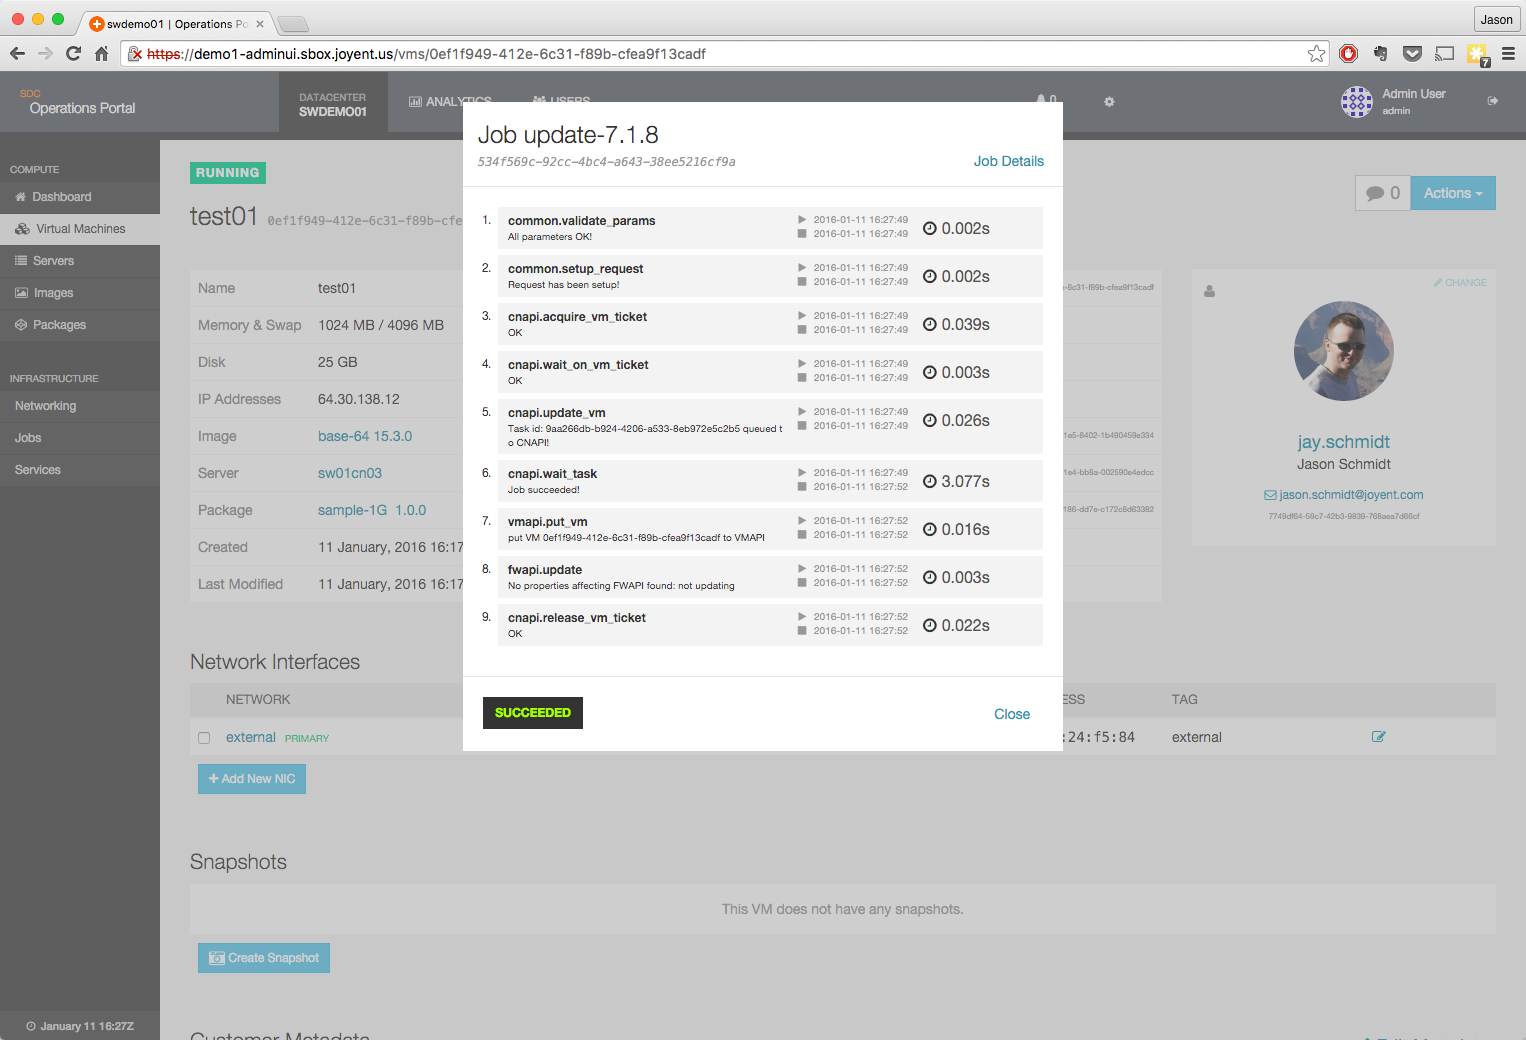
Resize to the
Sample-2Gpackage. -
Verify changes
-
Note the new size of the container shown via the
sm-summarycommand (for SmartOS based containers) orfree(for Container Native Linux).[root@0ef1f949-412e-6c31-f89b-cfea9f13cadf ~]# sm-summary * Gathering VM instance summary.. VM uuid 0ef1f949-412e-6c31-f89b-cfea9f13cadf VM id 16 Hostname 0ef1f949-412e-6c31-f89b-cfea9f13cadf SmartOS build joyent_20151126T062538Z Image base-64 15.3.0 Base Image NA Documentation https://docs.tritondatacenter.com/images/smartos/base Pkgsrc /opt/local/etc/gnupg/pkgsrc.gpg /opt/local/share/gnupg/pkgsrc-security.gpg https://us-central.manta.mnx.io/pkgsrc/public/packages/SmartOS/2015Q3/x86_64/All always Processes 21 Memory (RSS) Cap 2048M Memory (RSS) Used 43M Memory (RSS) Free 2005M Memory (Swap) Cap 8192M Memory (Swap) Used 30M Memory (/tmp) Used 0M Memory (Swap) Free 8162M Memory NOver Cap 0 Memory Total Pgout 0M Disk Quota 51G % Disk Used 1%
Destroy an infrastructure container
-
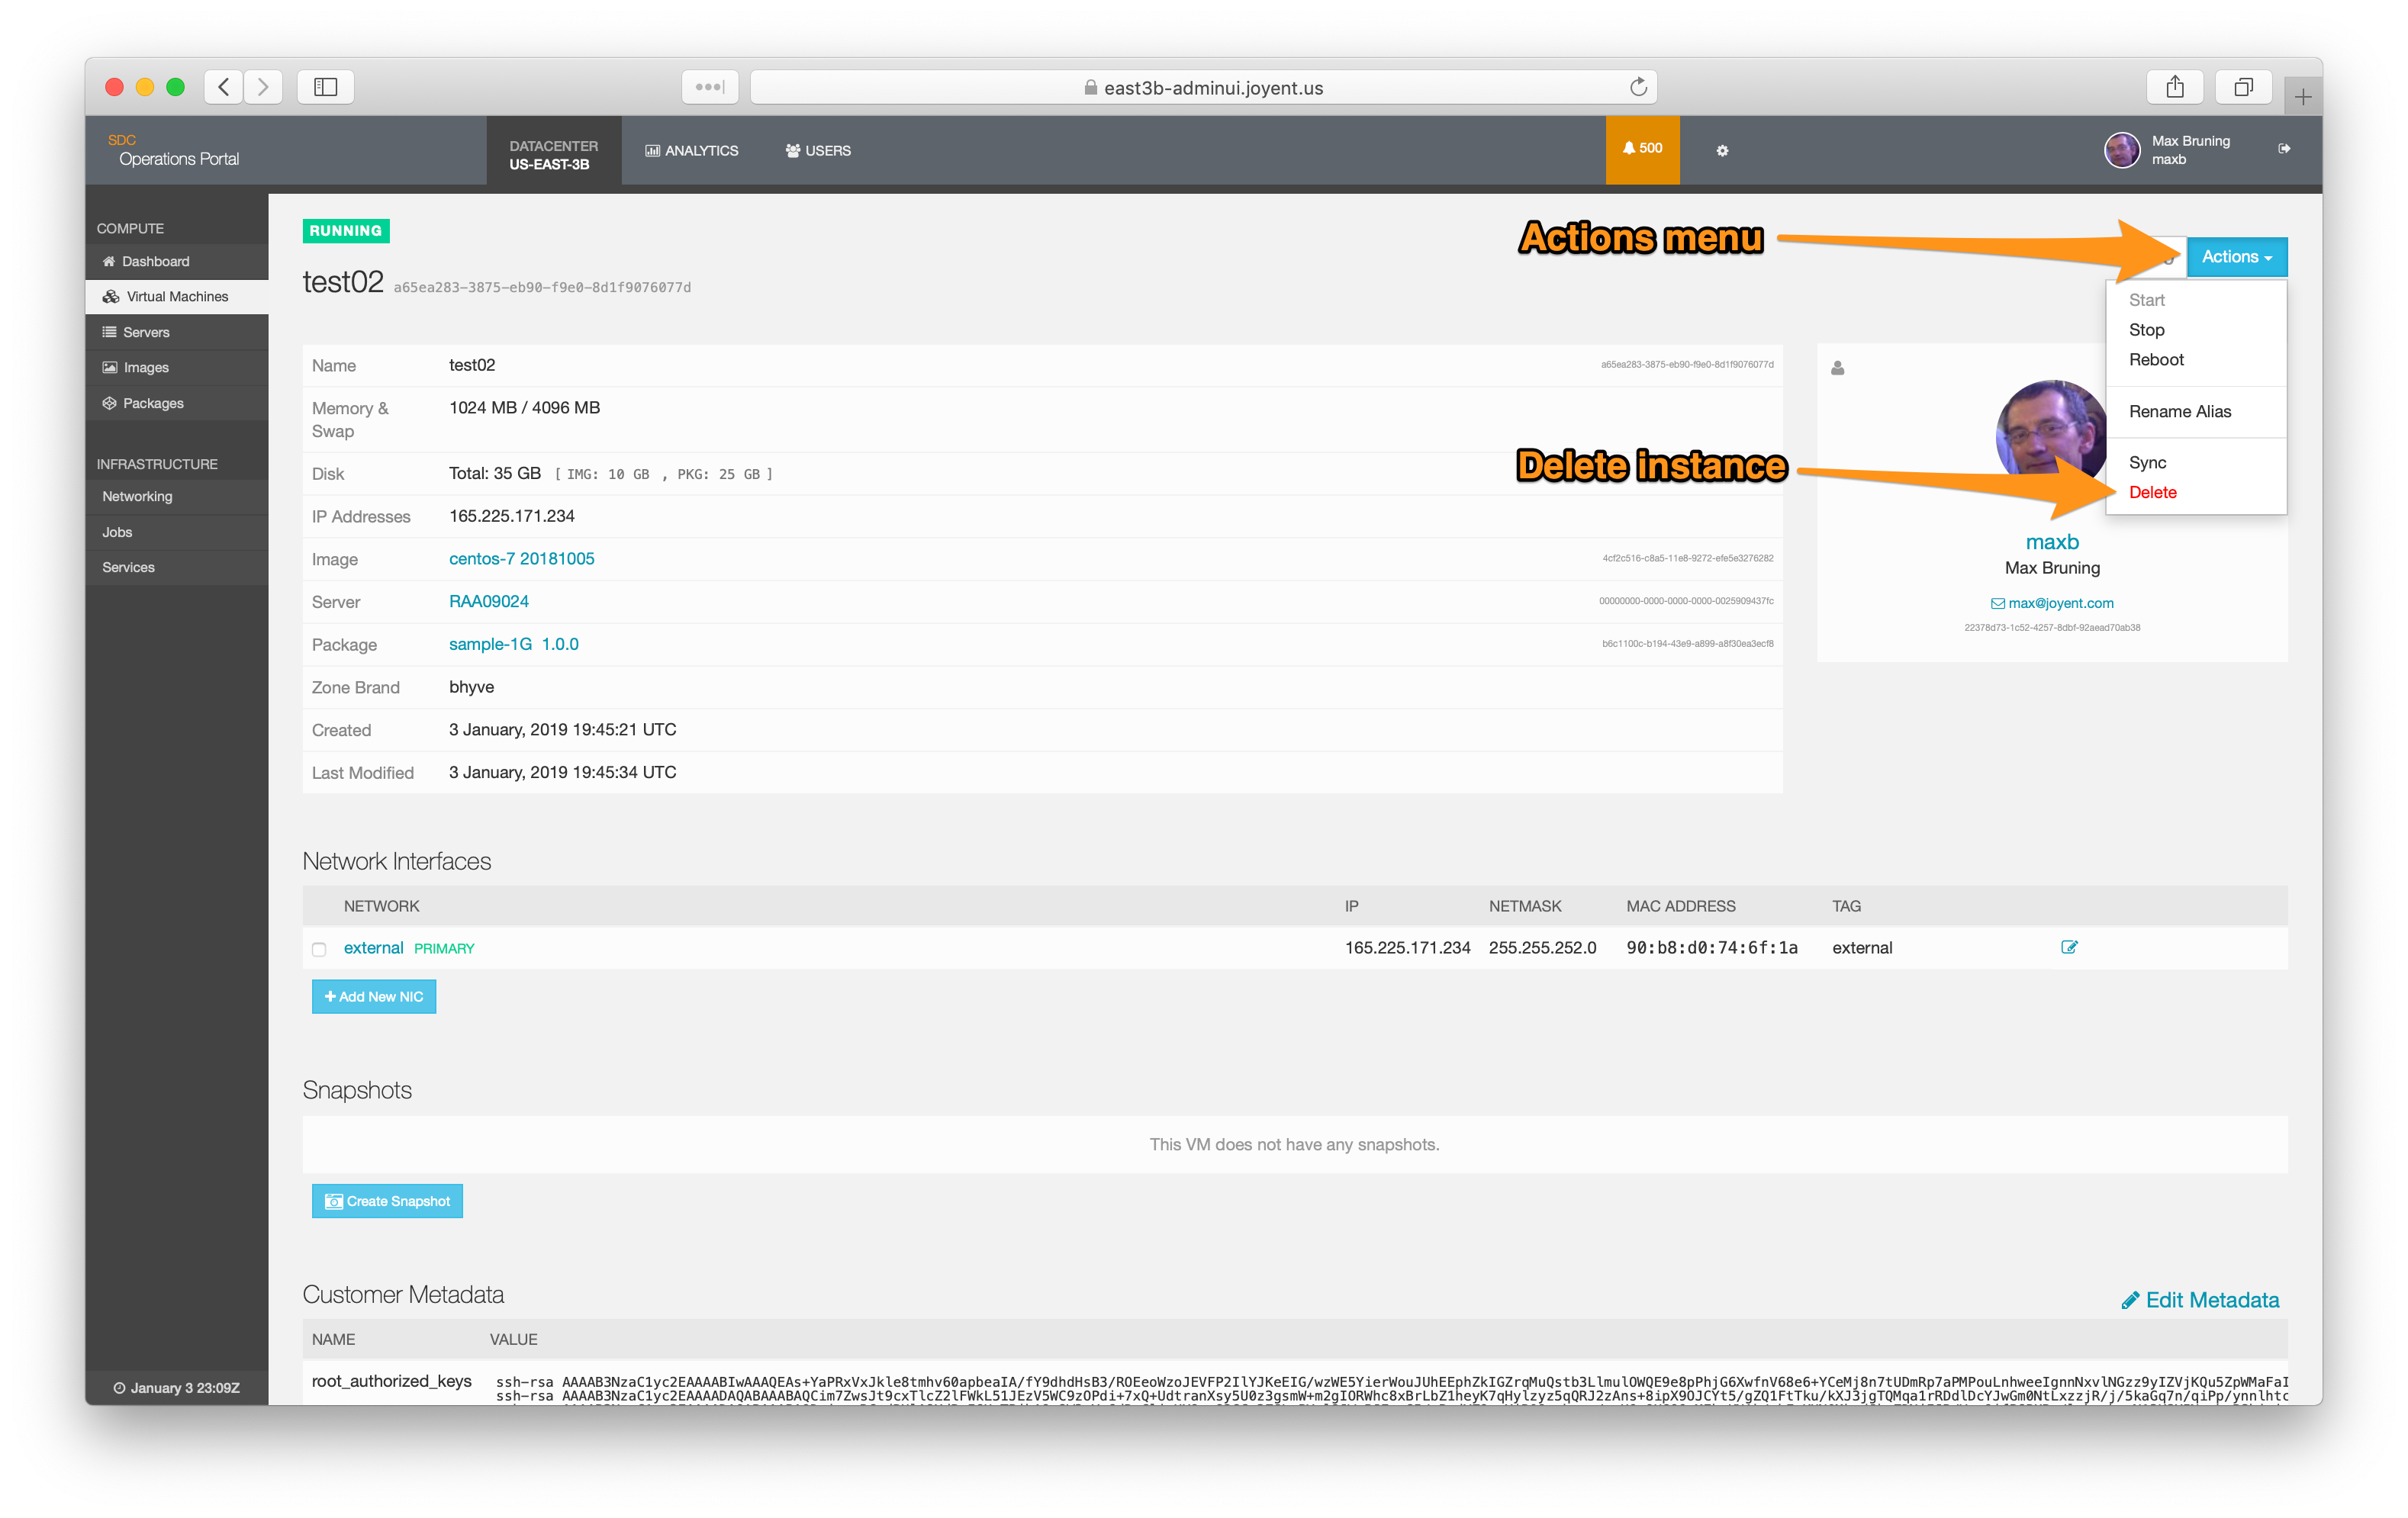
To destroy an infrastructure container, simply click on the "delete" option in the interface

-
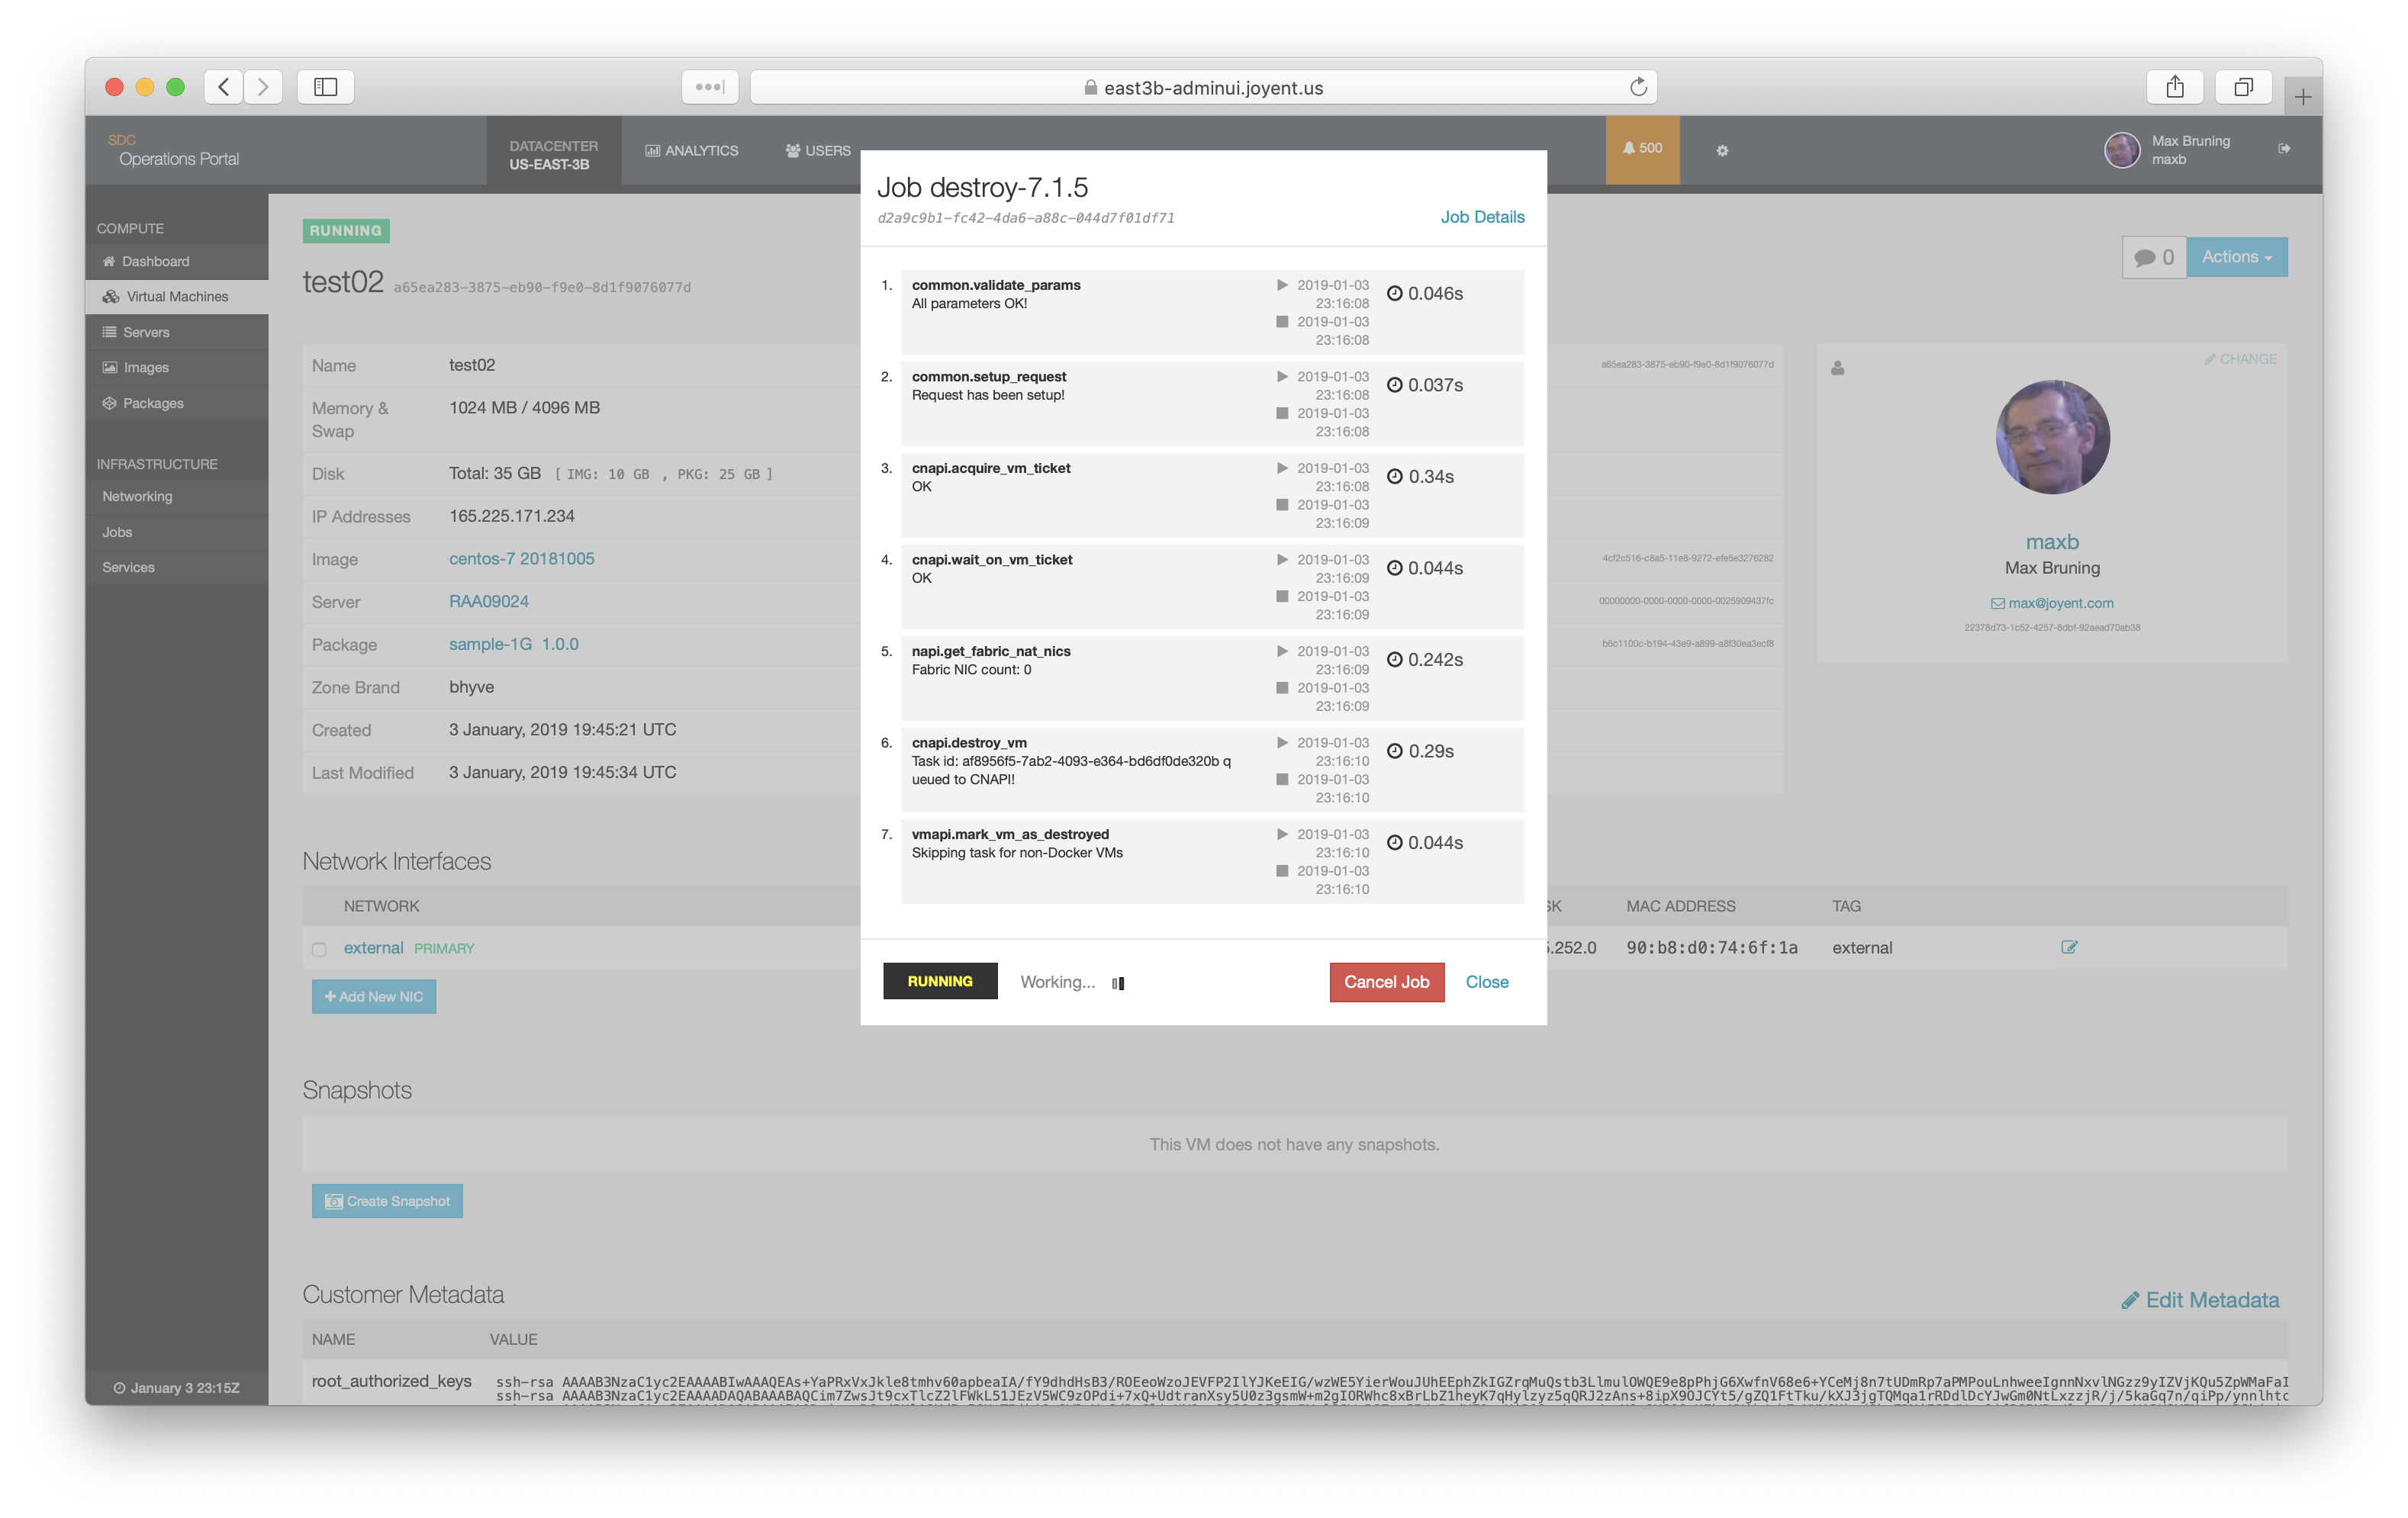
Once you confirm the verification dialog, a delete job will be spawned.
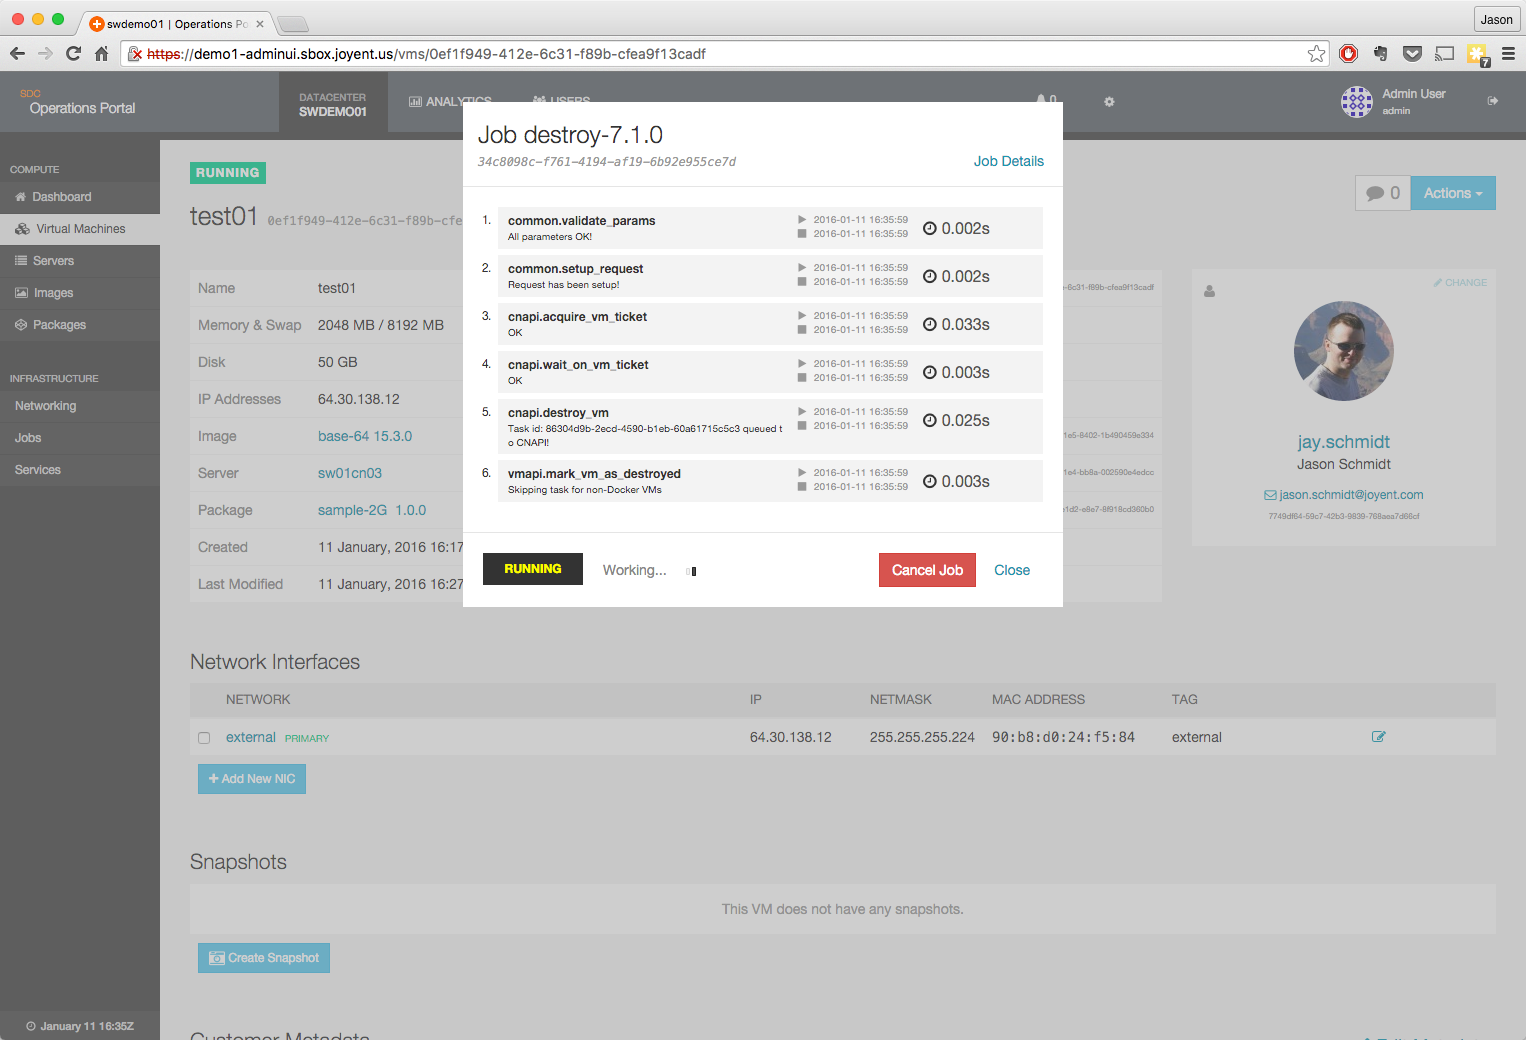
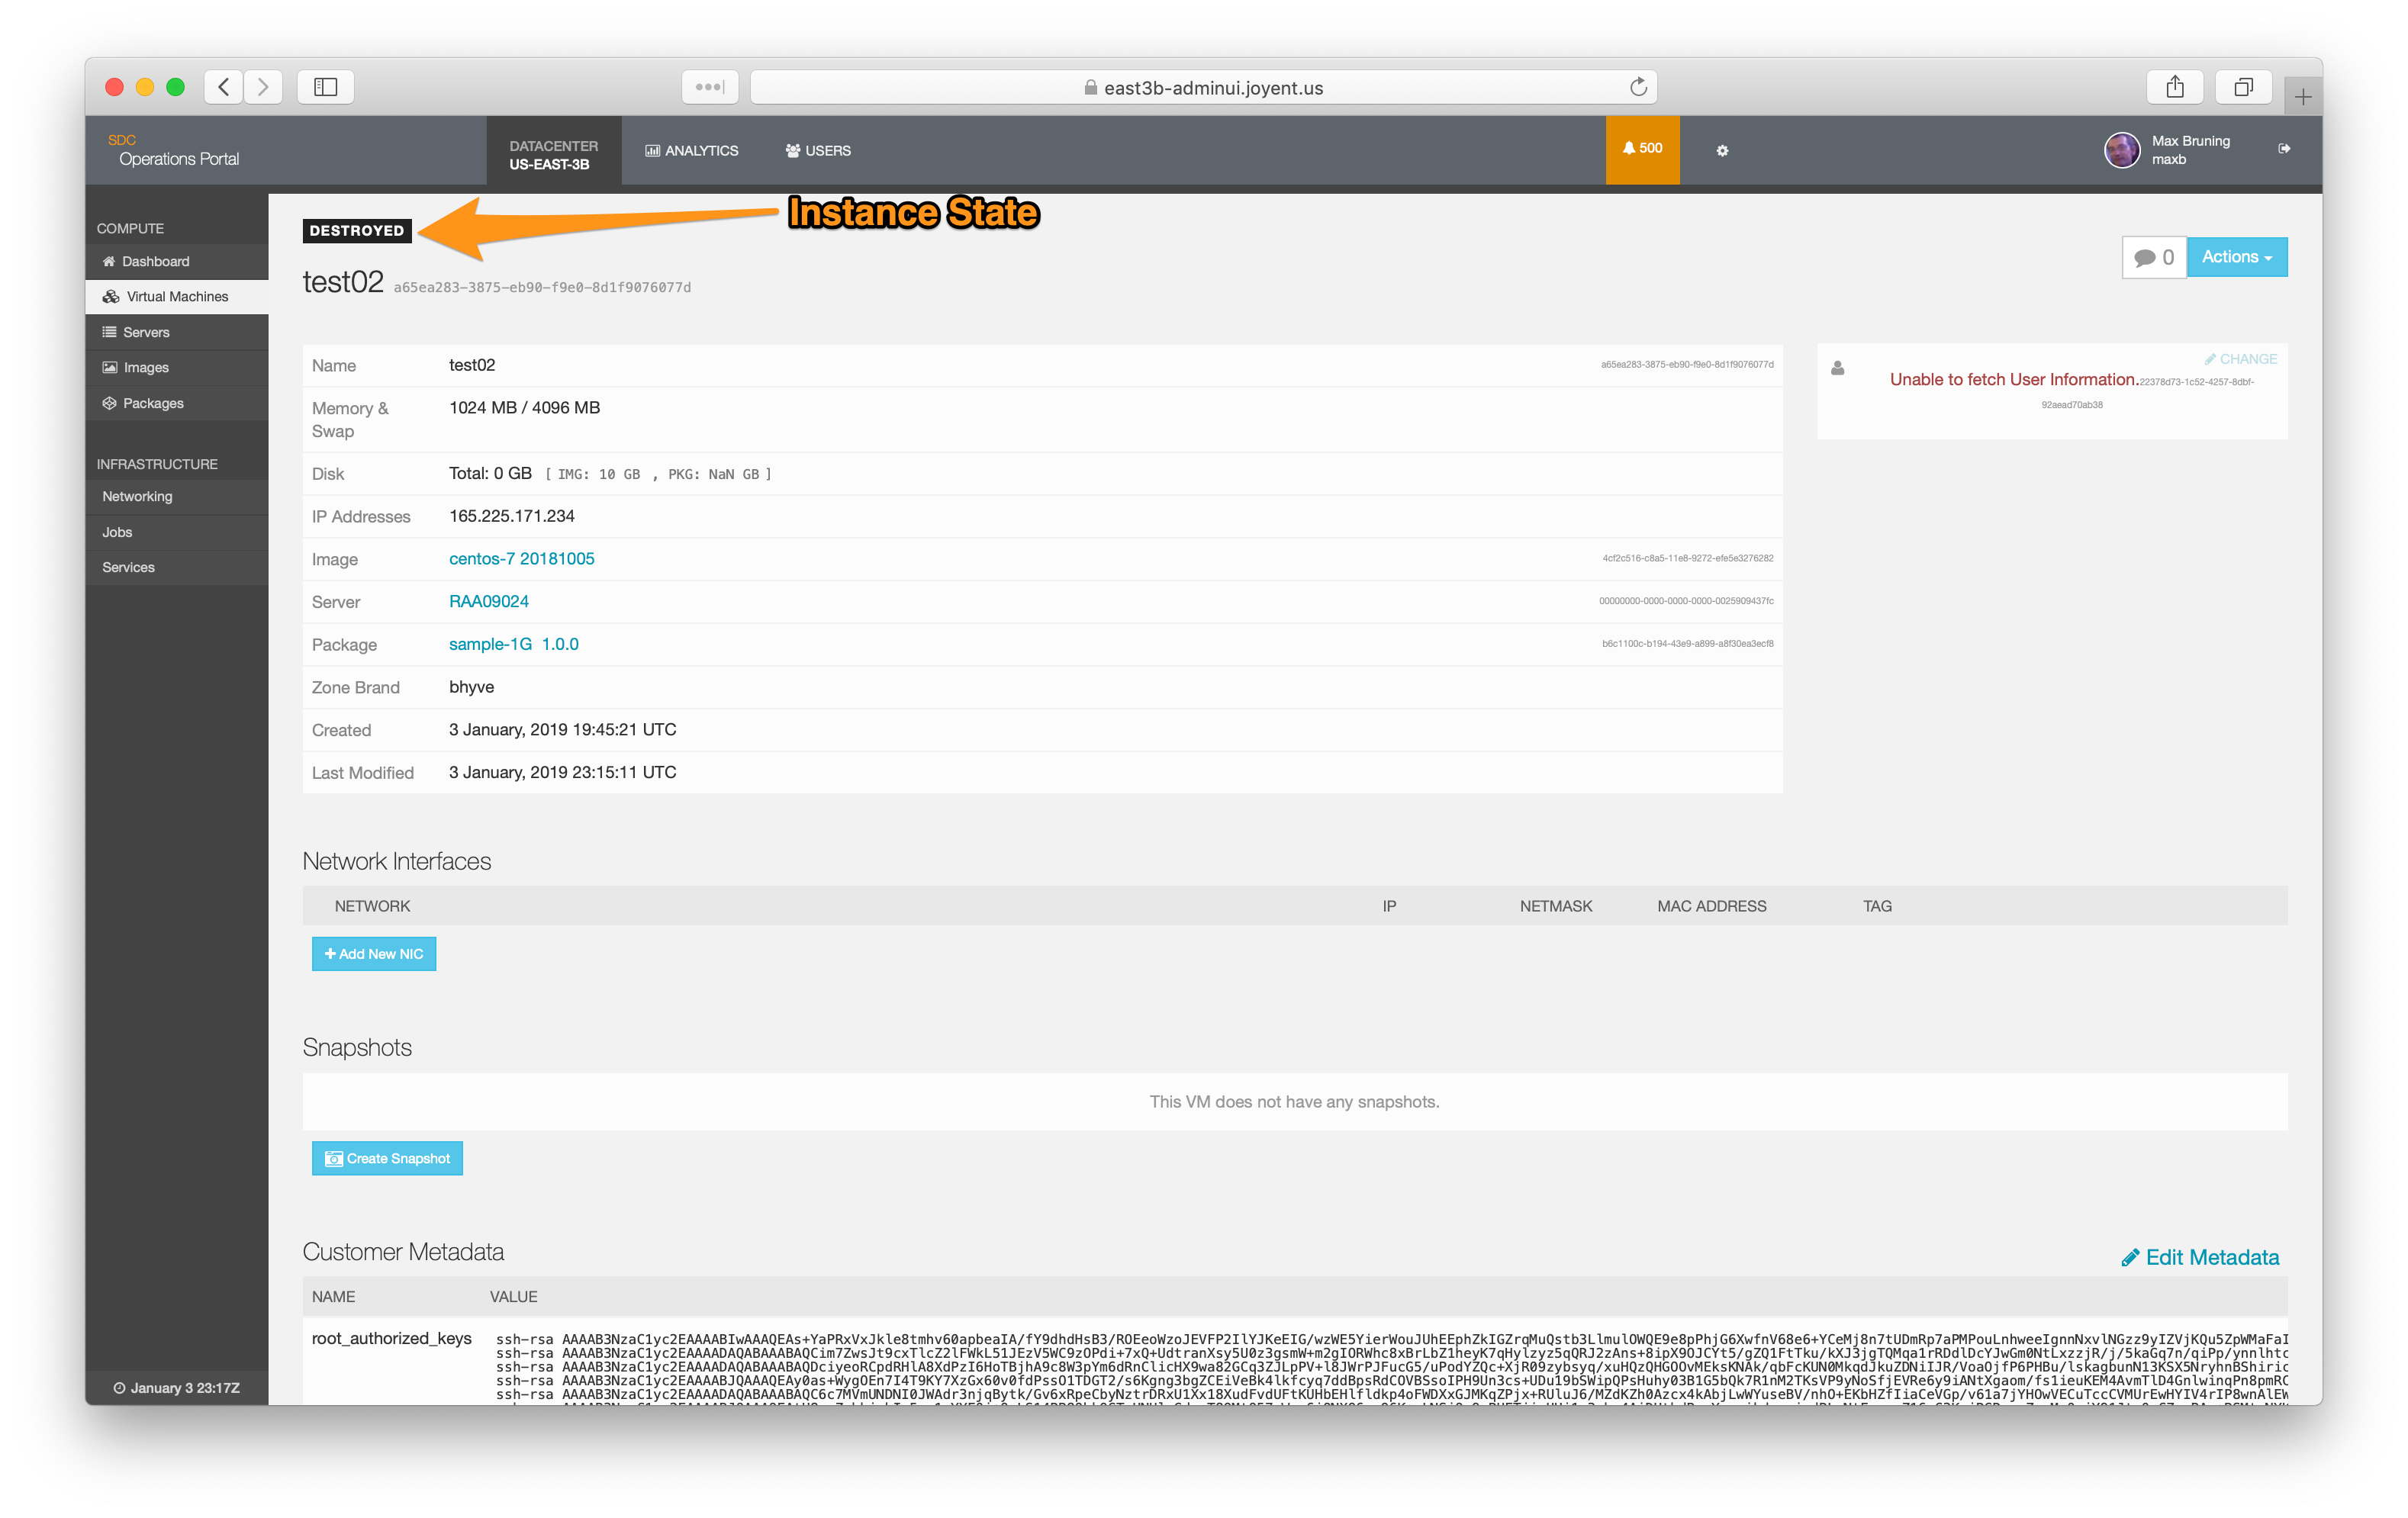
- When complete, once you have dismissed the job details page, the instance will show with a state of Destroyed.

Test a hardware virtualized machine
These steps will walk you through the process of provisioning, logging into, resizing, and deleting a hardware virtualized machine and will use the HVM Ubuntu image you downloaded earlier.
Provision a hardware virtual machine
-
Navigate to the Virtual Machines page in the Operations Portal.

-
Click on the +Provision Virtual Machine button.

-
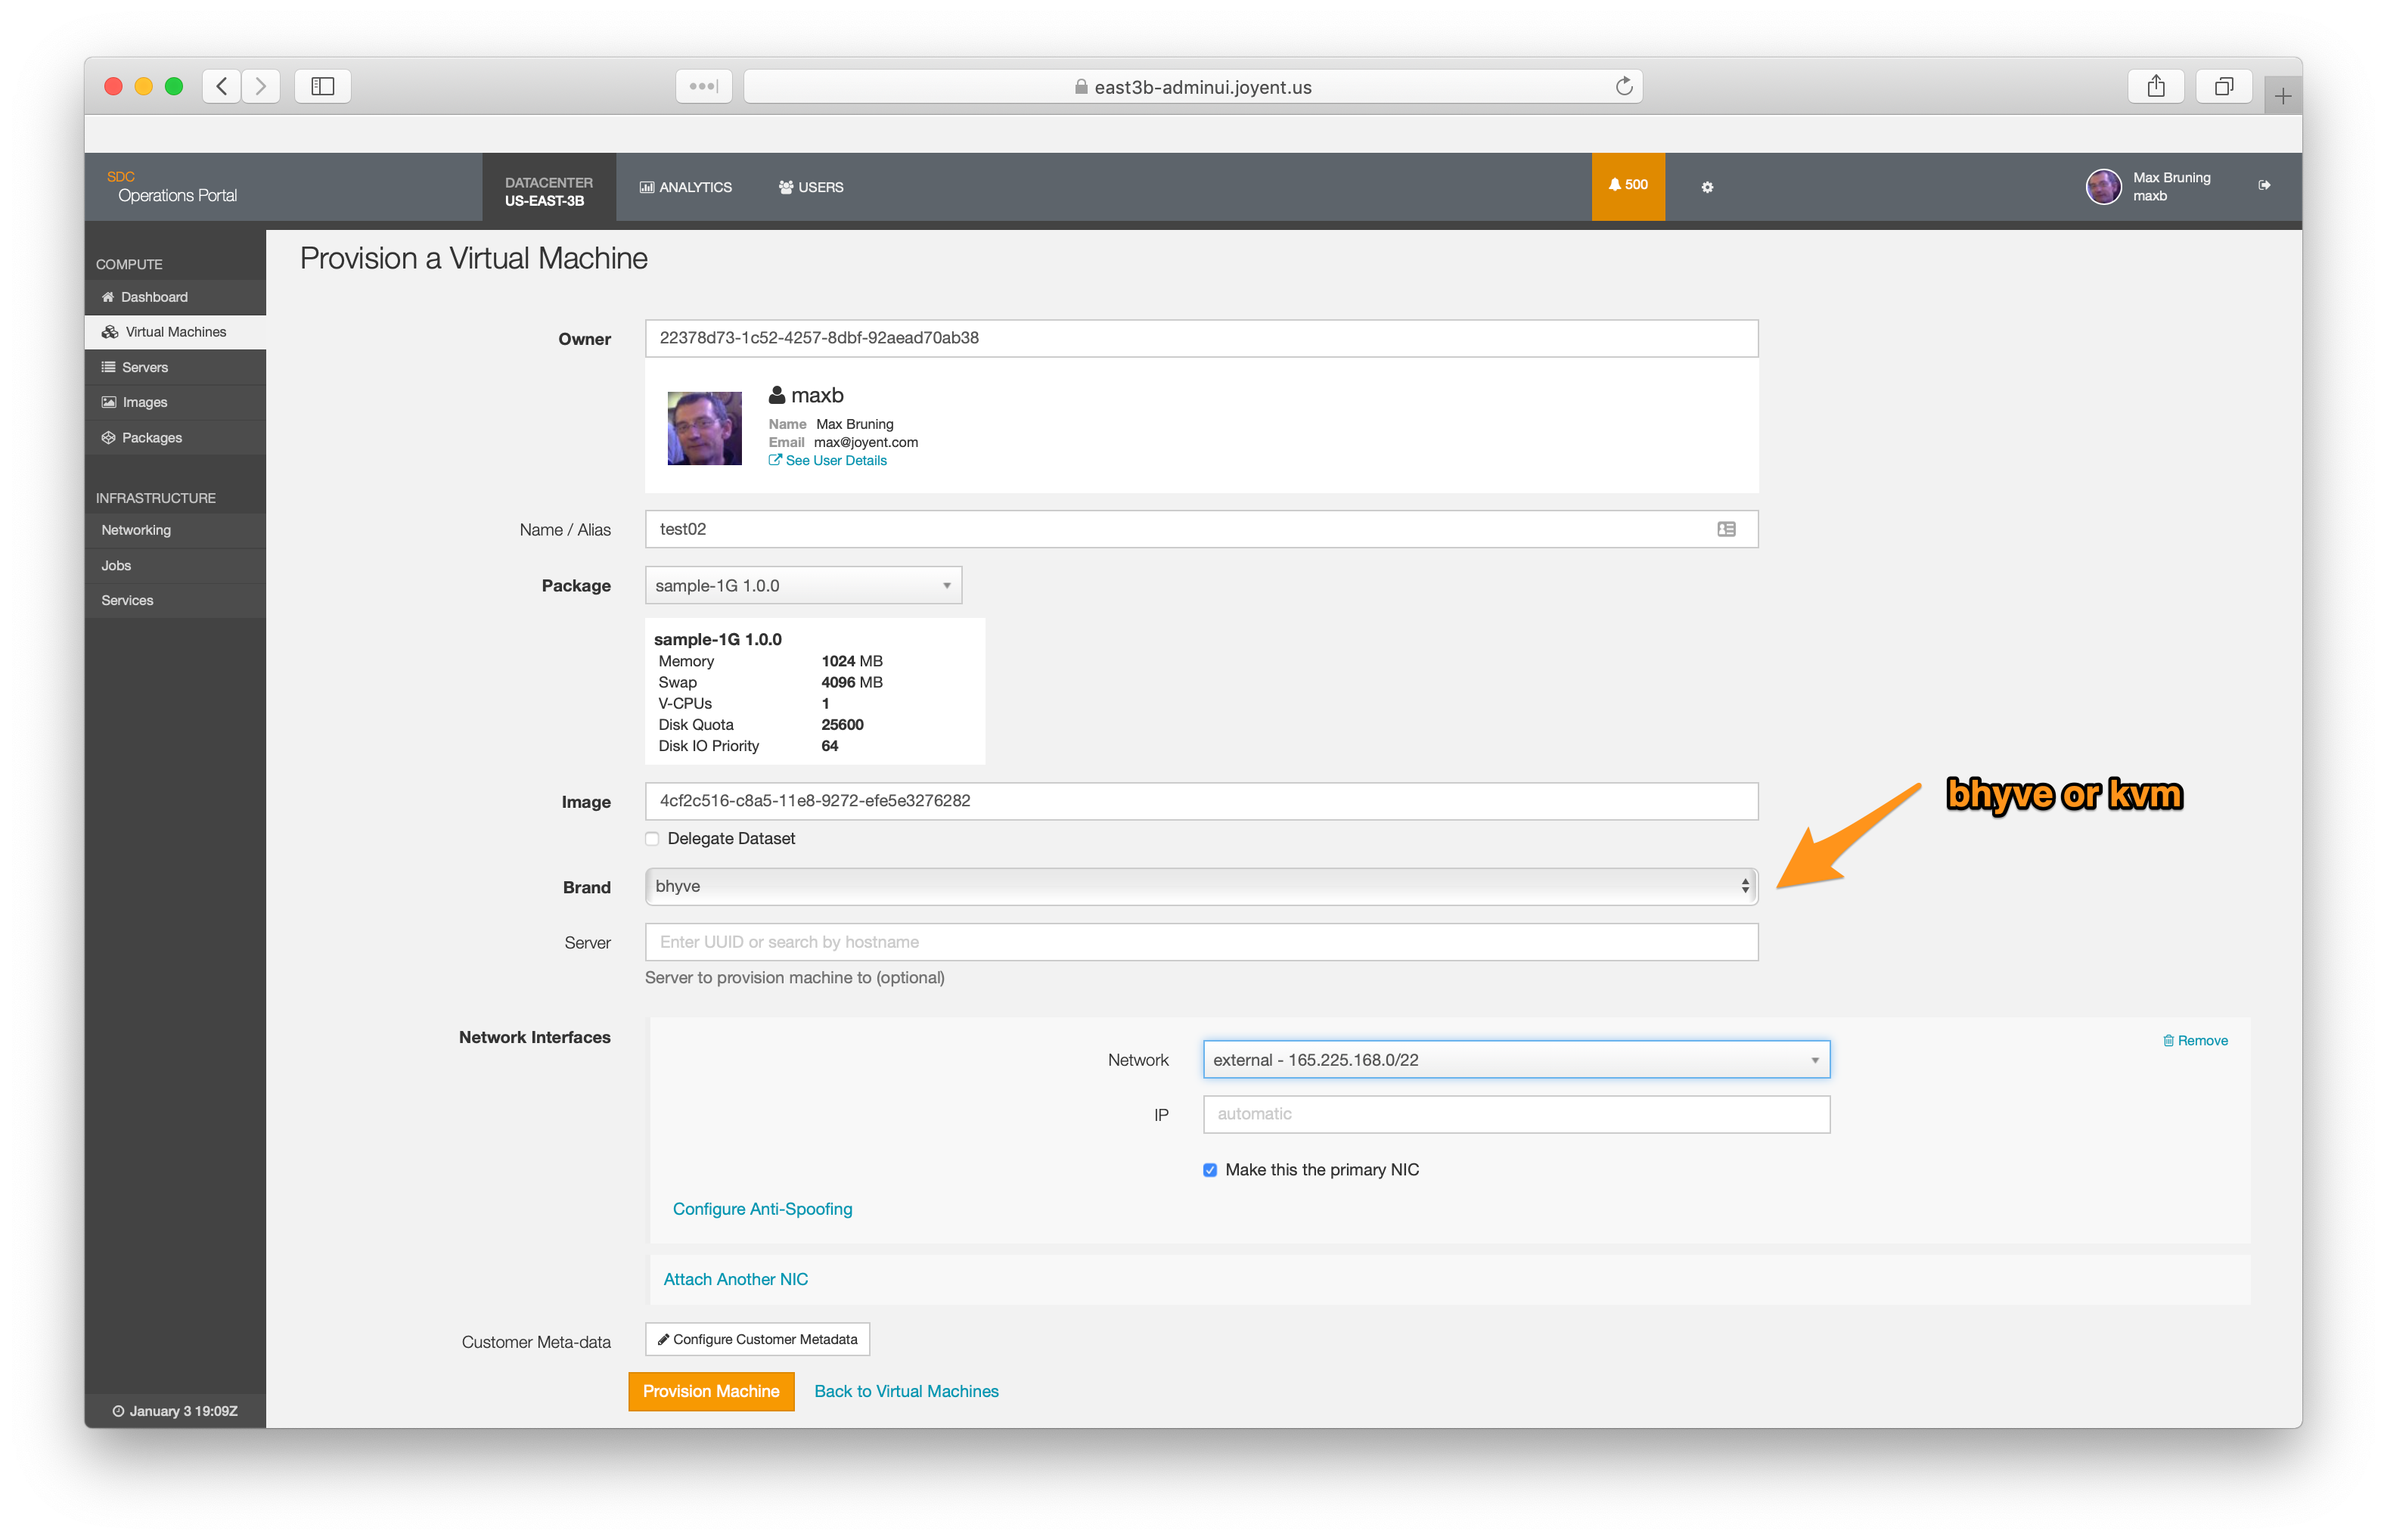
Add the correct values to the dialog box presented
- Use the
sample-1G(or equivalent) package and a Hardware Virtualized CentOS image. For example, the one we downloaded above. - The owner will be the user we created above.
- The container will have a NIC on the External network.
- The container should be named "test02"
- The
brandshould bebhyveorkvm. It defaults tokvm. Note that for Microsoft Windows there are currently separate images for bhyve and kvm. - The Server field should be left blank to allow Triton to allocate a server.
-
Note: Some values will be replaced by UUID's after they are entered, such as Image names.
- Use the
-
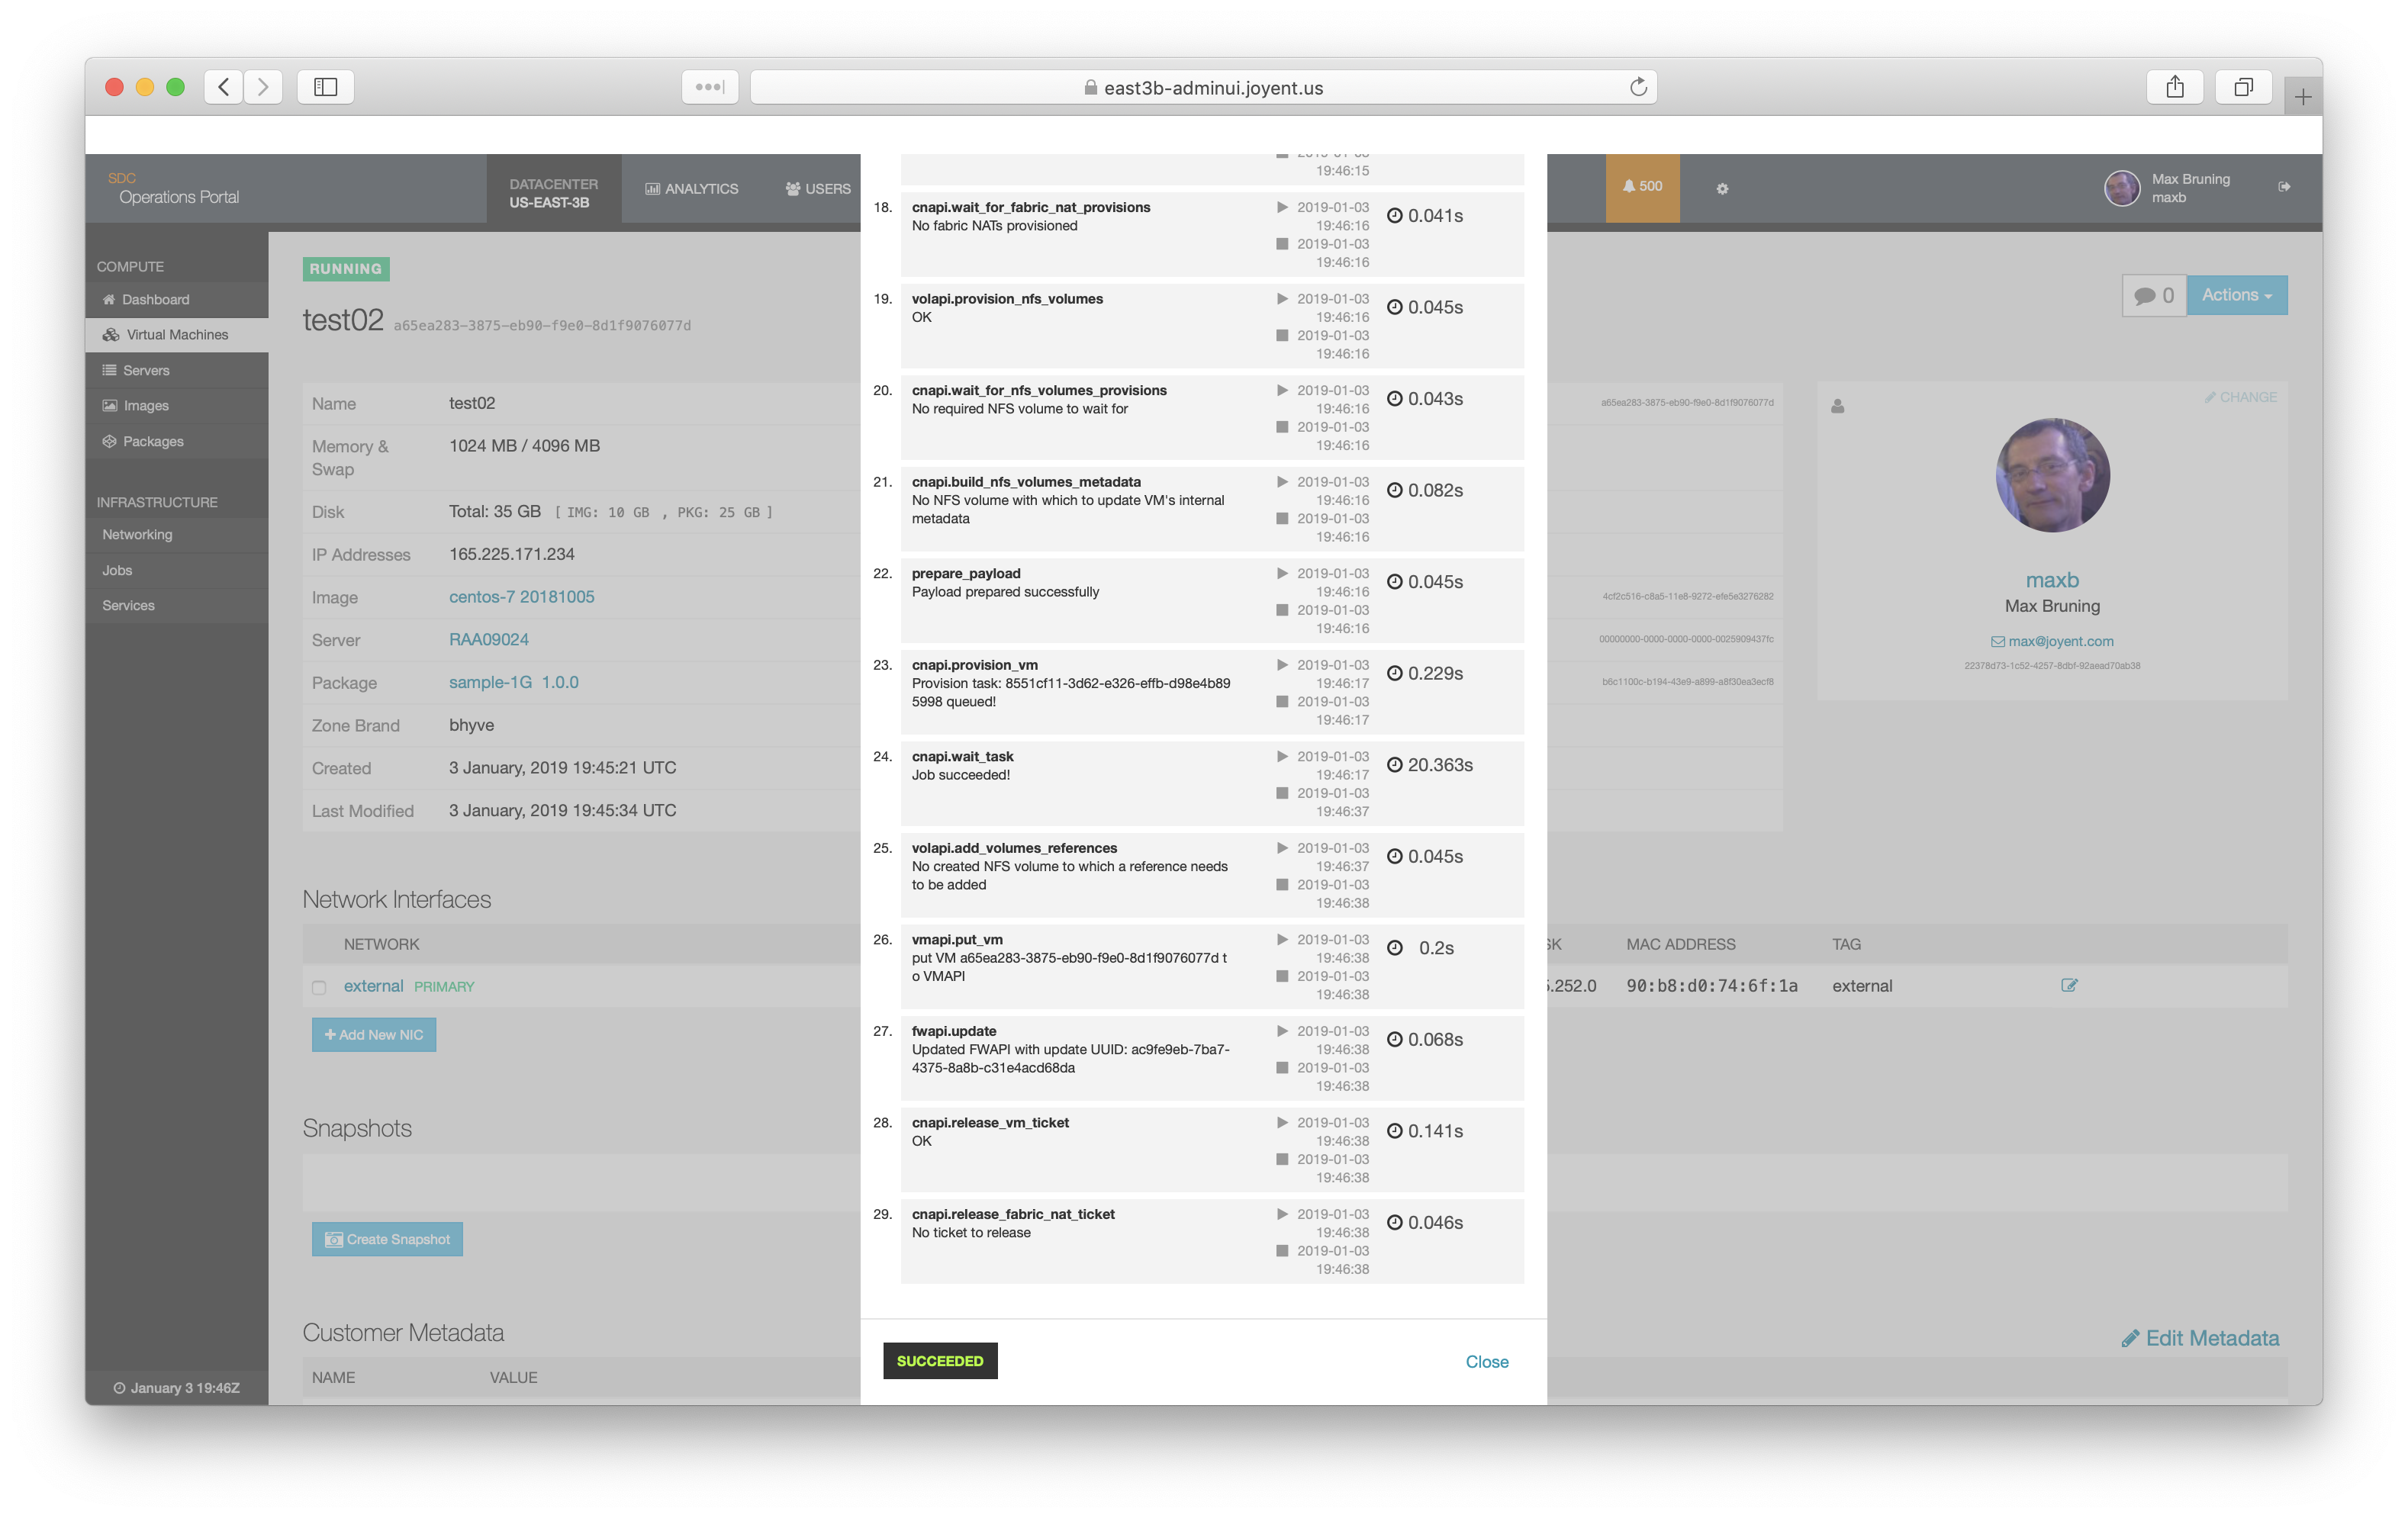
Click on the Provision Machine button to begin the process; this will start a provision job.
-
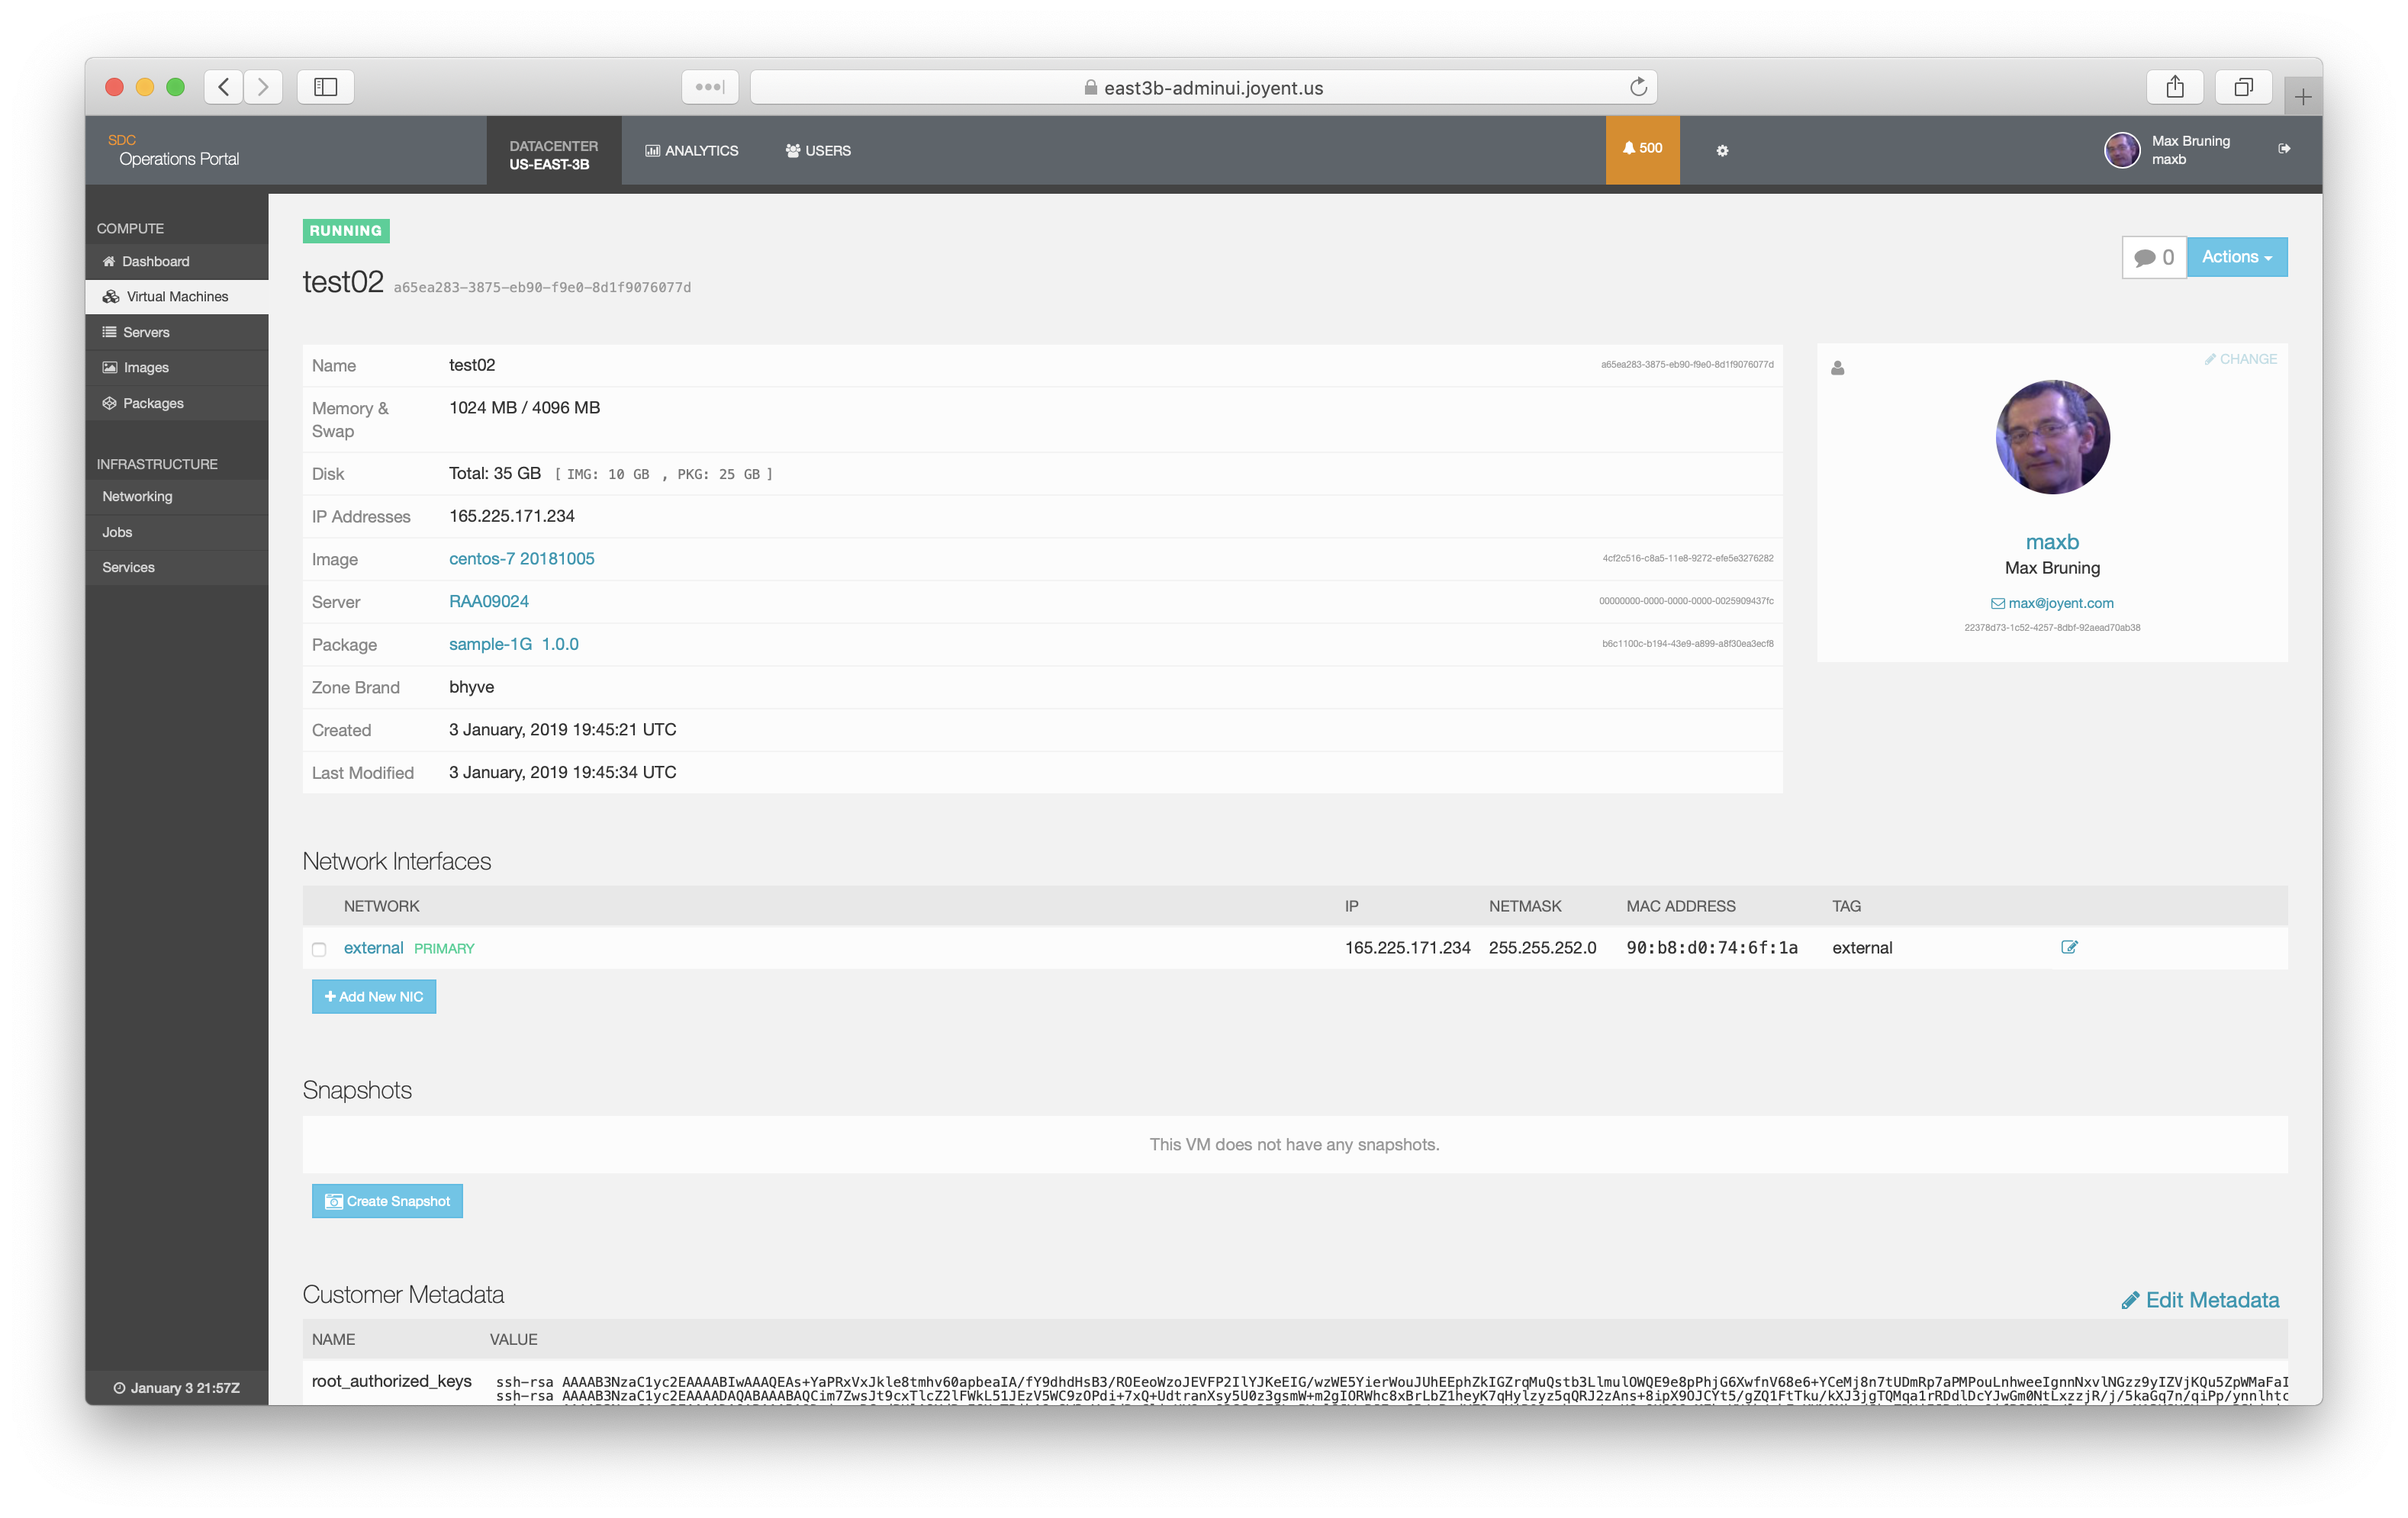
Upon completion, you can clear the job details screen. You will now be able to see the Operations Portal detail on the instance you just created.
Log into a hardware virtual machine
-
Now you can log into the infrastructure container you just created.
- Use the IP address returned above in the creation step.
- You will log in as the
rootuser. -
You will use the private key you created earlier to log in.
$  ssh root@165.225.171.234
The authenticity of host '165.225.171.234 (165.225.171.234)' can't be established.
ECDSA key fingerprint is SHA256:qn7VCvwhGDYMiojxN50BFb1aPoDD5vgUlKB9gw2vXnU.
Are you sure you want to continue connecting (yes/no)? yes

Warning: Permanently added '165.225.171.234' (ECDSA) to the list of
known hosts.
      __        .                   .
    _|  |_      | .-. .  . .-. :--. |-
   |_    _|     ;|   ||  |(.-' |  | |
     |__|   `--'  `-' `;-| `-' '  ' `-'
                    /  ;  Instance (CentOS 6.7 20150811)
                    `-'   https://docs.tritondatacenter.com/images/linux/centos

[root@a65ea283-3875-eb90-f9e0-8d1f9076077d ~]# uptime
22:35:32 up  2:47,  1 user,  load average: 0.00, 0.01, 0.04
[root@a65ea283-3875-eb90-f9e0-8d1f9076077d ~]# free
              total        used        free      shared  buff/cache   available
Mem:         993780       94660      739484        6608      159636      733424
Swap:       1048572           0     1048572
- Note that unlike infrastructure containers or container native linux, you cannot resize a hardware virtualized machine.

