Get your private Docker images by connecting to a private registry with `login` and `logout`
Some registries and image repositories are public and require no login; others are not. In order to pull images from your private repository, you'll need to login to Docker. If no registry URI is specified, Docker will assume you intend to use or log out from Docker Hub.
Triton comes with several images built-in. You can view the available list with triton images. Some of these images are for Docker, some are for infrastructure containers, and some are for hardware VMs.
Please also consult the blog post optimizing Docker operations on Triton.
Using Docker Hub
Docker Hub is Docker's default registry. It hosts a number of official images managed and reviewed by the Docker team that provide drop-in solutions for popular programming language runtimes, data stores, and other services, similar to what a Platform-as-a-Service (PAAS) would offer.
To login to Docker Hub in the terminal and start using Docker's official images, login in the terminal by executing docker login. You will be prompted to give the username and password for your Docker Hub account. You are then free to images, official or personal, on Triton.
Docker's documentation is a great place to learn how to use Docker Hub and to find and contribute images:
Using private registries
Triton supports the Docker Registry v2 API, including Docker Hub private repositories. Simply login to your Docker registry to fetch private images:
$ docker login <registry URI>
Username: myrepo
Password: *********
Email: user@example.com

$ docker pull myrepo/busybox
Pulling repository docker.io/myrepo/busybox
...

$ docker run -it myrepo/busybox bash

$ docker logout <registry URI>
Remove login credentials for <registry URI>
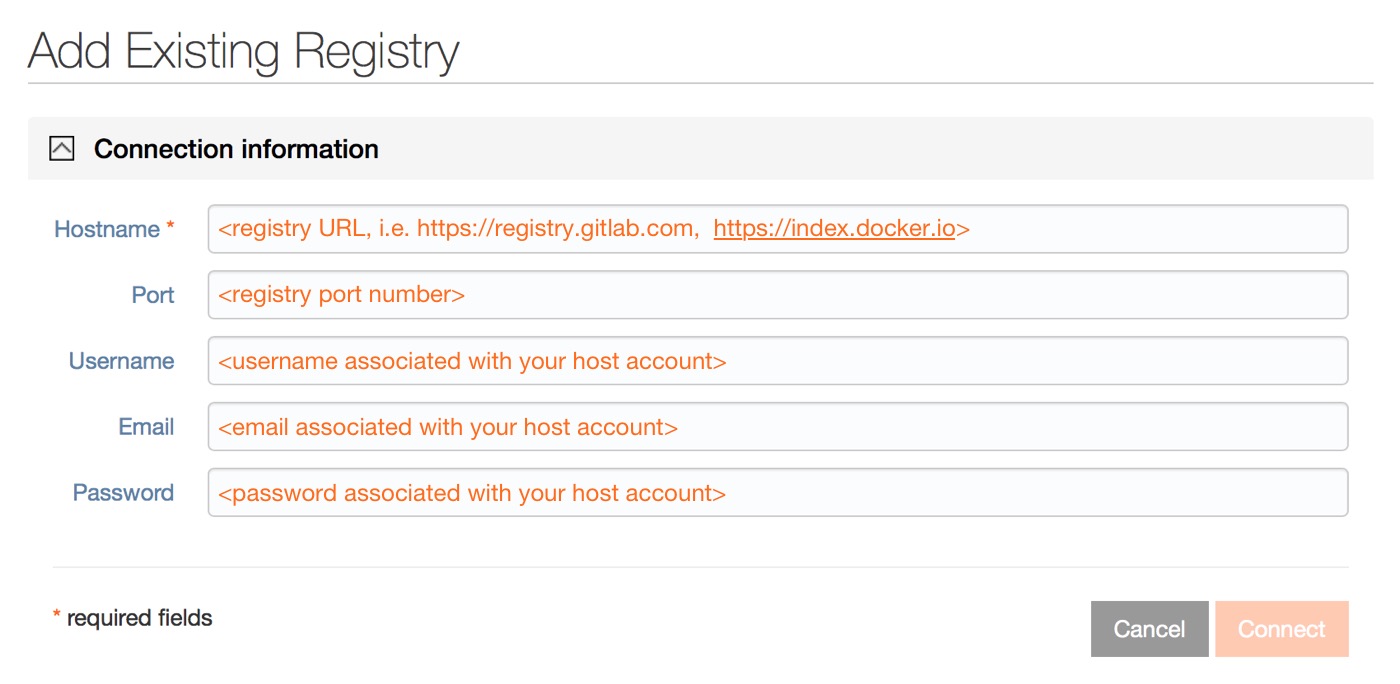
Using the portal to add additional registries
Go to compute → Docker registries in the main Triton portal.
When you add a registry, you will be prompted to enter information to identify where the registry is from and how to access your images.

Be sure to connect this information before proceeding to access it in your terminal.
