CNS commands and usage
Using Triton CNS with Triton CLI
The Triton CLI tool is the main tool to manage Triton infrastructure. Please use the commands and options suggested below.
You can also use Triton CNS with Docker
Turning Triton CNS on and off
Enable Triton CNS with the triton account update ... command:
$ triton account update triton_cns_enabled=true
Updated account "<account username>" (fields: triton_cns_enabled)
Disable Triton CNS:
$ triton account update triton_cns_enabled=false
Updated account "<account username>" (fields: triton_cns_enabled)
Get your account UUID
triton account get will get all user details for the current account:
$ triton account get
id: d32e7832-89d2-459a-bc01-e9af0bca409c
login: jill
email: jill@example.net
companyName: Jill Enterprises
firstName: Jill
lastName: Example
triton_cns_enabled: true
country: USA
phone: +14155551212
updated: 2016-01-28T00:31:11.538Z (1d)
created: 2015-01-05T21:18:15.115Z (1y)
The UUID for this account is listed in the first line of the response:
id: d32e7832-89d2-459a-bc01-e9af0bca409cAdd Triton CNS service tags to an instance at creation time
The -t triton.cns.services=<comma delimited service names> flag to triton instance create can be used when creating an instance to add tags, as in the following example:
$ triton instance create \
-t triton.cns.services=example-service,secondary-service \
ubuntu-14.04 t4-standard-1G
Get Triton CNS details of a running instance
The triton instance get ... will list all the details of a specific compute instance:
$ triton instance get <instance name>In the resulting output you’ll see a list of dns_names.
Add CNS service tags to a running instance
The triton instance tag set ... command can be used to set or update and replace the service tag for an instance:
$ triton instance tag set -w <instance> triton.cns.services=<example-service,secondary-service>NOTE: If setting new CNS names for an instance, any existing names will be replaced. To keep existing names, those must be included when you run triton instance tag set. For example, if my instance had the tag my-service, to keep that tag in addition to new tags, I would run:
$ triton instance tag set -w <instance> triton.cns.services=my-service,new-servicenameTurn CNS off for a specific instance
If CNS is enabled for a user's account, it's on by default for each new instance. You can turn it off for individual instances using the following triton instance tag set ... and triton instance tag delete ... commands:
$ triton instance tag set -w <instance name> triton.cns.disable=trueIt can also be turned back on:
$ triton instance tag delete -w <instance name> triton.cns.disableCNS can also be disabled from inside the instance using the mdata-put command.
Using Triton CNS in the Triton Compute Service portal
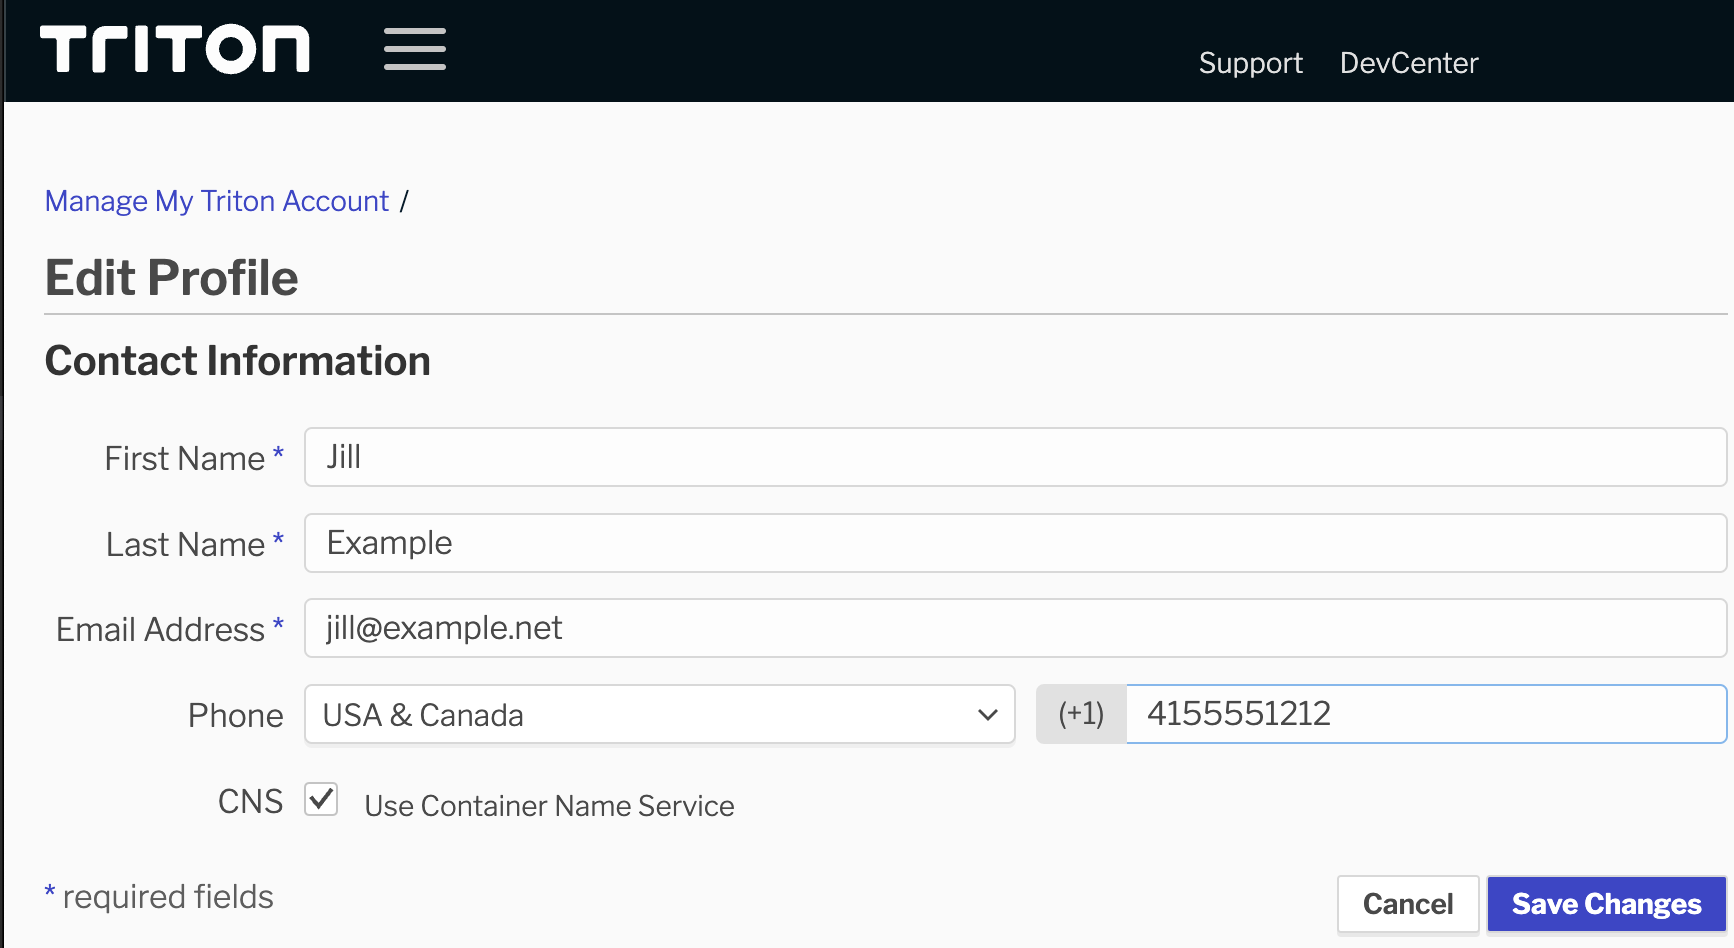
Turning Triton CNS on and off
To enable or disable CNS for your account, navigate to the account settings on the top right-hand corner of the portal.
Add Triton CNS service tags to an instance at creation time
Once CNS has been enabled at the account level, you can specify the DNS service names when provisioning a new instance. You also have the option to disable CNS for specific containers. The service names should be specified as a comma-delimited list, e.g. example-service,secondary-service.

Get Triton CNS details of a running instance
For running instances that have been enabled for CNS, the DNS names are available in the "DNS" section of the instance details page.

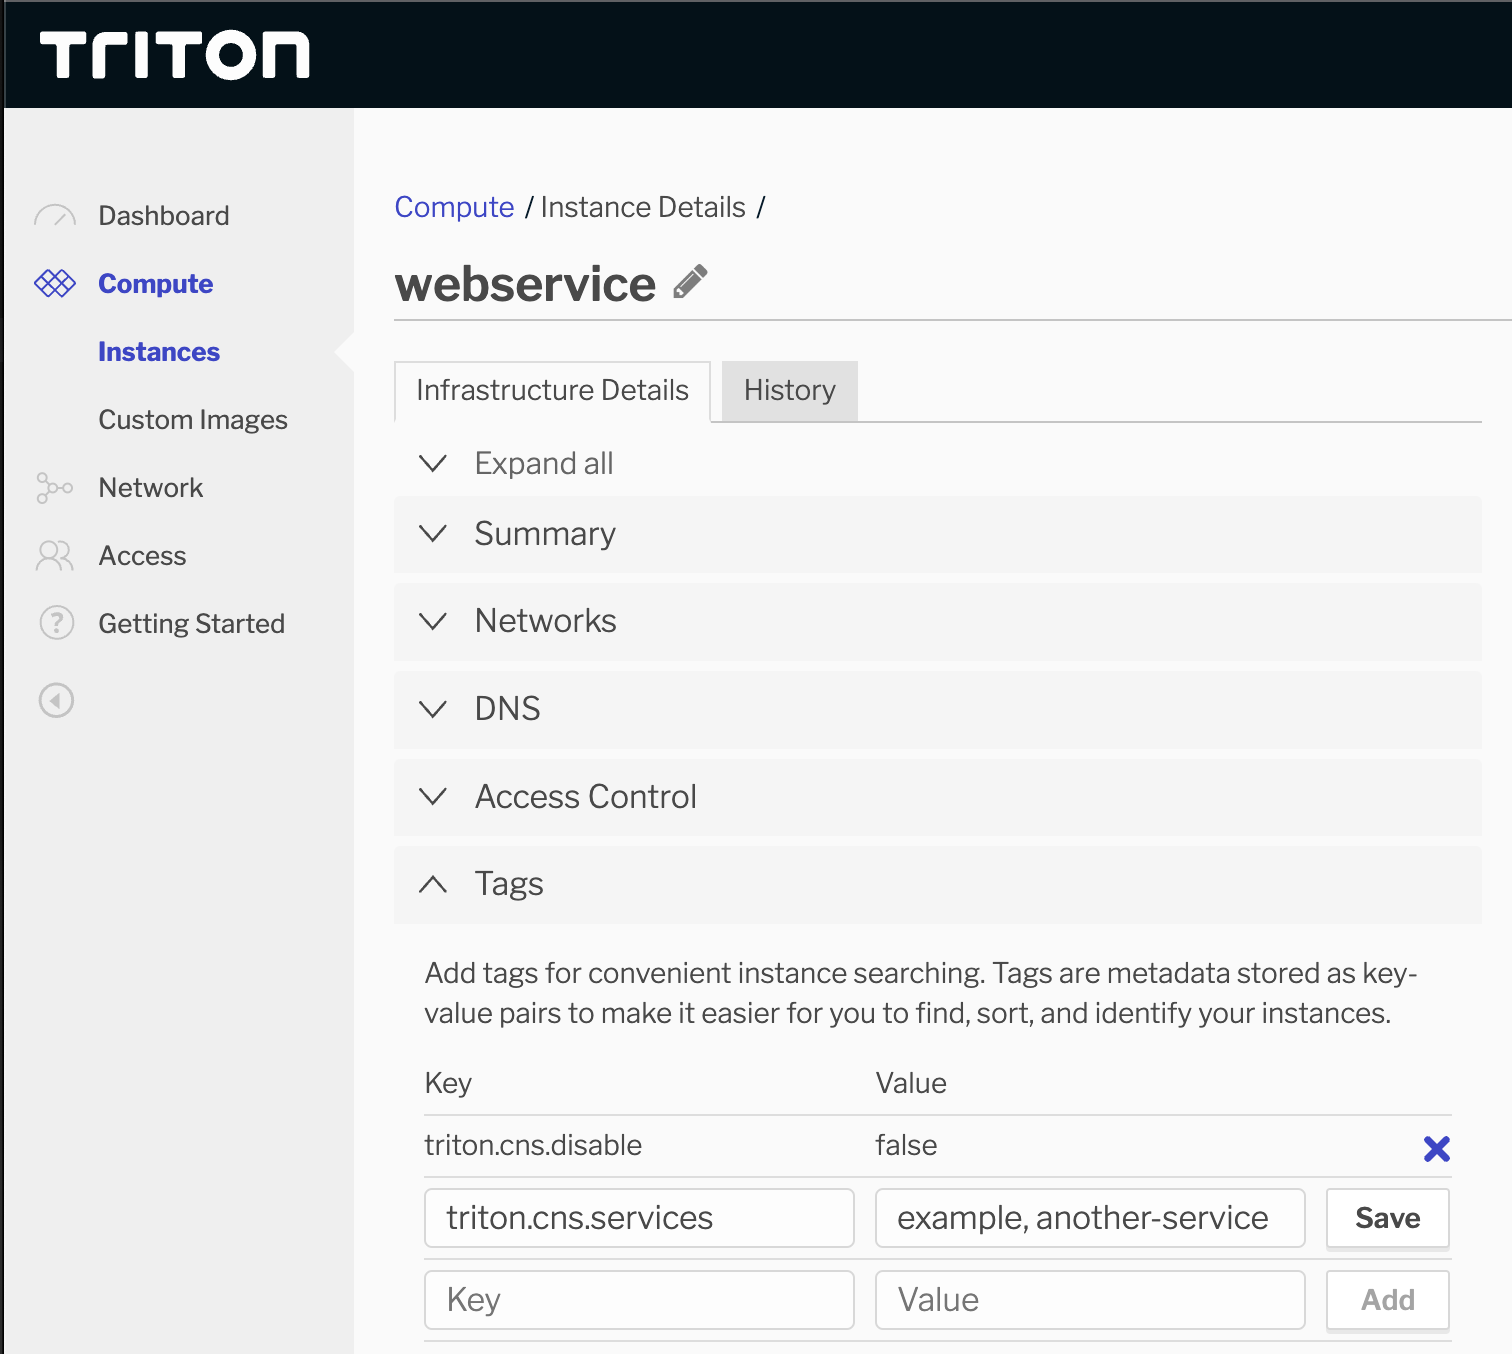
Modify CNS settings for a running instance
You can add or modify the CNS services to which a running container is attached by updating the tags of the instance in the "tags" section on the instance details page. Follow the same comma-delimited list convention to specify the service names in triton.cns.services, or set the triton.cns.disable tag to true if you want to have the container opt out of CNS.
Using Triton CNS with Docker
The --label triton.cns.services=<comma delimited service names> flag can be used to add one or more Triton CNS service tags to Docker containers as part of a docker run command:
$ docker run -d -p 80 --label triton.cns.services=<example-service,secondary-service> nginxIf the container is running in my account in the us-central-1 data center, the FQDN would be:
example-service.svc.<account uuid>.us-central-1.triton.zone
secondary-service.svc.<account uuid>.us-central-1.triton.zone
All containers sharing the same triton.cns.services label will be returned as address records for the svc (service) FQDN for that label.
Setting the DNS search domain
You can add the --dns-search=<account uuid>.<data center name>.cns.mnx.io flag to be able to lookup instances and services within the same data center using short DNS names. Consider the following example in the context of having run the Nginx example above:
$ docker run --rm -it \
    --dns-search=<account uuid>.<data center name>.cns.mnx.io \
    ubuntu ping example-service.svc

PING example-service.svc.<account uuid>.<data center name>.cns.mnx.io (192.168.128.188) 56(84) bytes of data.
64 bytes from 192.168.128.188: icmp_seq=1 ttl=255 time=0.146 ms
64 bytes from 192.168.128.188: icmp_seq=2 ttl=255 time=0.118 ms
64 bytes from 192.168.128.188: icmp_seq=3 ttl=255 time=0.161 ms
We are able to ping example-service.svc in that example because the added --dns-search flag tells the DNS resolver to fill in the missing details in the FQDN.
flag
Triton CNS is a public, globally accessible DNS server. There is no need to set specific resolvers via the --dns flag. Any DNS resolvers that can do recursive resolution on the public internet will work.